
How to Add Stops in Mappr?
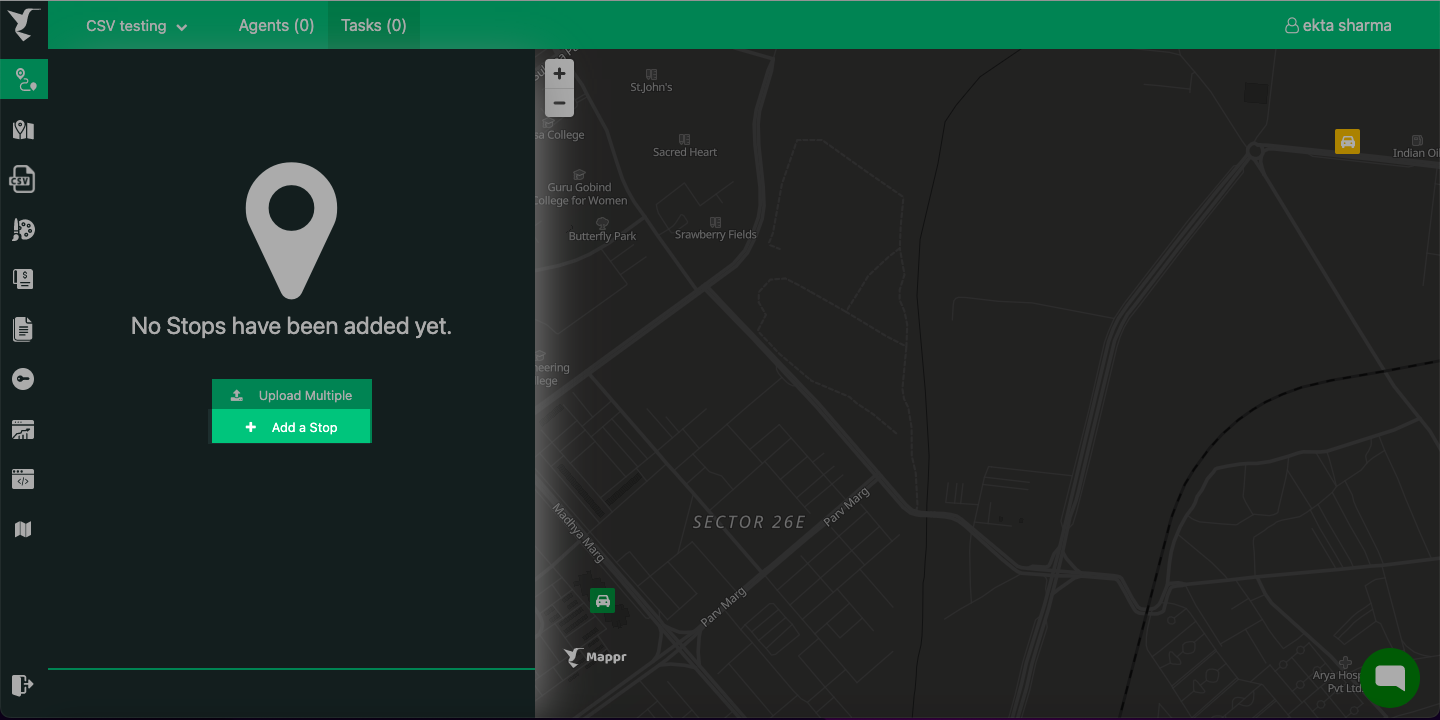
You can add stops one by one in Mappr. Adding stops means adding tasks that need to be optimized and assigned to agents. You can input stops one-by-one within Mappr. Click the ‘+Add a Stop‘ sign to add a new stop (see below).
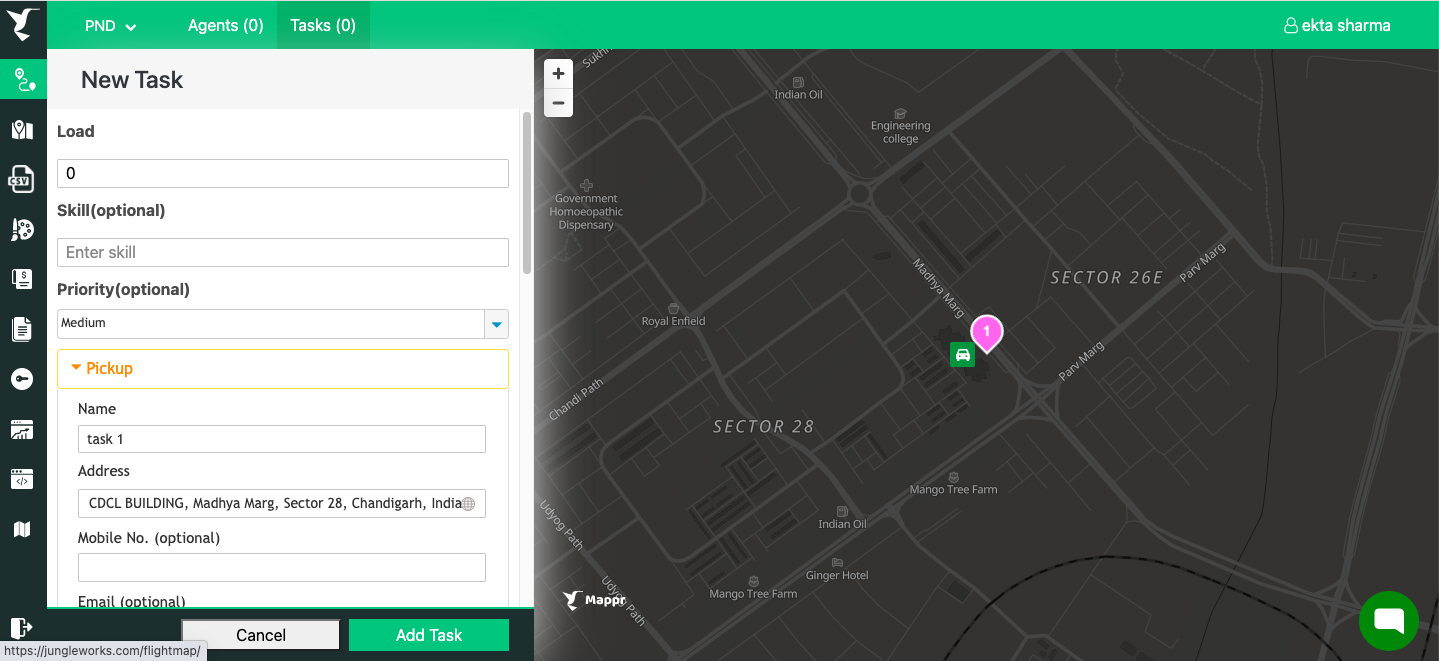
What each field means:
- Load (optional): Load is the capacity required to fulfill the task. It is a number that can act as any unit of measurement. Make sure that agents are also specified a load number to match them with stops that have load defined.
- Skill (optional): Allows you to assign certain stops to certain agents. Enter a word or a letter into this field, and make sure you’ve indicated Skill in your agent profiles, too.
- Priority (optional): By default it’s Medium. You can set the priority as Low, Medium, or High depending on the nature of the task. The system will give preference to pick and assign tasks accordingly.
- Name: Name of the customer.
- Address: The best format is: Street Number, Street Name, City, Province/State (when applicable), and Country.
- Mobile number (optional): Mobile number of the customer. Gives your agents access to customers’ phone numbers. If you have SMS Customer Notifications set up, you’ll be able to send automated delivery notifications. Note that phone numbers must be formatted as country code, area code, and phone number. For example, “+1-626-555-1234”. Spaces, (brackets), – dashes, and + plus signs are all accepted in the phone number field.
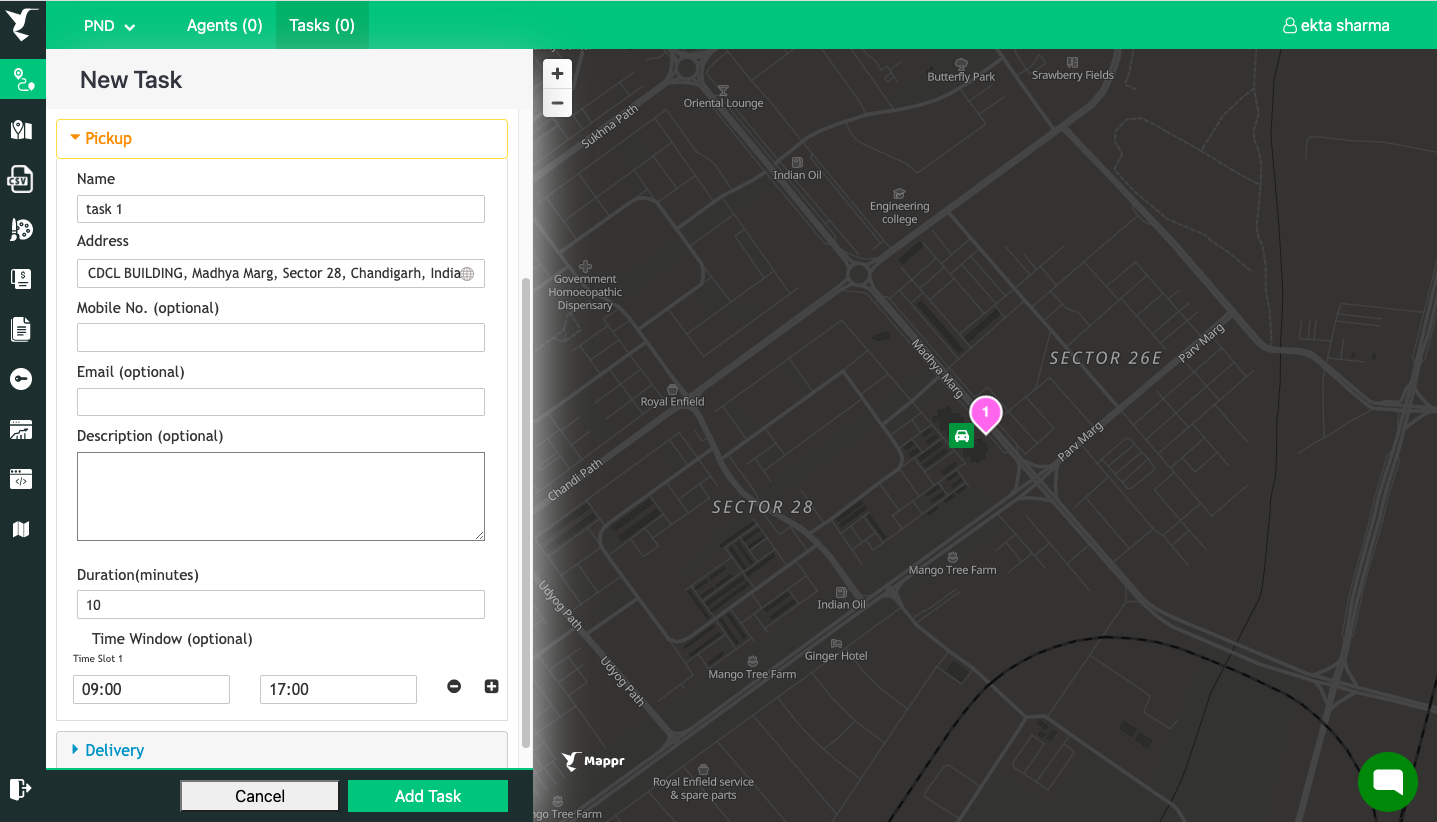
- Email (optional): Email address of the customer.
- Description (optional): Task description for agent and customer reference.
- Duration (minutes): This is the time that the agent will take to complete the task, For example in the case of an appointment if the slot is for 30 mins then we can enter 30 here so that system will consider this time for this stop and after that 40 mins it will start next stop.
- Time Window (optional): The suitable time interval in which the task must be executed. For e.g, if your customer is available at a specific time to receive the service/delivery like between 9 am- 12 pm and then 6 pm to 10 pm then you can add these two-time intervals so that system assigns these tasks only during the defined time window.
Watch the video below to learn more:
Leave A Comment?