
Merchant page configuration in Marketplace
To configure the merchant page in the marketplace, all you have to do is follow the step-by-step instructions given here, and you’re all set!
- Navigate to Configure -> General Settings -> Terminology on your Yelo dashboard.
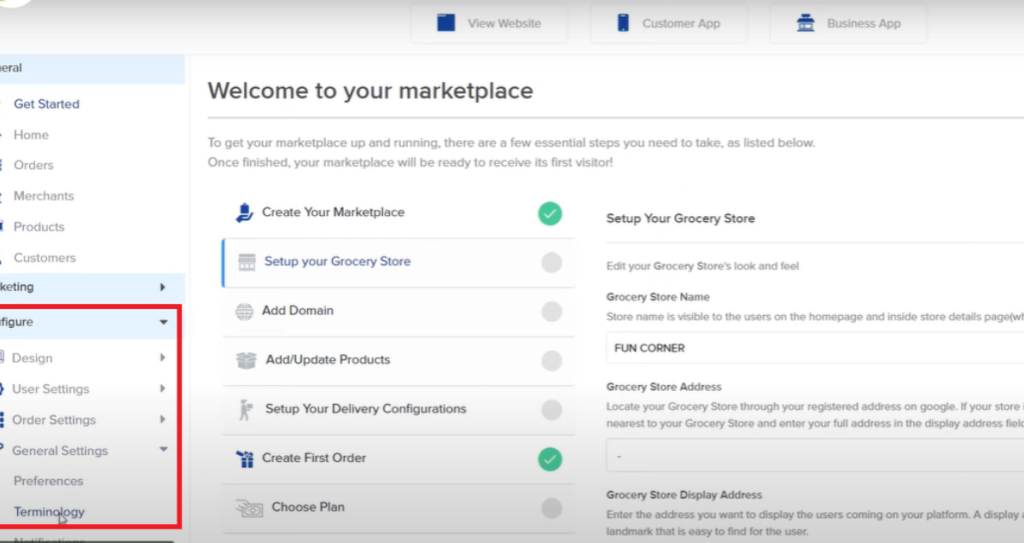
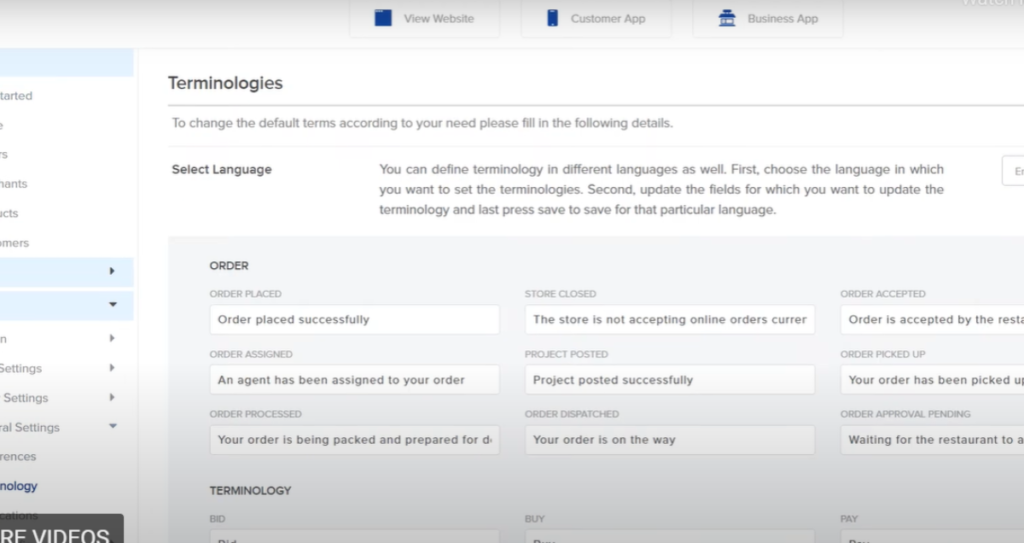
- You’ll see a list of different orders and terminologies on this page.
- Scroll down to the Merchants tab under Terminology.
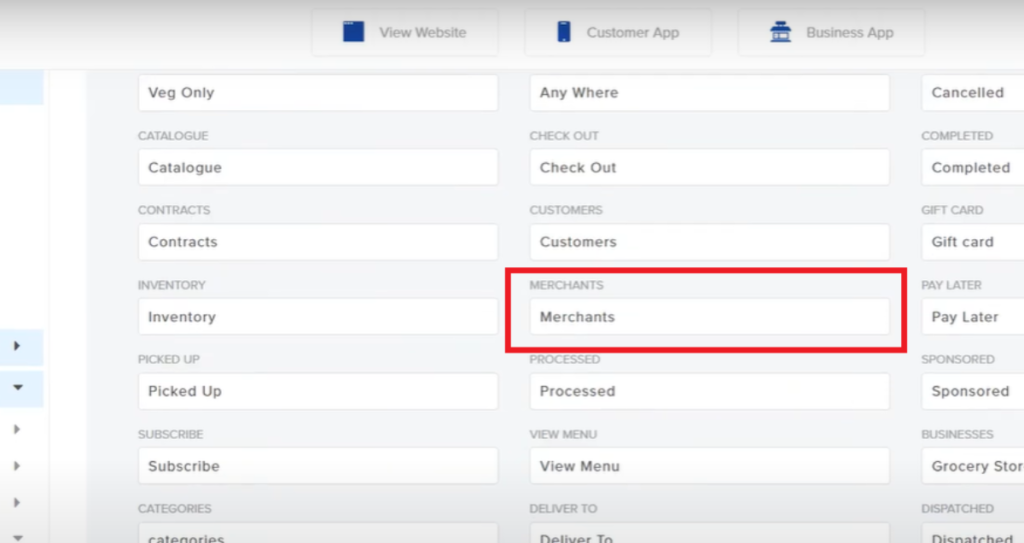
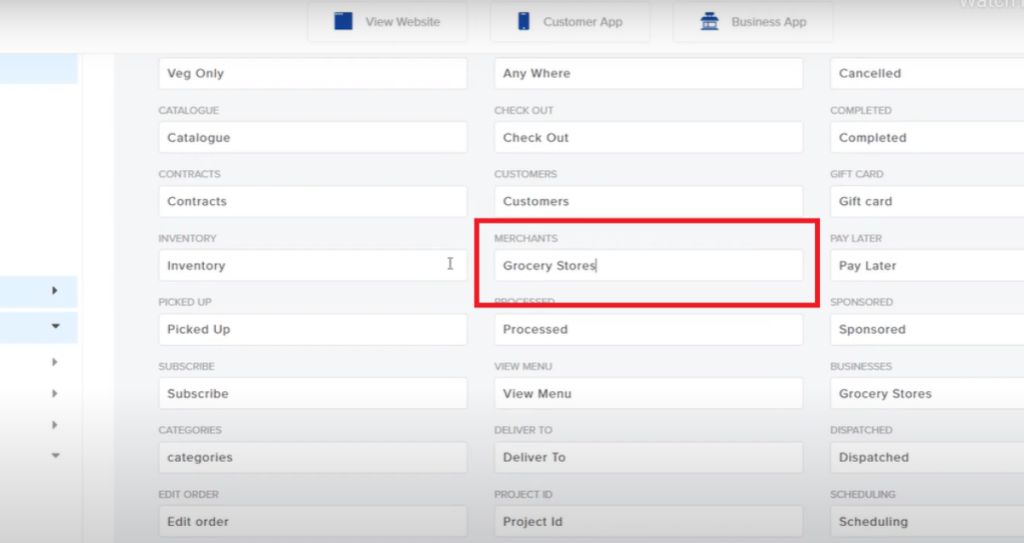
- You can update the Merchants column here. For example, Grocery Stores, and click on Save.
- Now, you can navigate to General -> Grocery Stores, and you’ll see a list of all stores listed here.
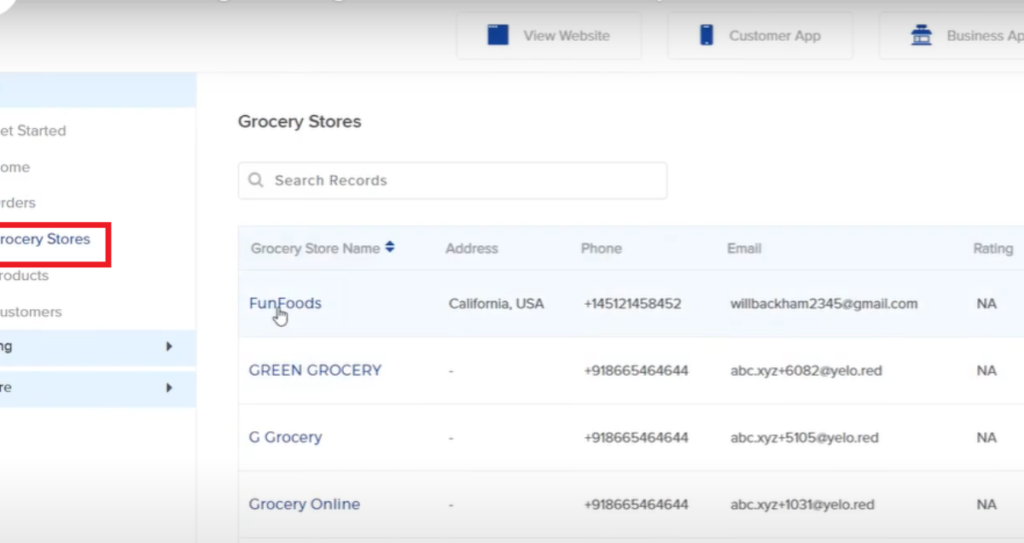
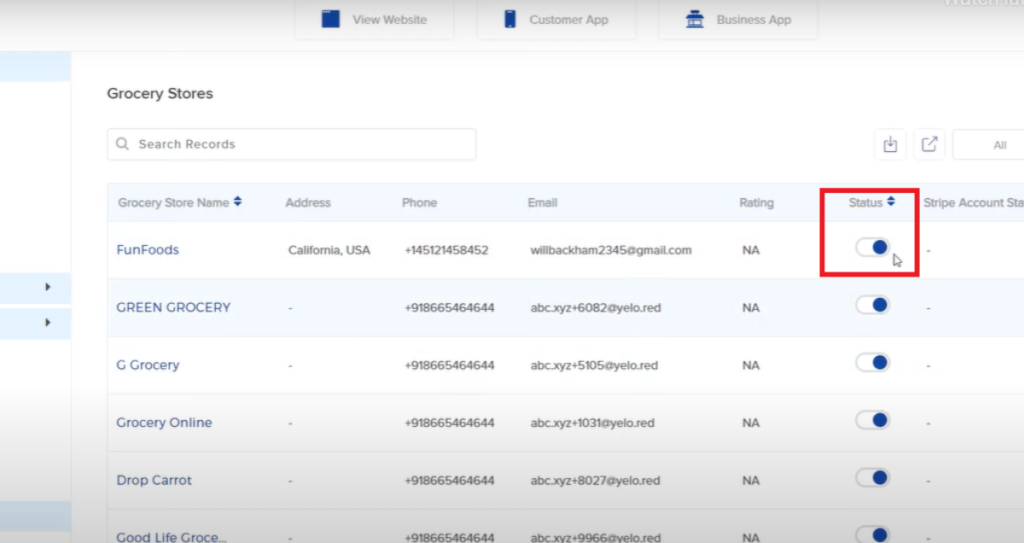
- Here, you can enable/disable the status of each grocery store, filter the list with verified/unverified/all options, and do a lot more.

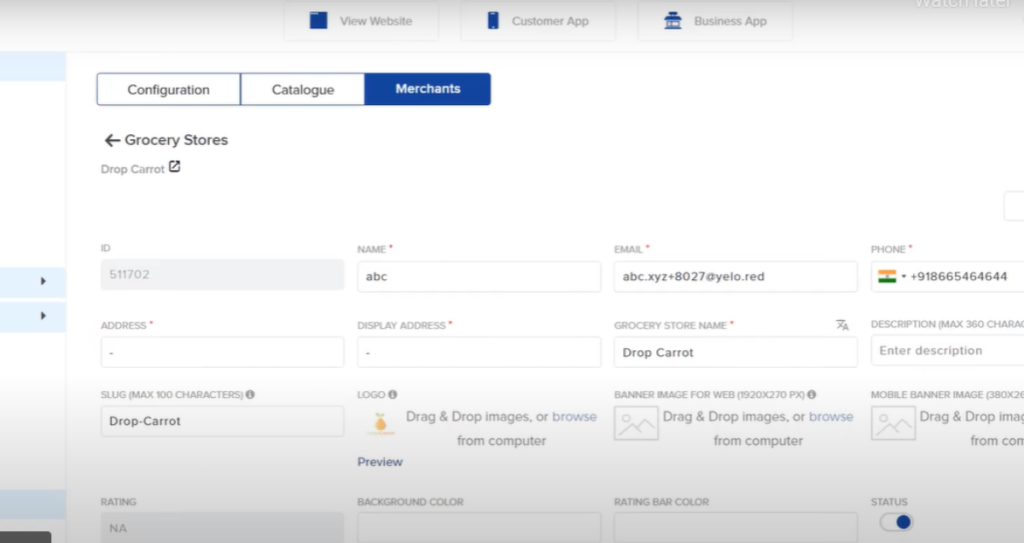
- To edit/update any grocery store detail, all you have to do is click on the particular store name. You’ll see a page with all the related details.
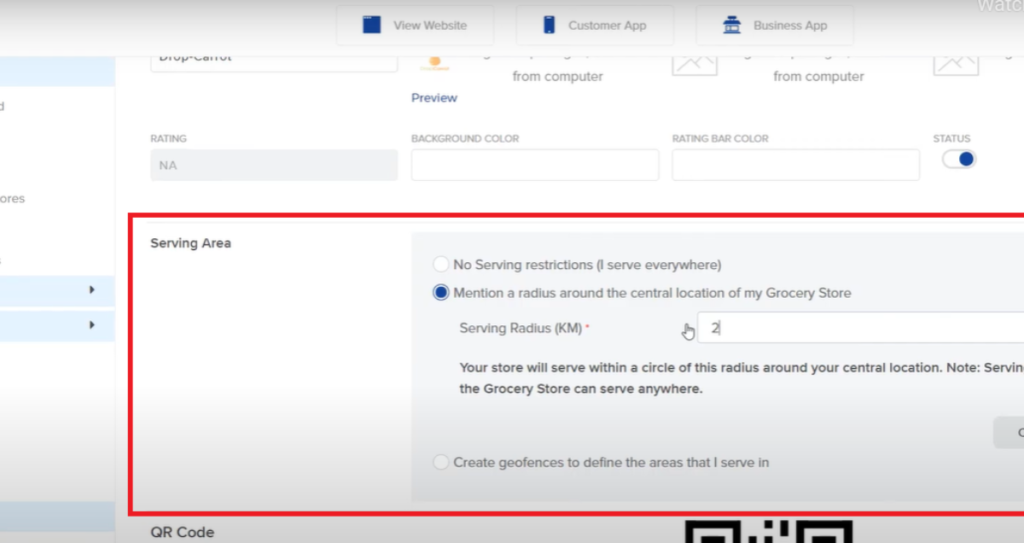
- Suppose you want to update the serving area settings. Scroll down to choose the service options you want to keep. You can either have no restrictions or mention a radius around the central location of your store as shown below.
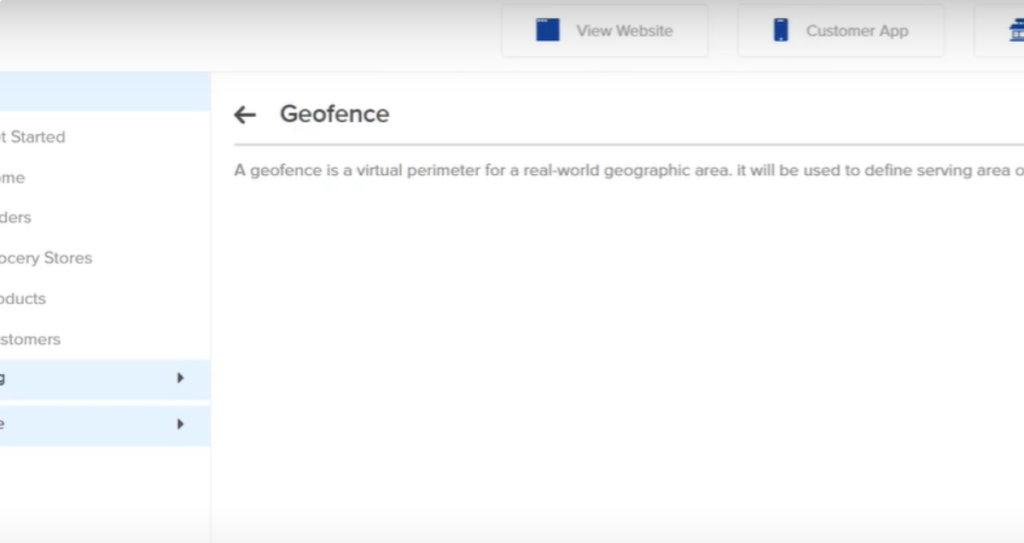
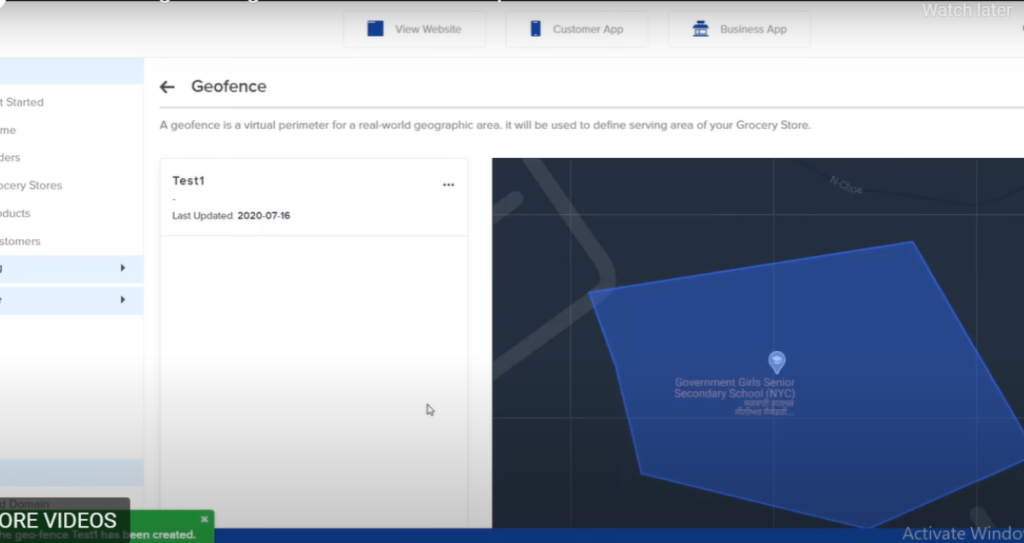
- You can even create geofences. Once you choose this option, you will be directed to a page as below.
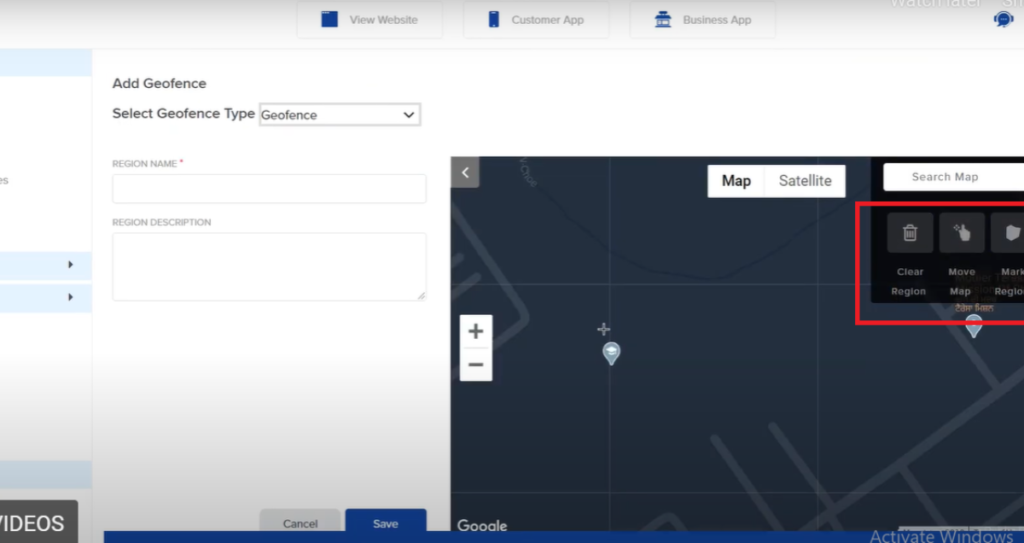
- Click on Add Geofence. Then, navigate to the map area on the screen and click on Mark Region.
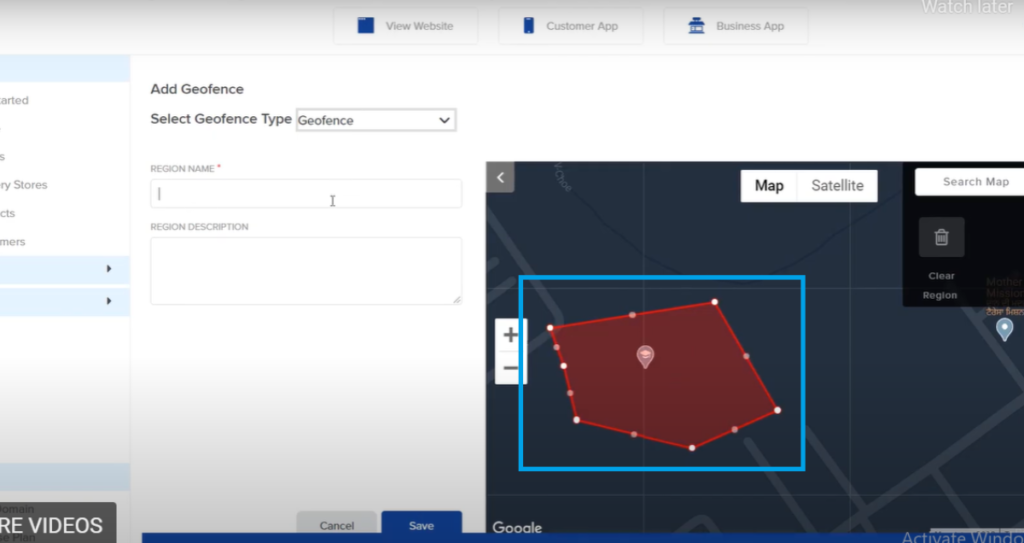
- Now you can map the region on the map as below.
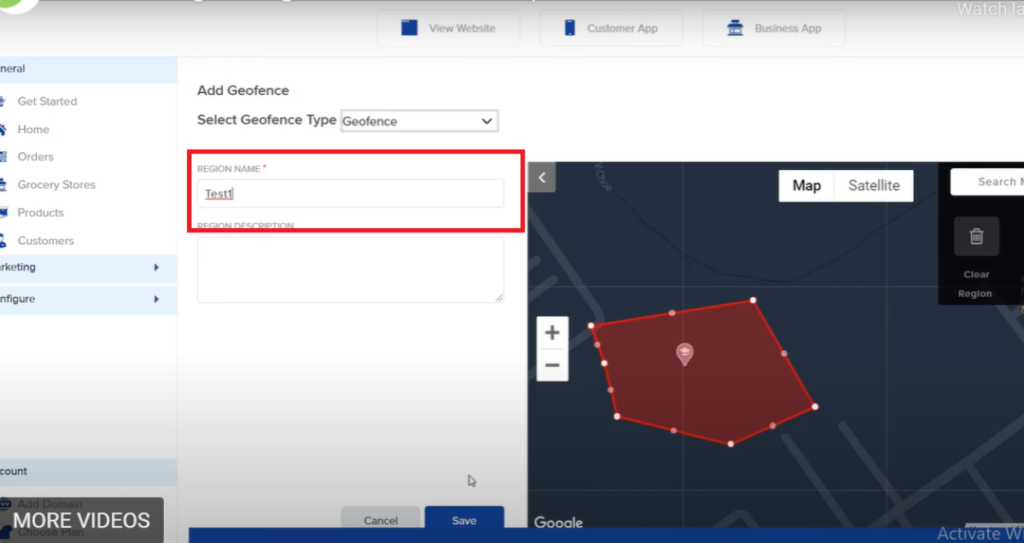
- Once you map the region, you can name and save it.
- Once you save it, your Geofence will appear as below.
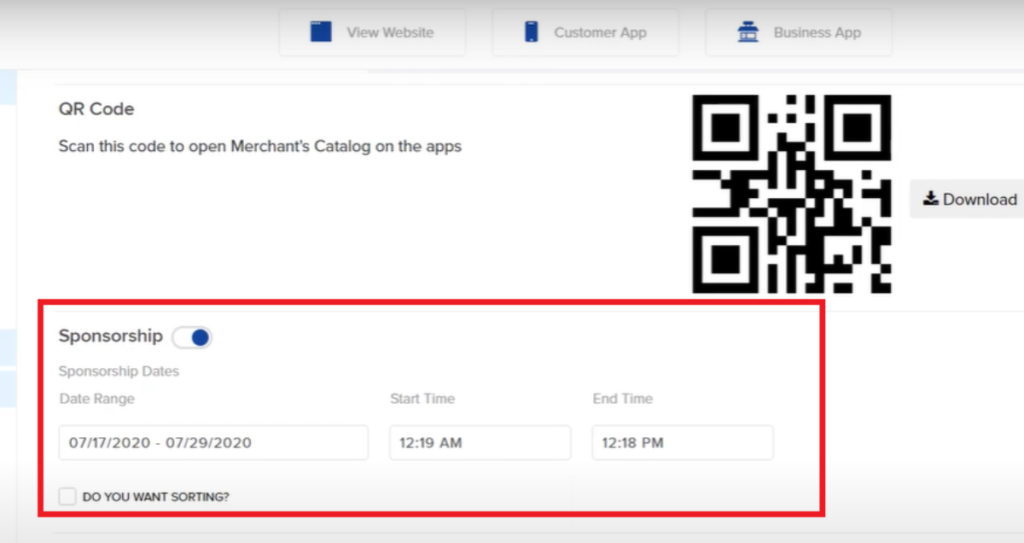
- You can go back to the particular store page and update other information like Sponsorship. You can input sponsorship dates as well as their start and end times.
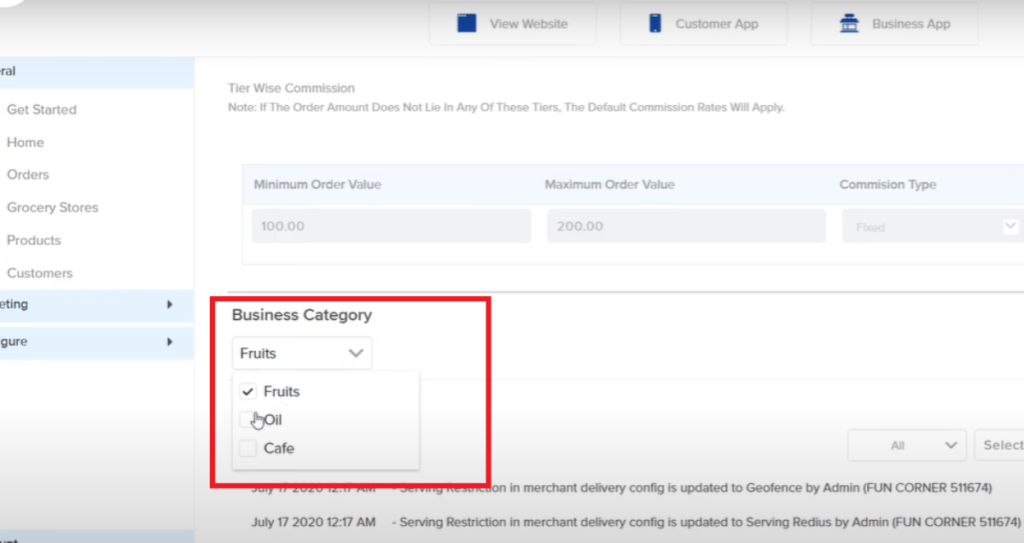
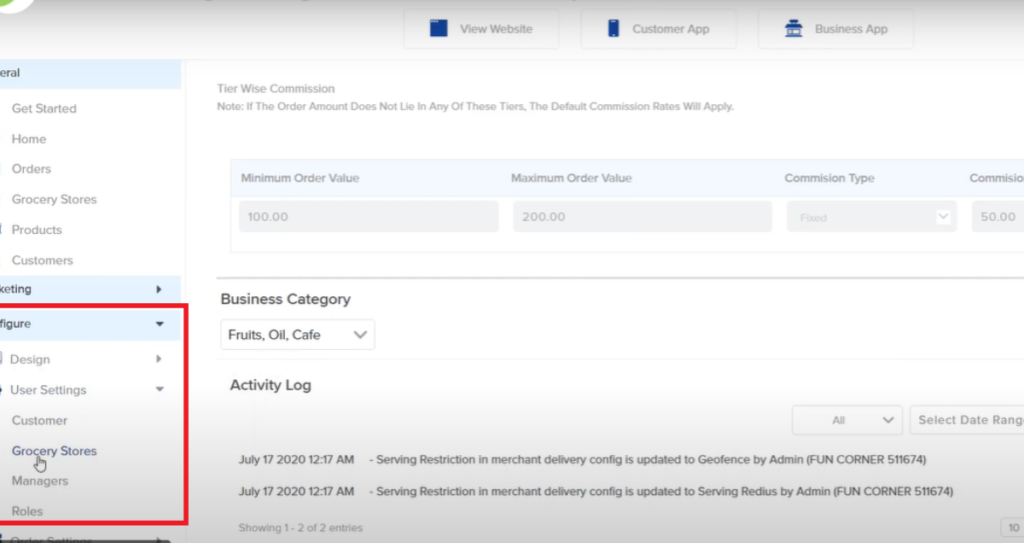
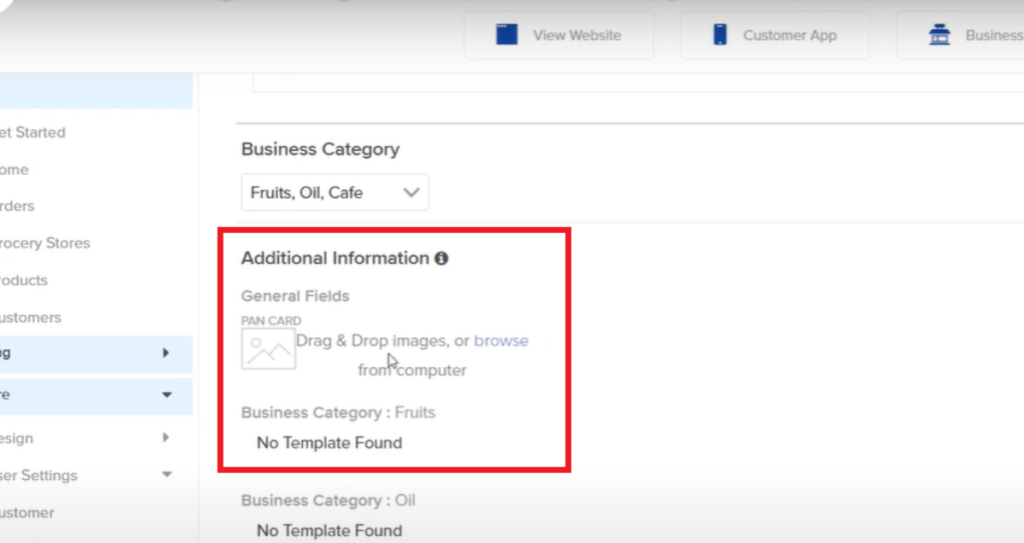
- Scrolling down, you get the choices to select your business category.
- Moreover, Yelo facilitates you to add additional information to your store page. For that, you can navigate to Configure -> User Settings -> Grocery Stores from the main menu on the left of your screen.
- Toggle on the Custom Fields to get additional information added to your merchant page.
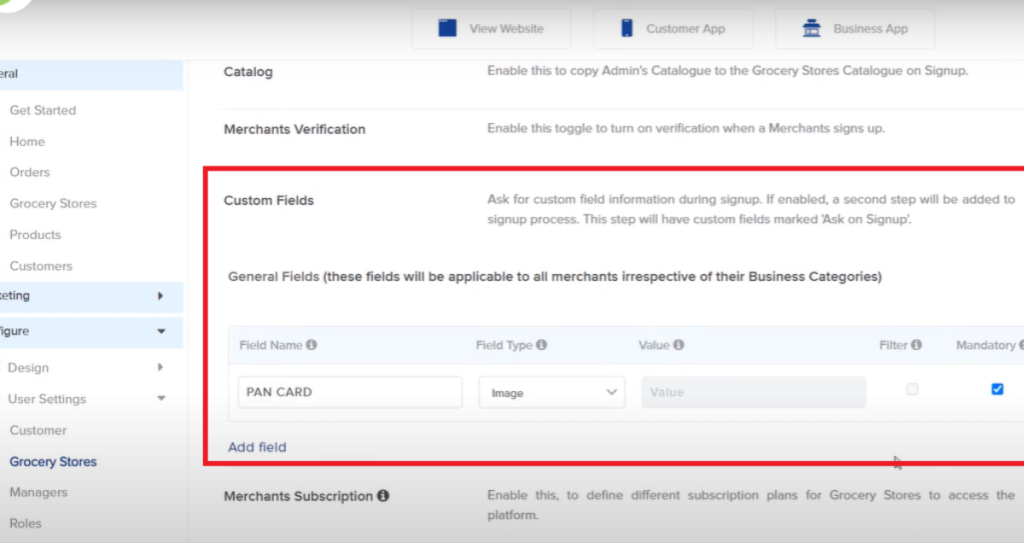
- Once you add custom fields, you can traverse back to your grocery store/merchant page to update details in the field.
Leave A Comment?