
Stripe Integration
Step 1: Login into the Stripe dashboard using your live login credentials.
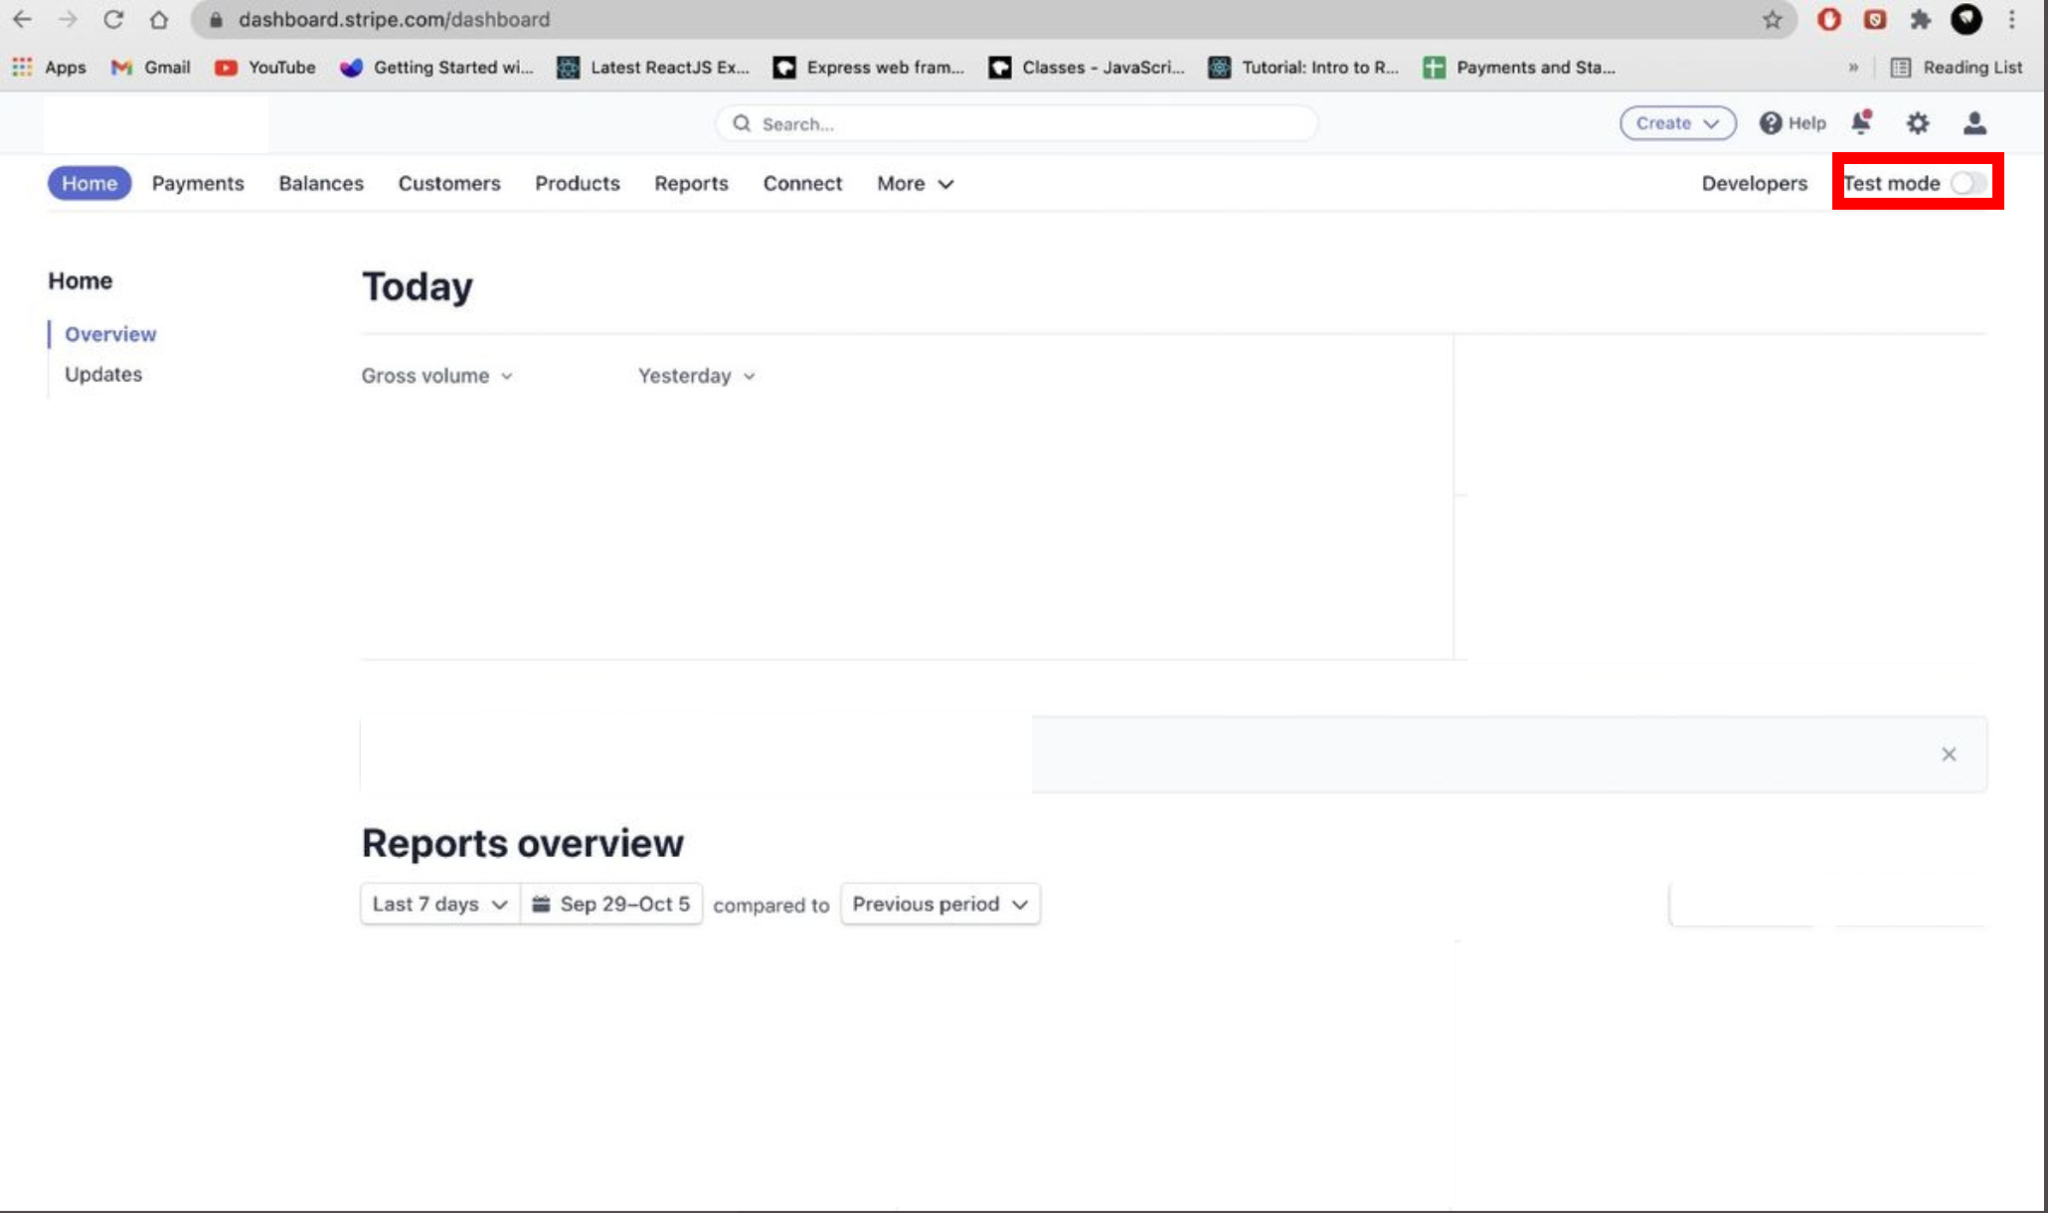
Step 2 : After login, this dashboard will appear. Now disable the “Test mode” as marked in the below image.
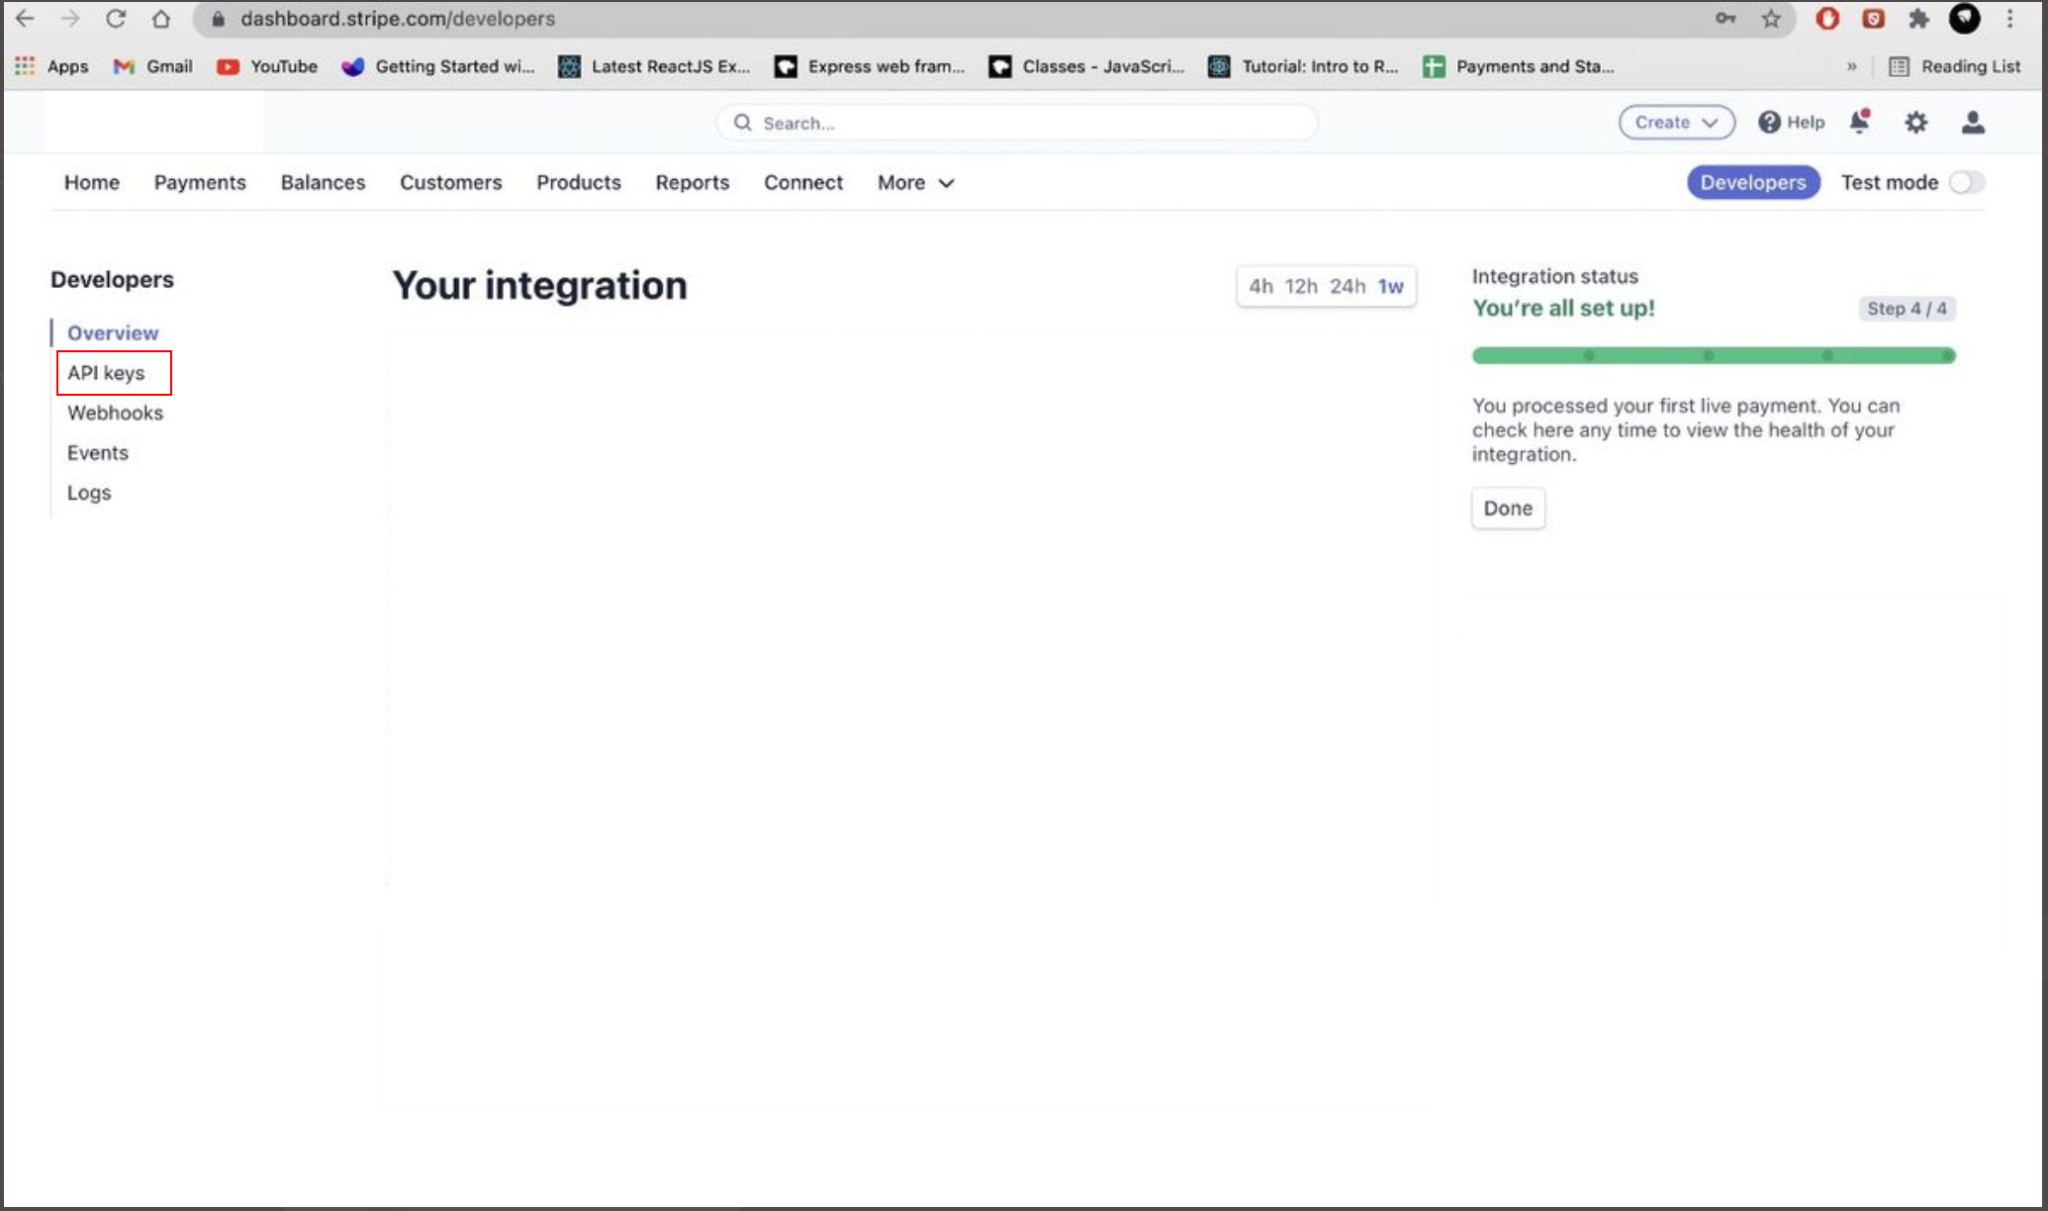
Step 3 : After disabling the test mode, click on “Developers”.

Step 4 : Now click on “API Keys”.
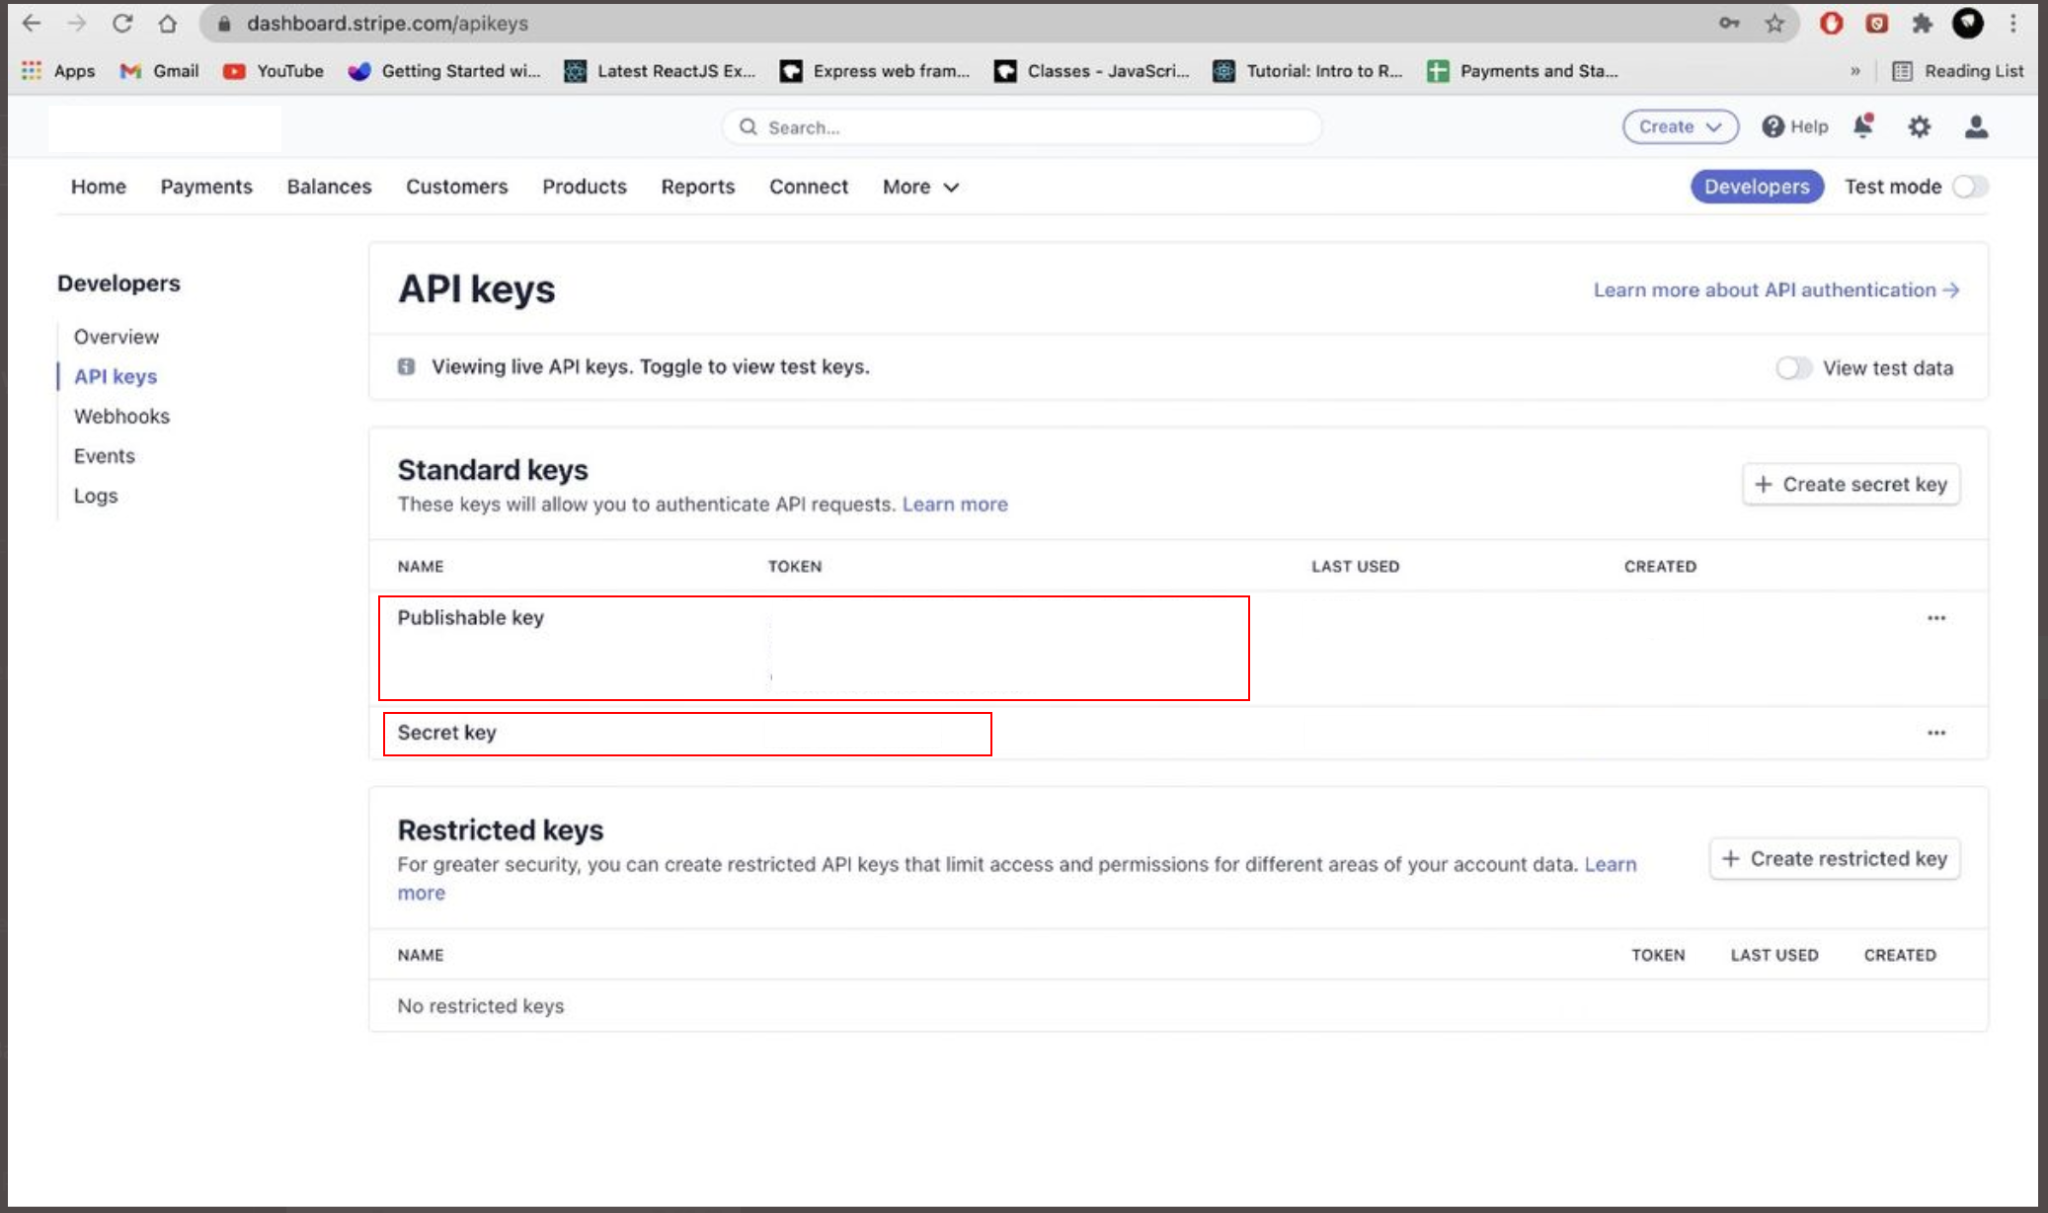
Step 5 : Copy these keys one by one “Publishable Key” and “Secret Key”.
NOTE :
Publishable Key will be something like this – pk_live_****************
Secret Key will be something like this – sk_live_****************
Step 6: Login into your yelo admin dashboard, with your yelo login credentials
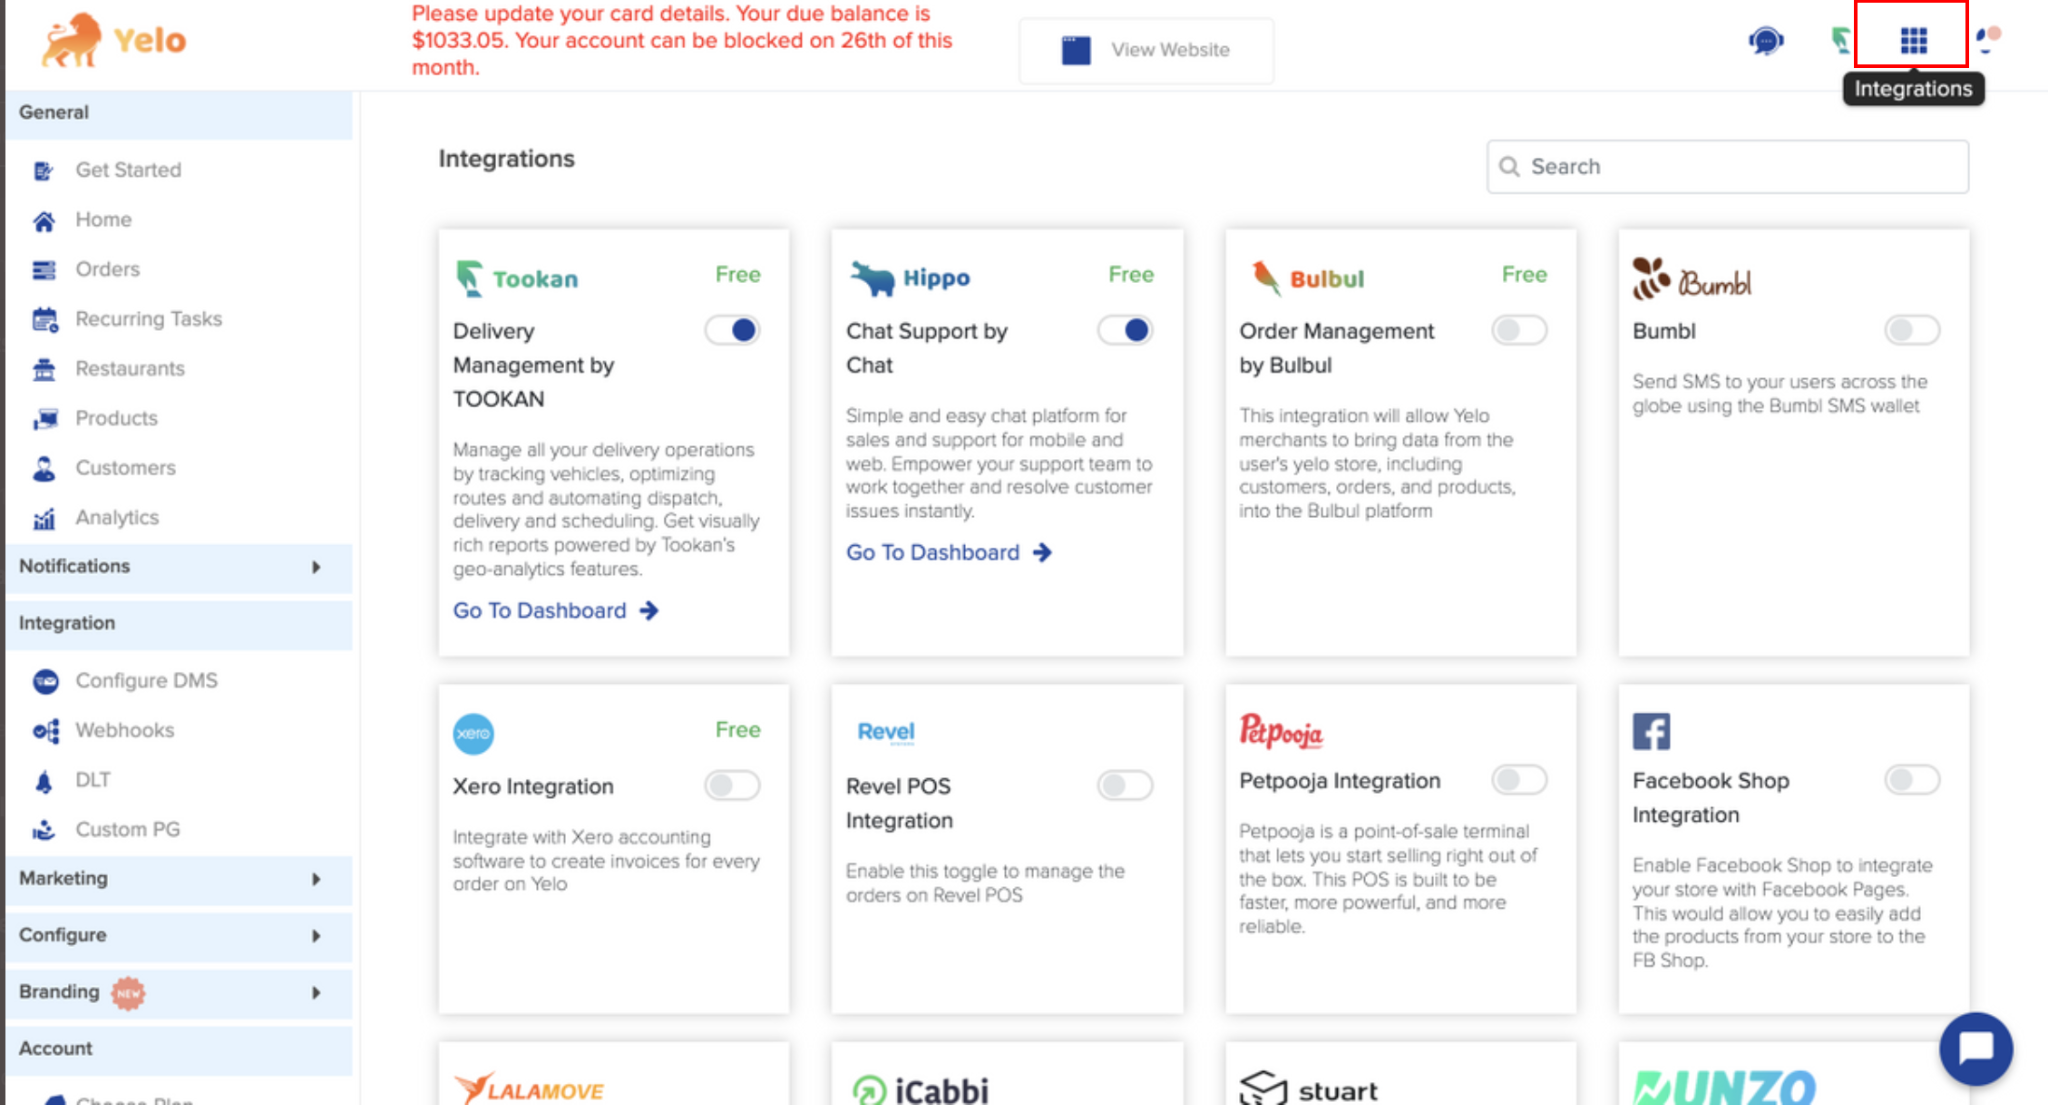
Step 7: Click on the “Integrations”, pointed by the pointer in the below image.
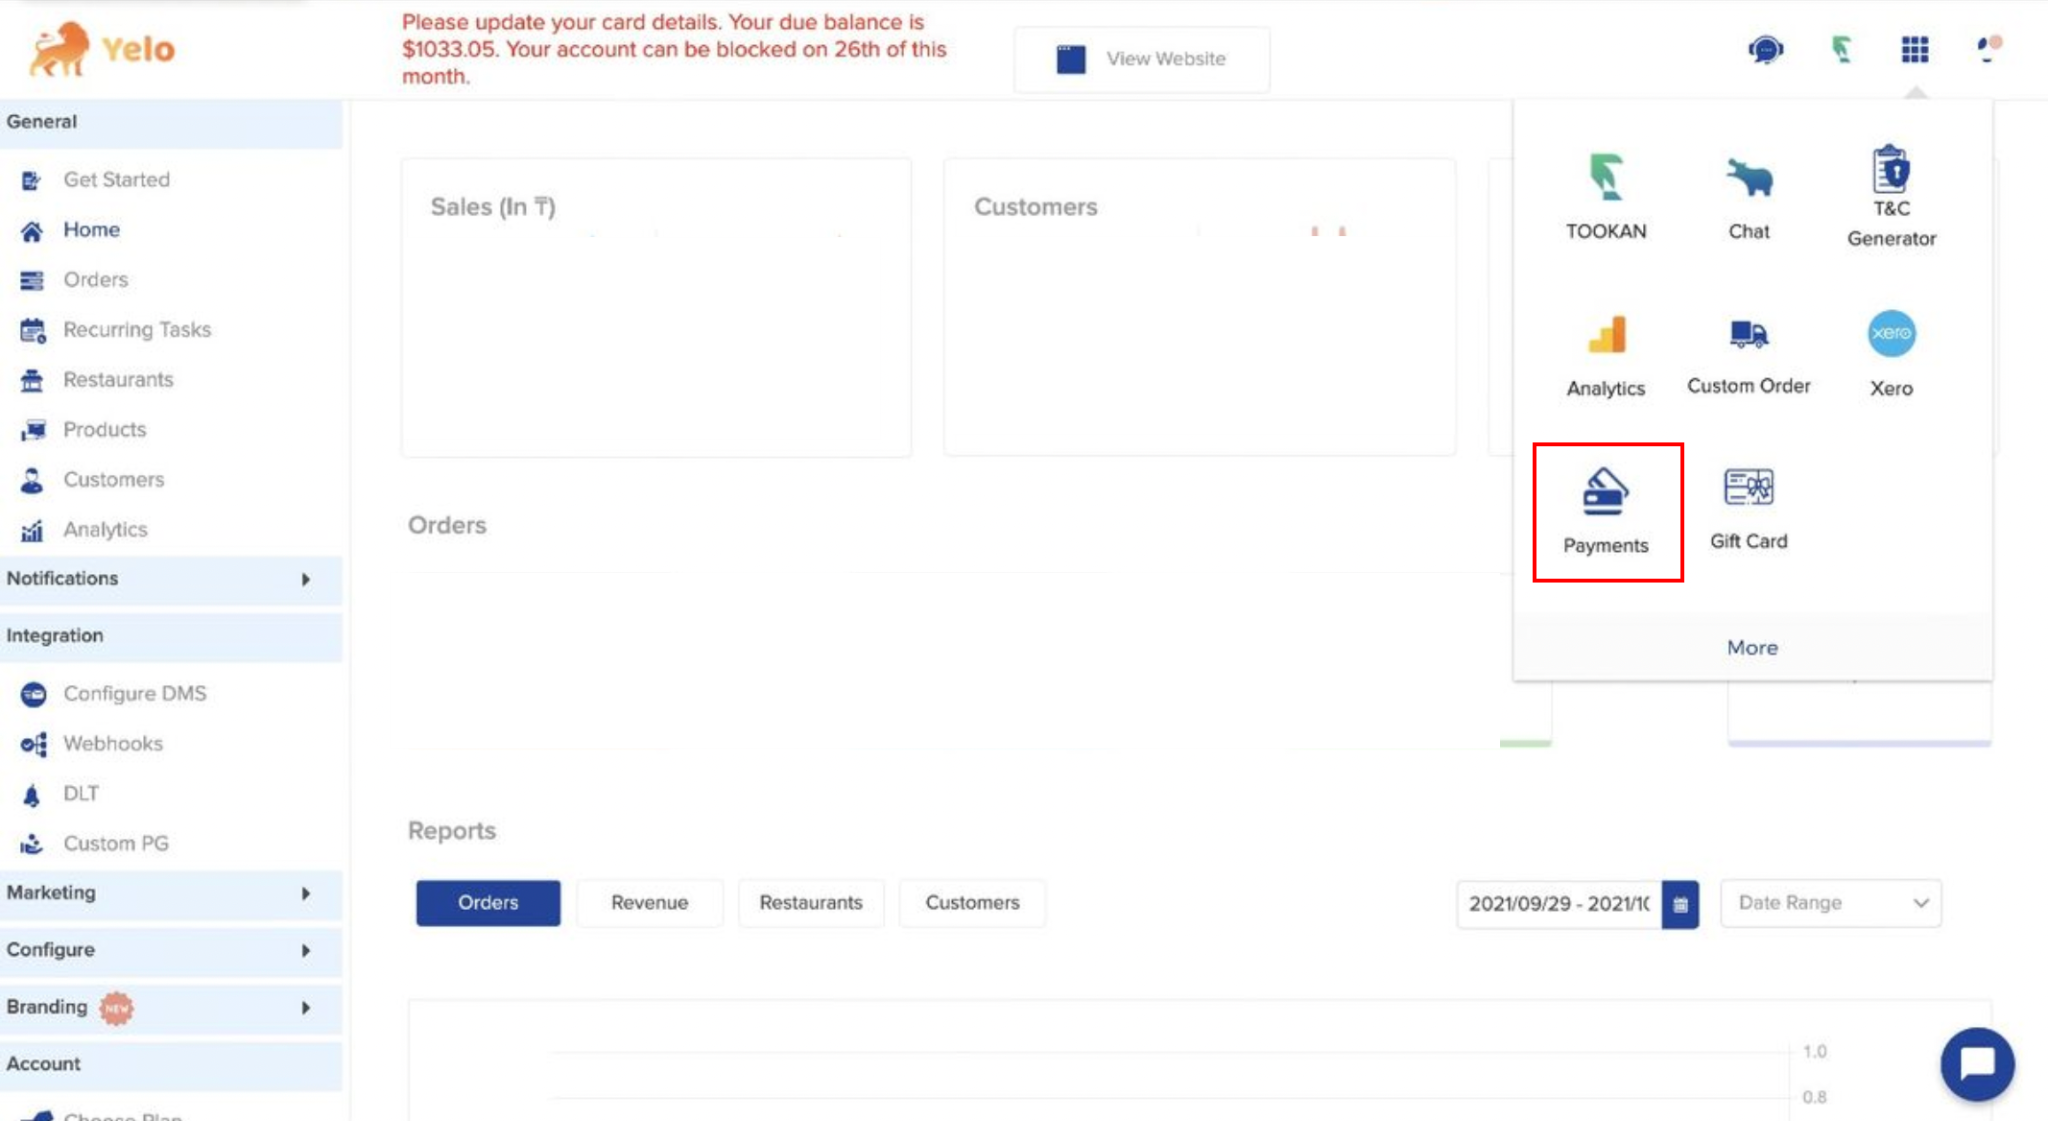
Step 8: Now click on “Payments”.
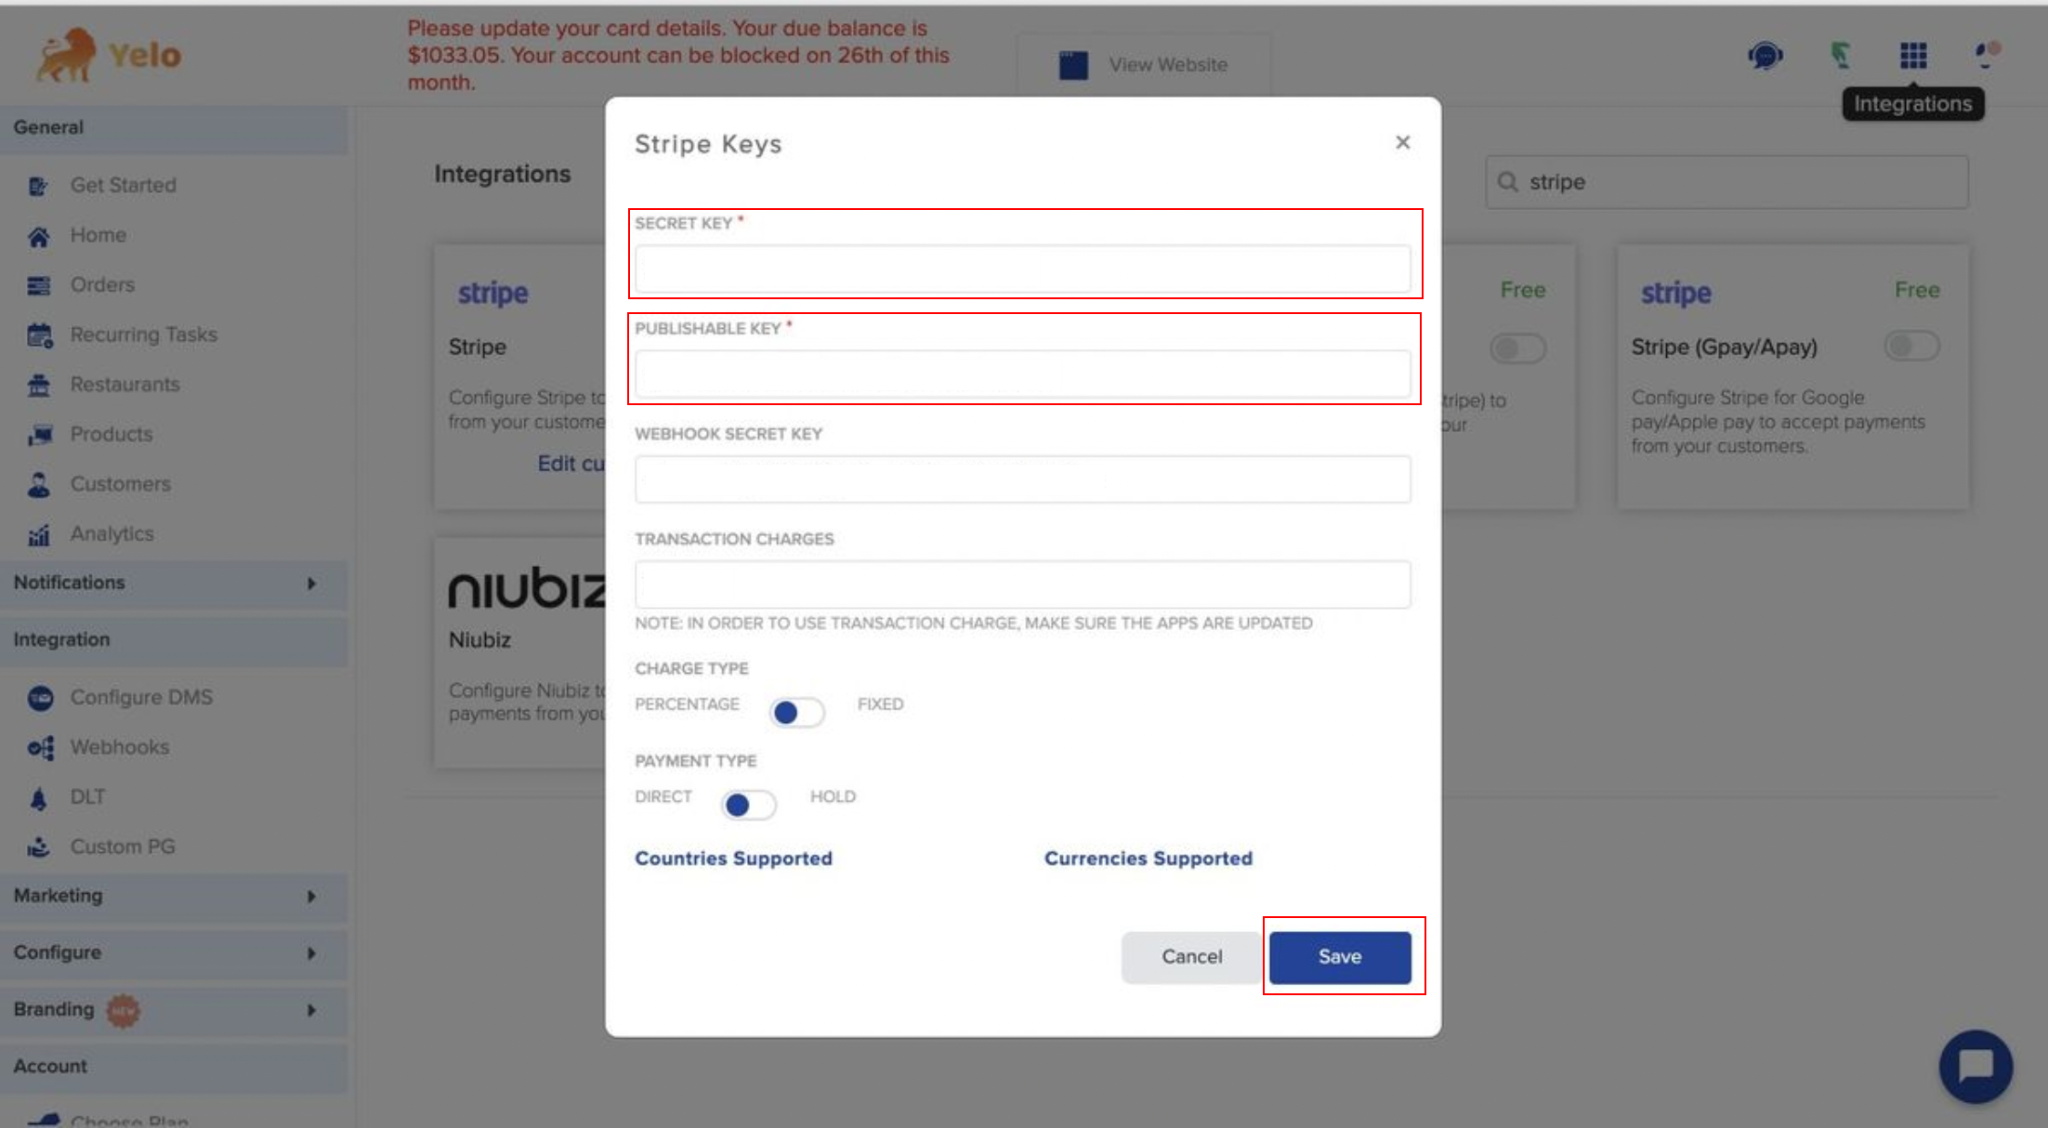
Step 9: Paste your “Publishable Key” and “Secret Key” in the Stripe Integration section and then click on “Save”.
Stripe Split Payment Account Verification
For Split Payments we need to get the merchant account verified from stripe’s end, otherwise the split won’t happen on the admin stripe account, and it will show the RESTRICTED error in the stripe dashboard corresponding to the transaction.
Screenshots attached below.
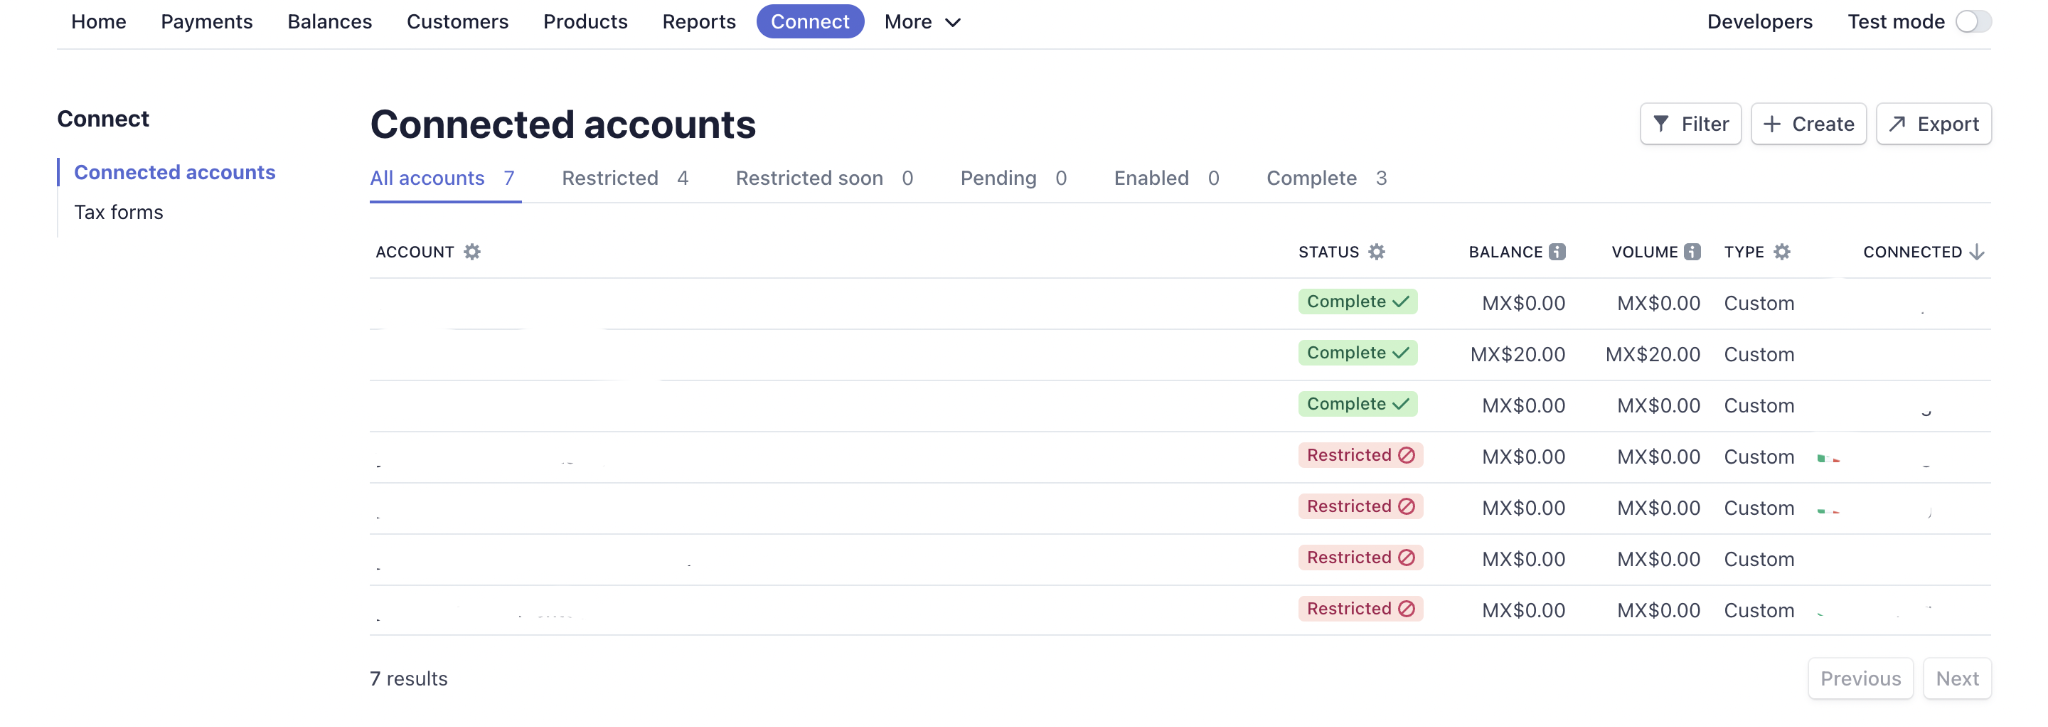
The reason may vary from merchant to merchant as to why the split is not happening, one reason could be as an example below.
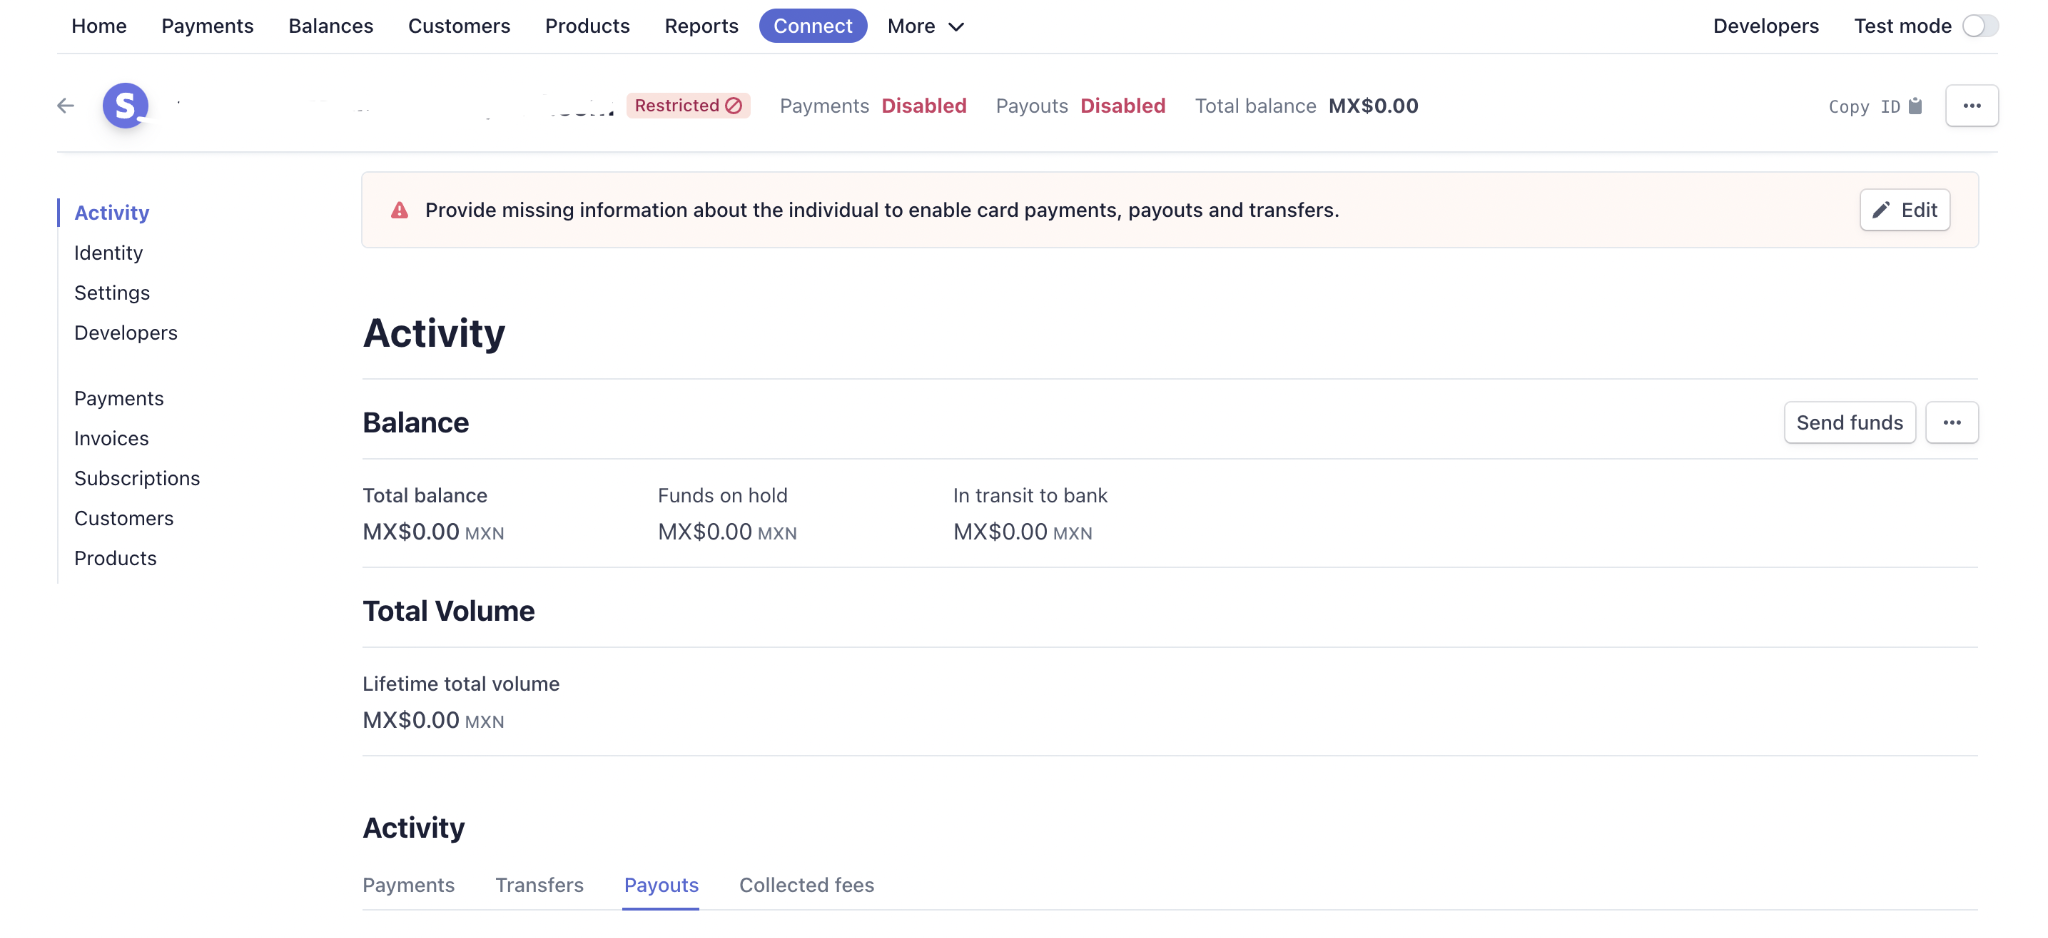
So now the merchant needs to wait until his / her account is verified from stripe end, and then only stripe split will work for that merchant, till then unless the account is verified the split transactions will remain RESTRICTED.
Leave A Comment?