
Create your store in 5 easy steps :
You may manage your online store from https://admin.yelo.red/
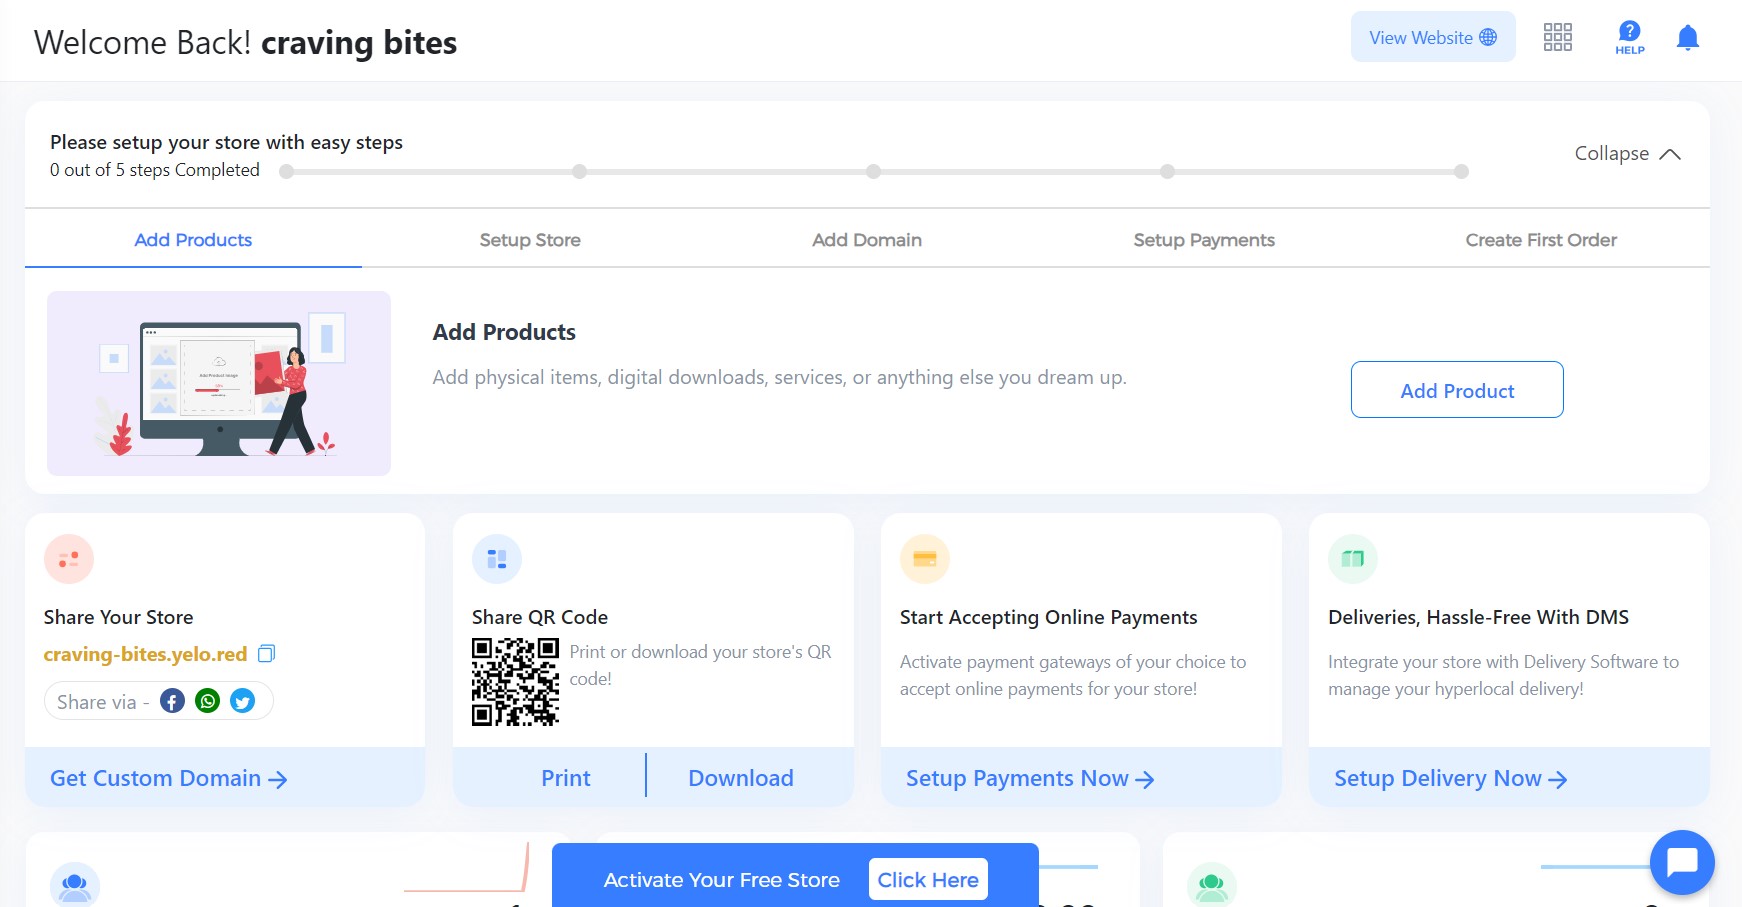
Step:1
In order to start receiving your very first order, you need to select the home category
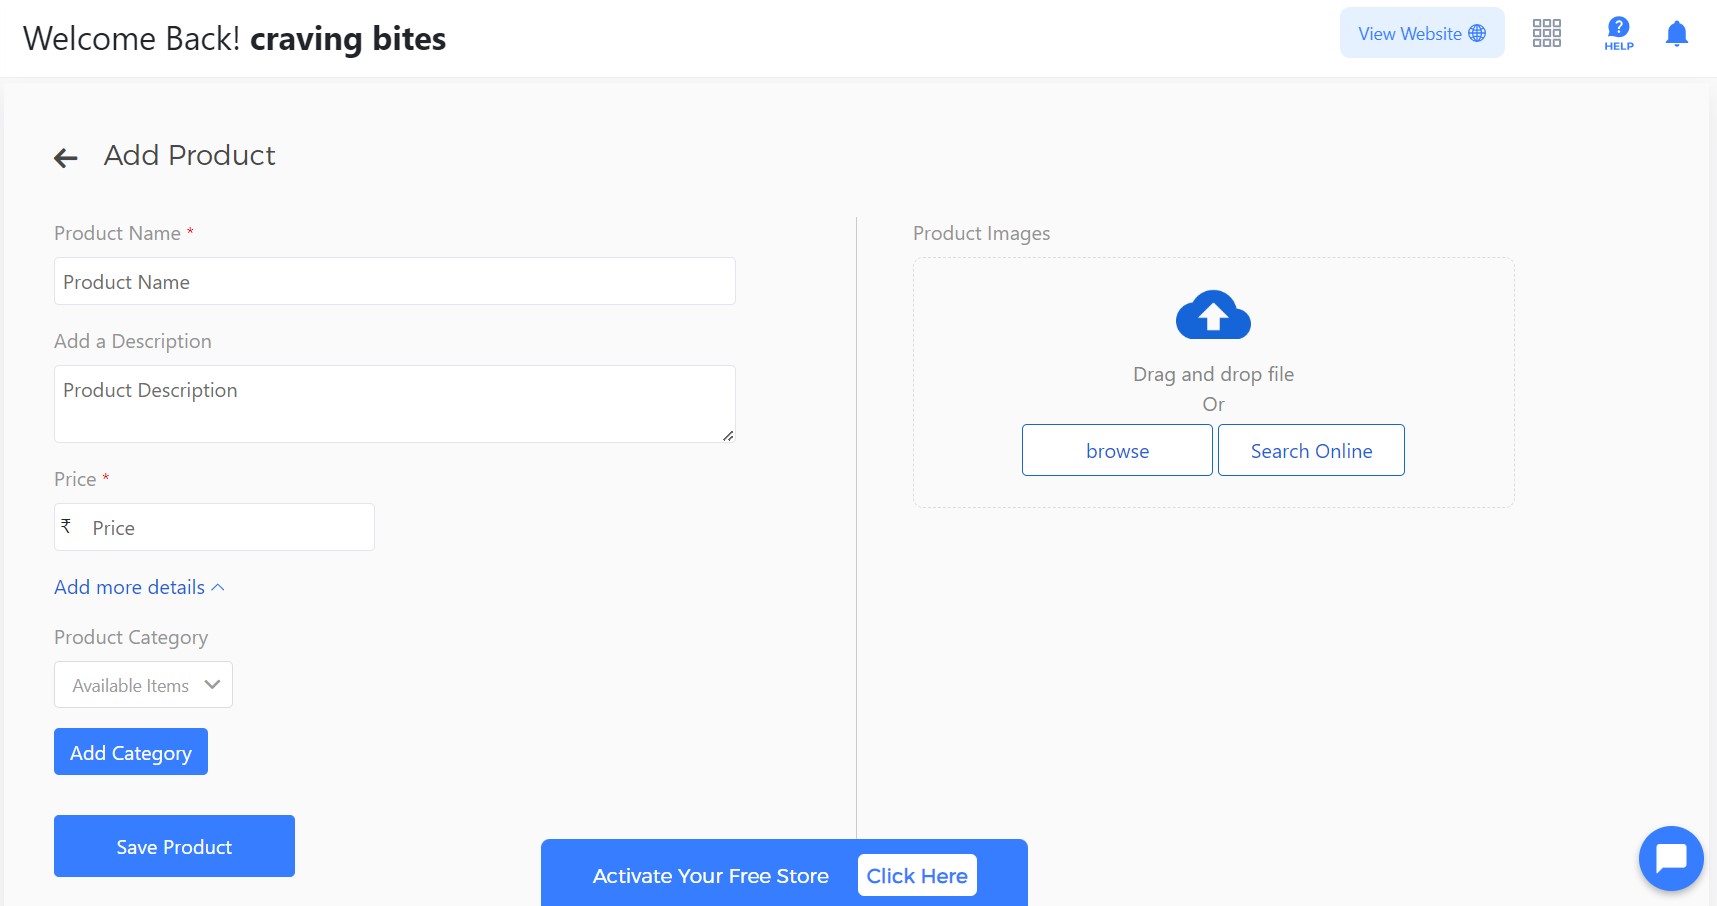
- click on add product option.
- Add your product Name (i.e Caramel Delight)
- Add your product Description (i.e choose to embrace the comforting warmth of our hot Caramel Delight or savour the refreshing chill of our iced version; every sip will tantalize your taste buds and leave you craving more)
- Add Price of your product (i.e Rs 80)
- Price type (i.e Person, Pound, Day, Fixed)
- Following this, you’ll see a list of product categories from which you can choose whether currently, your product is available or not.
- On the right side of your page. You can browse product images from your computer or you can also search them from the Internet.
- To save all the completed information, select Save Product.
STEP:2
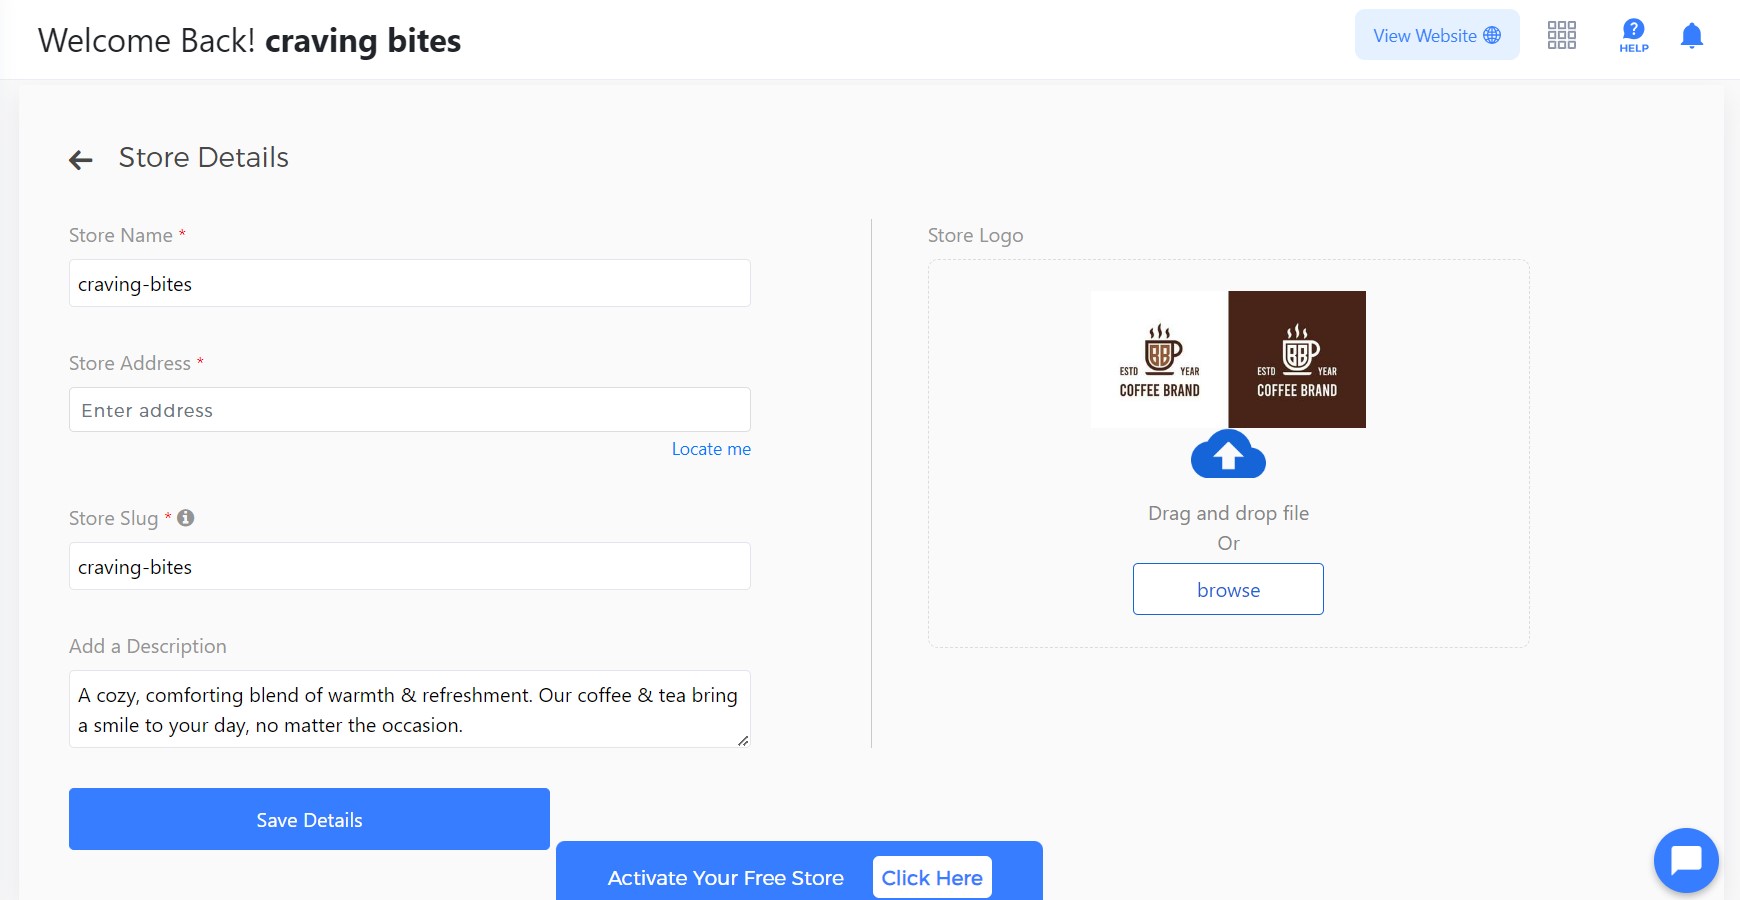
To get started with your store you need to enter your store’s full address and unique brand logo to have it automatically update on your website.
- To fill out store details, click on the setup store.
- Add your store name (i.e Foodie)
- Add your store address (i.e Sector 32 B, Chandigarh, India)
- Add the store slug. (i.e www.examplestore.com/store-slug)
- Add your store description.( i.e At [Your Restaurant Name], where delectable tastes and a welcoming atmosphere are combined, revel in perfection. To enjoy coffee to a higher level, try our exquisite Caramel Coffee).
- From the right side of your page, you can browse product logo from your computer
- To save all the completed information, select Save Product.
STEP:3
Now you need to add domain, as domain is essential for establishing a strong online presence, building trust with customers, and facilitating the growth of your store in the digital landscape.
- Select “add on domains, “Select a memorable and simple URL that connects customers to your website using Domain.
- You can find the option to buy or connect to your existing domain.

STEP: 4 By setting up payment option, you can accept cash payments from customers or you can connect online payment methods. You can easily connect your preferred payment gateway.- Click on the setup payment option.
- Here, you have the option to activate your account or connect with an existing one.

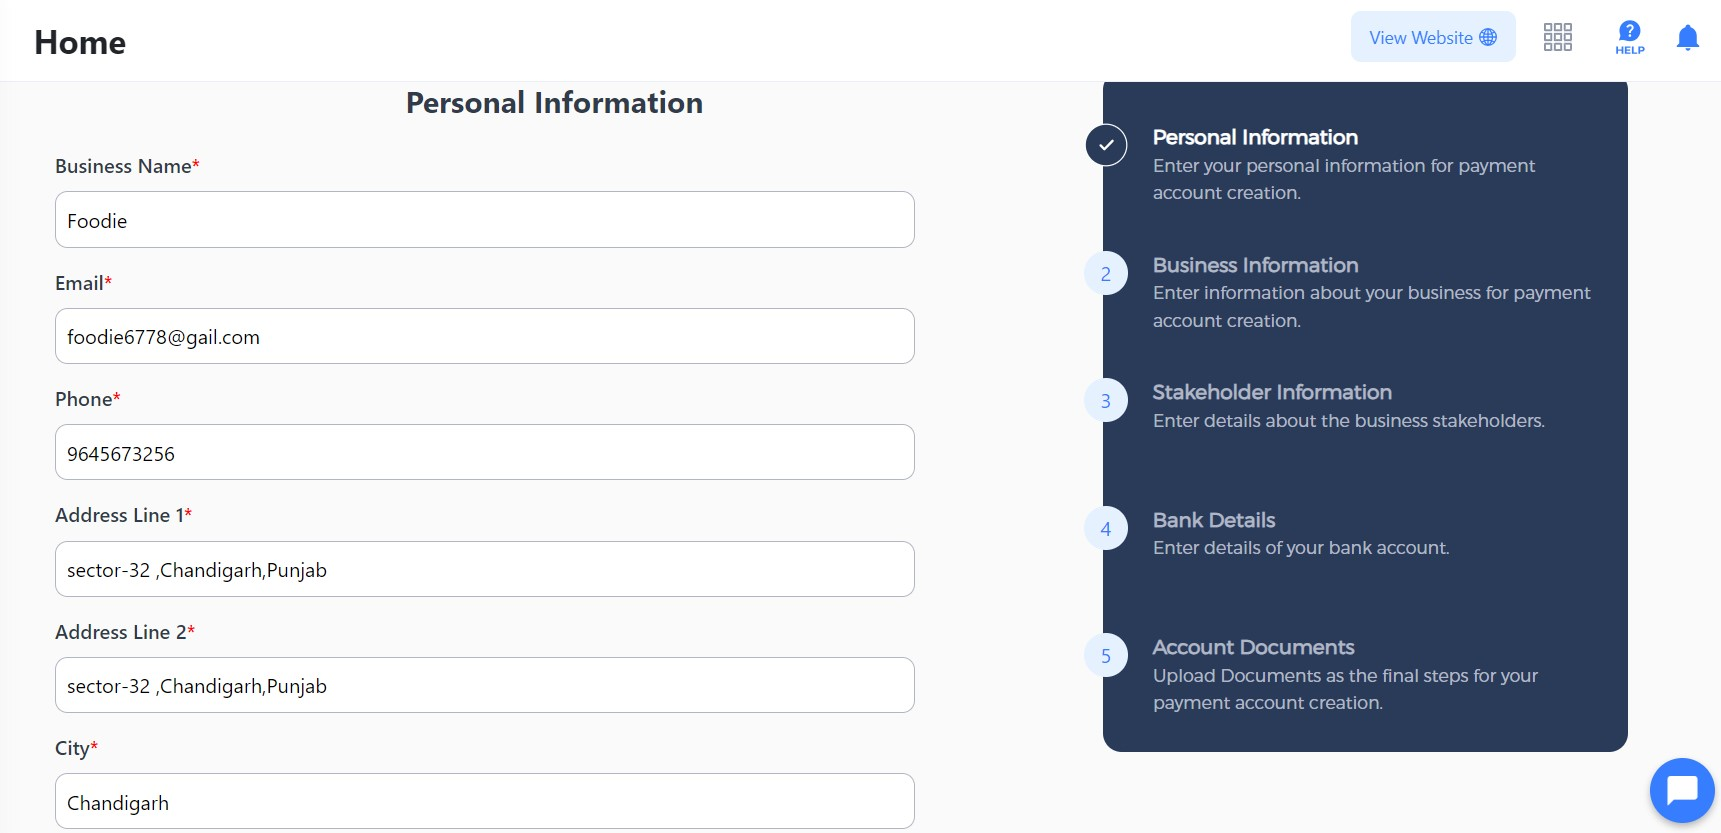
- Activate your account: To activate your account, follow these 5 steps.
1. Personal Information:
Enter your personal information for payment account creation.
- Enter your business name (i.e Foodie)
- Add your mail id (i.e foodie6778@gail.com)
- Add your Phone number
- Add your address line 1 (i.e sector-32, Chandigarh, Punjab)
- Following that add your state, city, and pin code.
- Then, select next
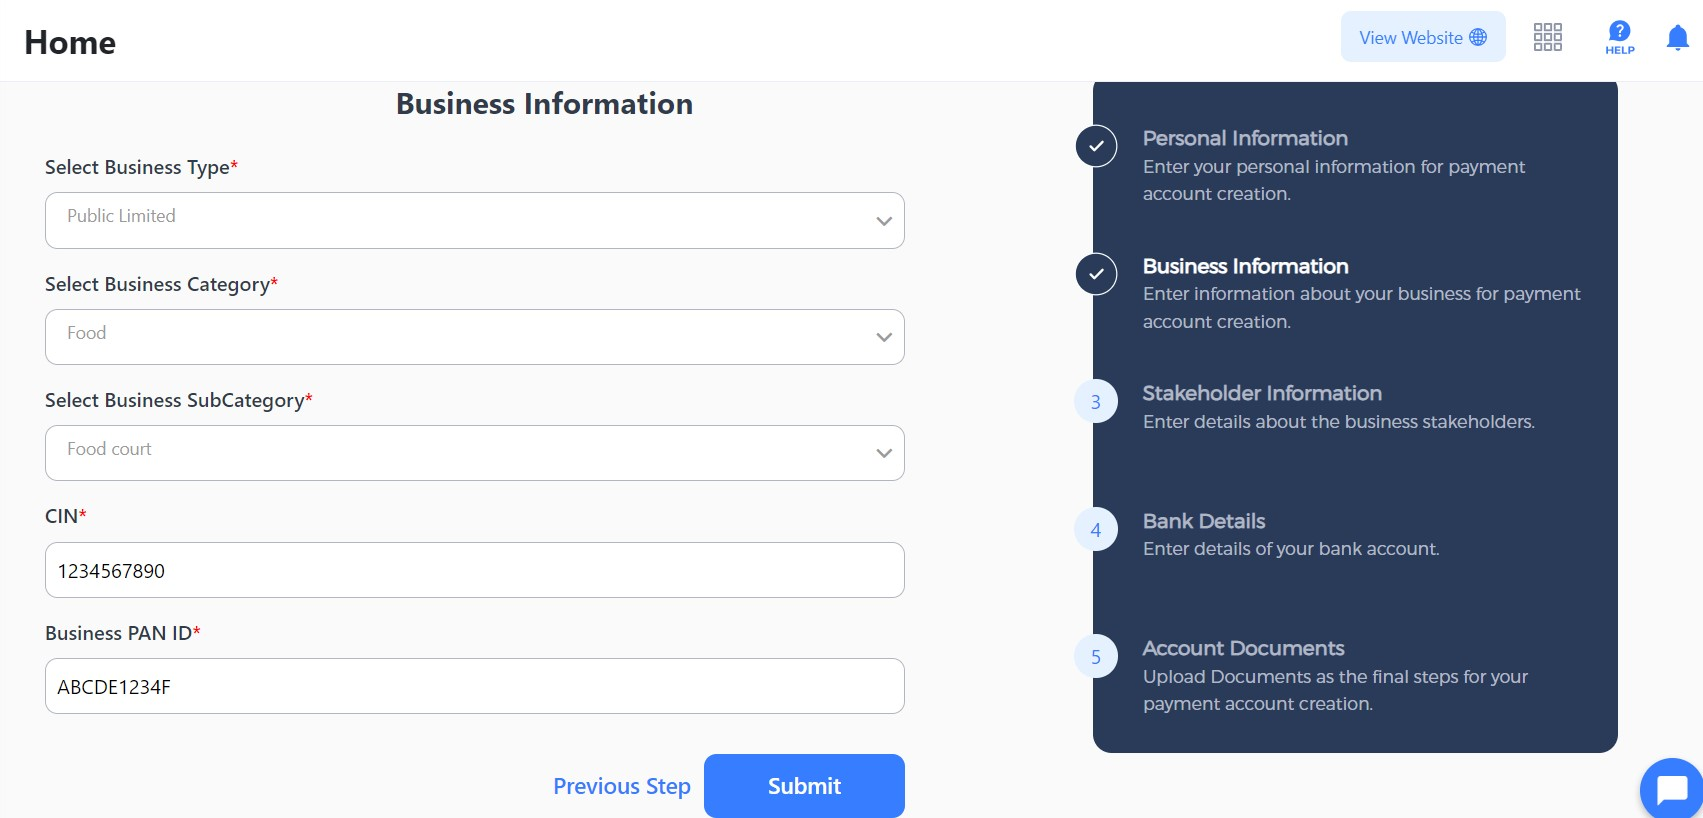
2. Business Information
To create a payment account, enter the necessary business information.
- choose your business type first (e.g. private limited).
- select your business category (i.e food)
- Enter your Cin (Customer Identification Number): Cin: 1234567890
- Add Business PAN (Permanent Account Number) ID:
- Business PAN ID: ABCDE1234F
- click on submit
 STEP:5
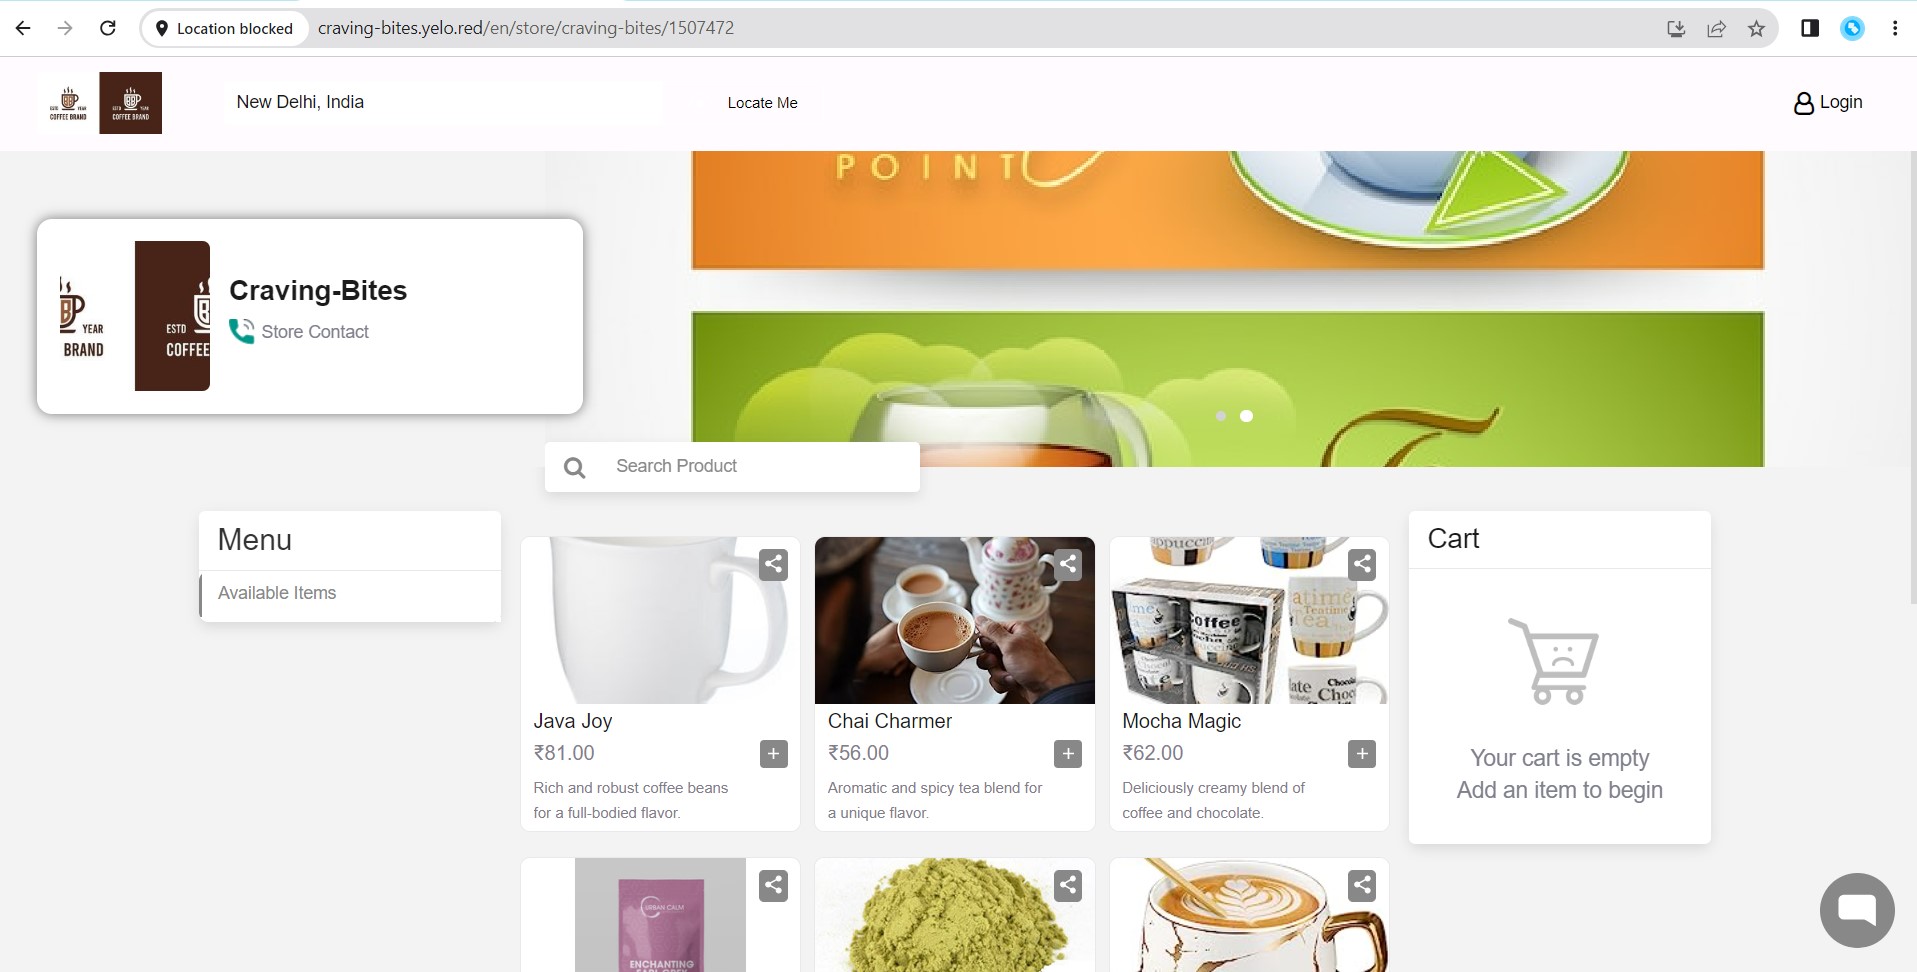
select “create first order” and click on “visit store”
STEP:5
select “create first order” and click on “visit store”
- This will direct you to the user interface.
Leave A Comment?