
Add Products, Set Tax, Make Time Slots And Multiple Bookings Simultaneously
It is now simple to add products to your marketplace, set taxes, define time slots, and even have multiple bookings at a time with Yelo. Follow the instructions mentioned here, and you are all set.
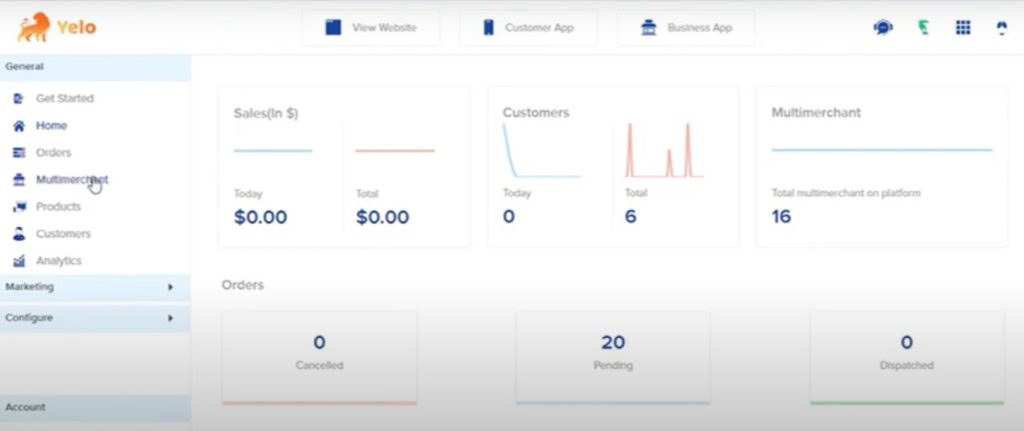
- Log in to your Yelo dashboard, where you can view your products, sales, multimerchant, and customers.
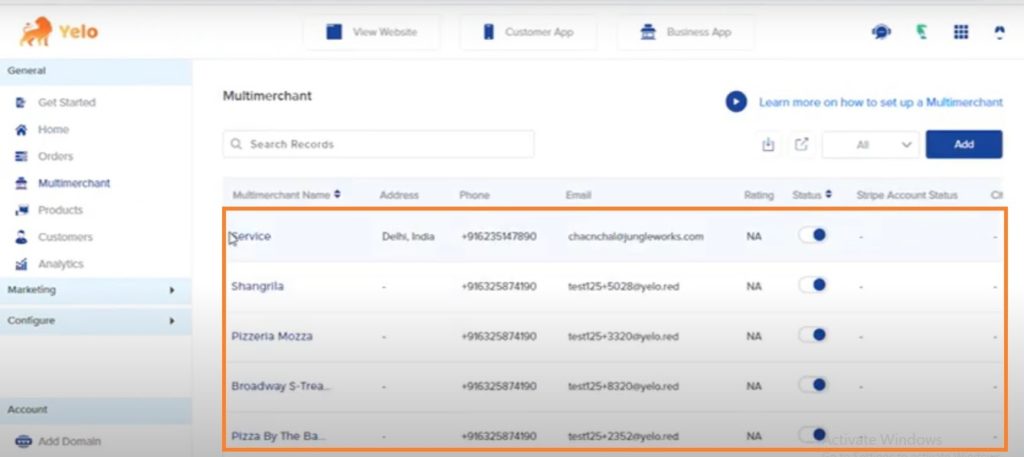
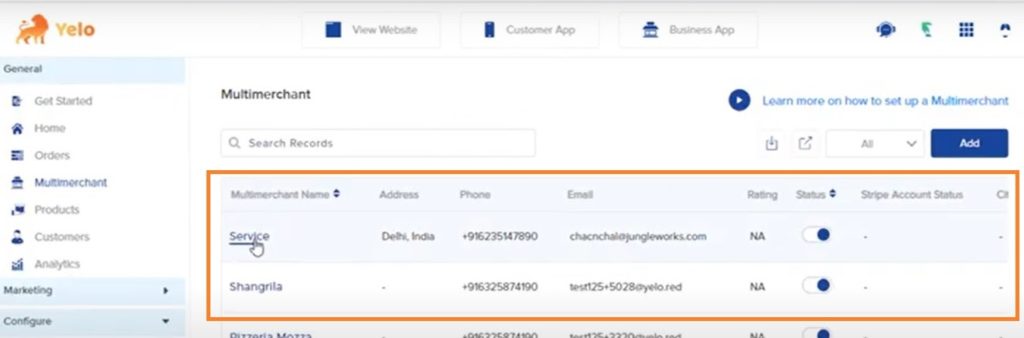
- Traverse to the right sidebar of your dashboard and click on Multimerchant. You will see a list of all your merchants along with their details.
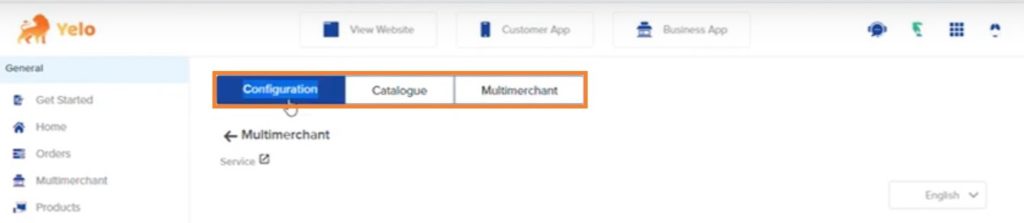
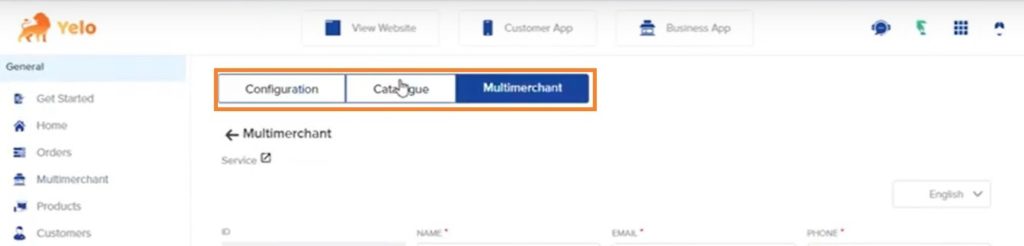
- Now, click on any of the merchant stores for which you want to add products. A new page will open, wherein you are supposed to click on Configuration.
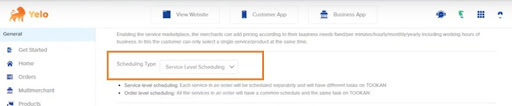
- Scroll down and change the Workflow from Products to Services.
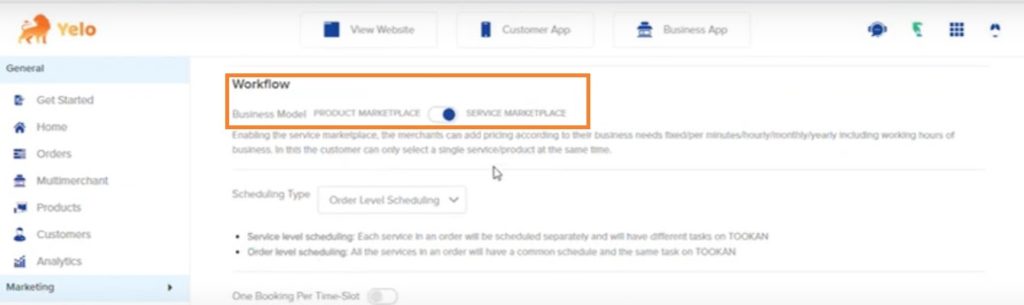
- Change the Scheduling Type to Service Level Scheduling and proceed.
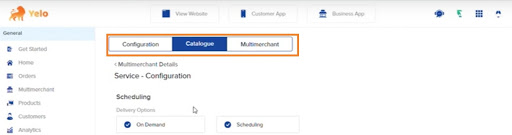
- Scroll up the page and click on the Catalogue.
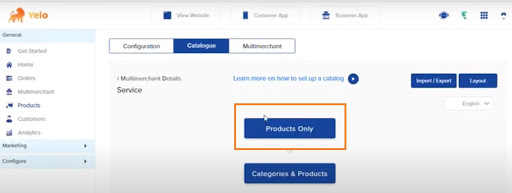
- A new page will appear, wherein you need to click on Products Only.
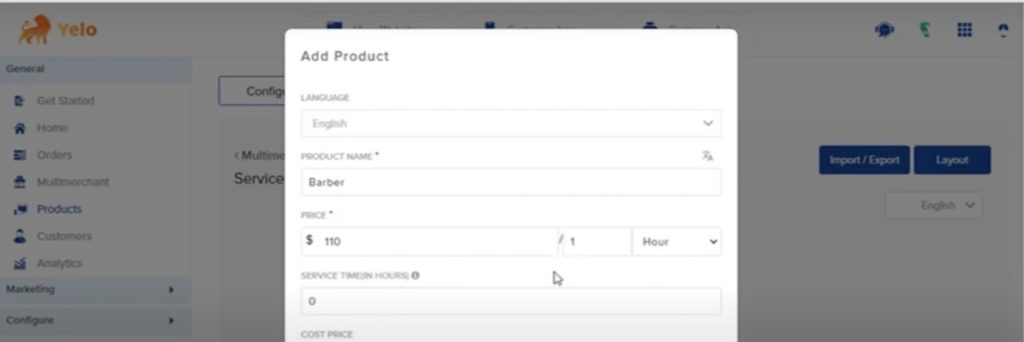
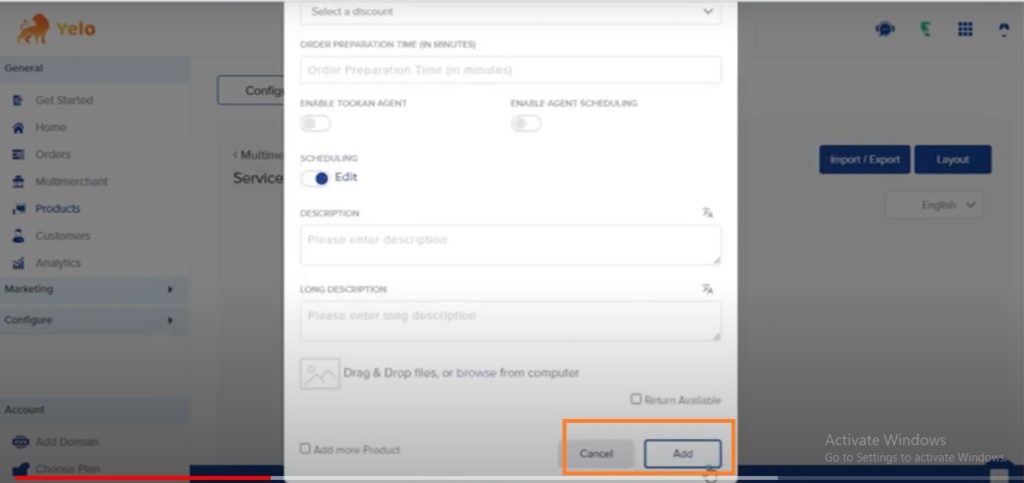
- Fill in all your product details in the pop-up window.
- Scroll down and enable Scheduling to set the time slot.
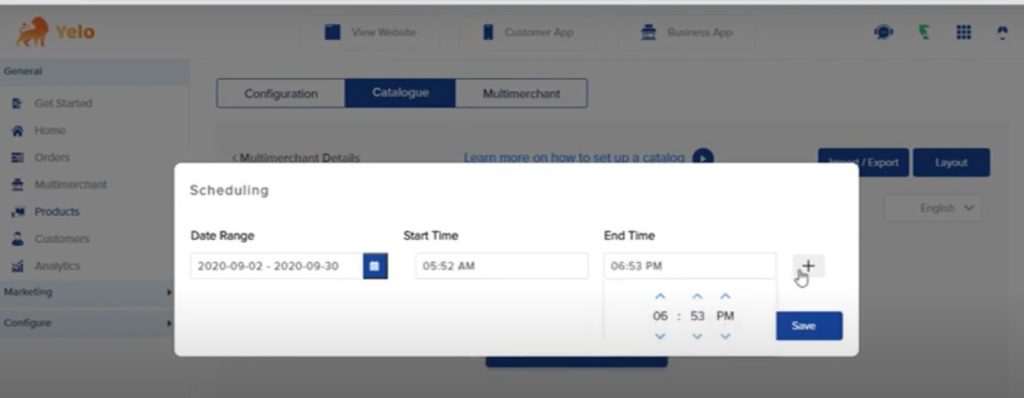
- Once you schedule the time, click on Save. You will get back to the Add Product window. Now, scroll down and click on Add.
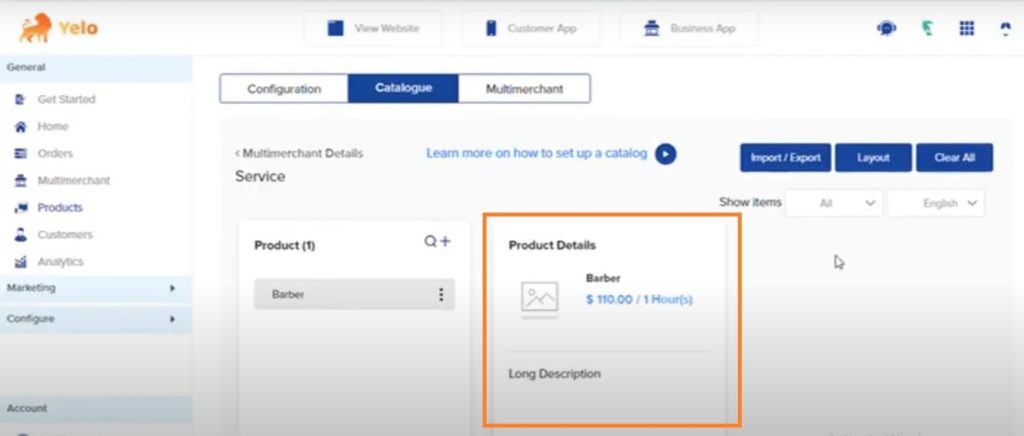
- Your product is now added.
- Head to Configure on the left sidebar of your dashboard and select Order Settings from the dropdown menu.
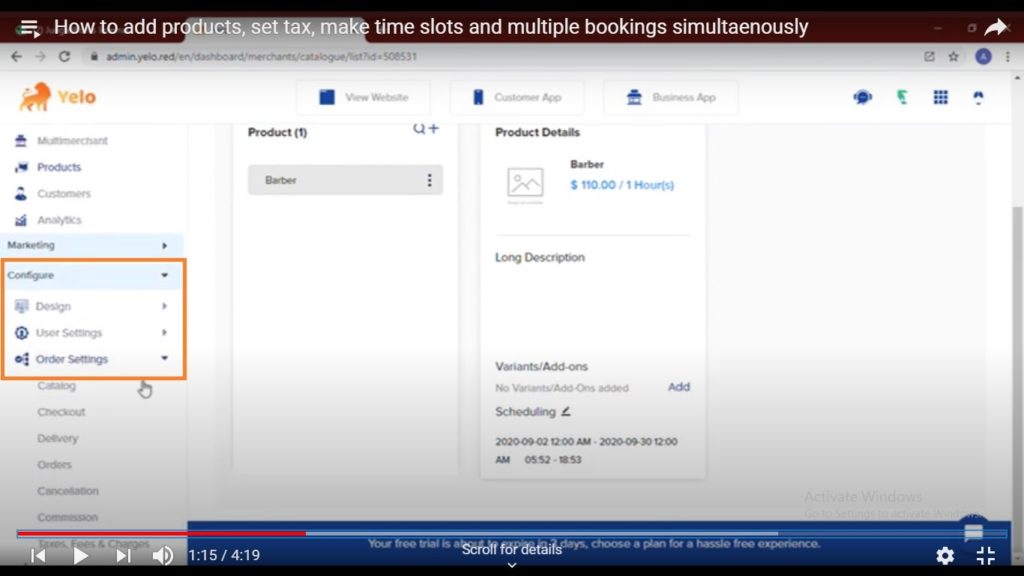
- Scroll down to select Taxes, Fees & Charges under Order Settings.

- A new window will appear. Click on Service from the drop-down menu besides Multi Merchant Level Taxes.
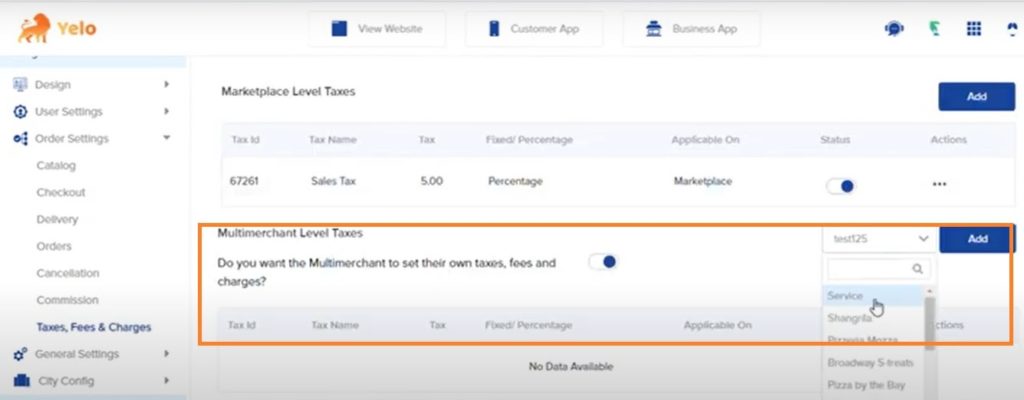
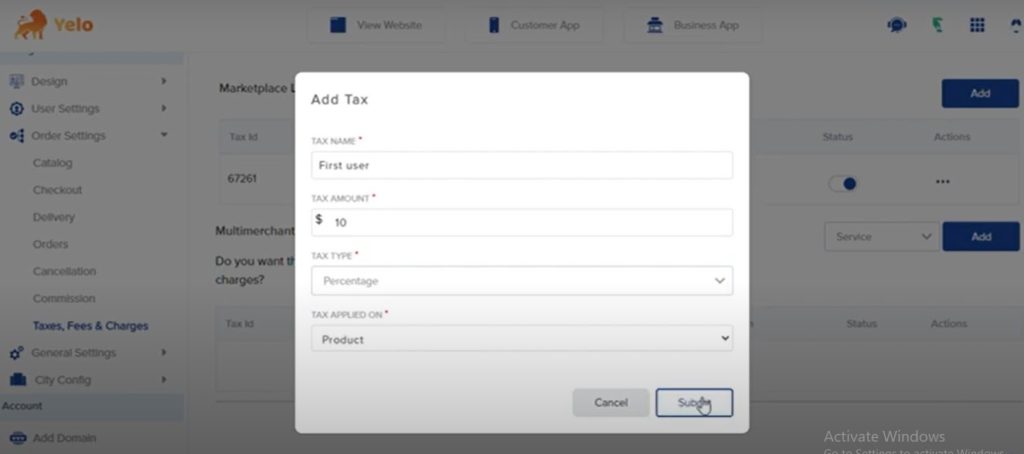
- Click on Add, and you will see a new dialogue box. Fill in all the required tax details and click on Submit.
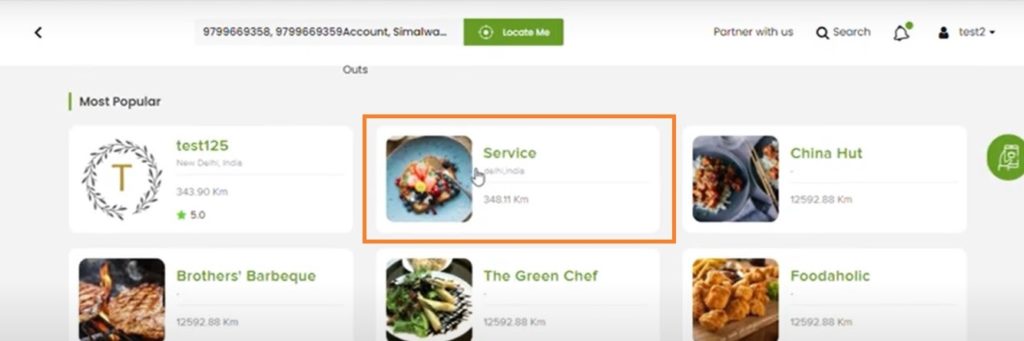
- Head to Multimerchant on the left sidebar of your dashboard again and click on the merchant store name you selected earlier.
- Now, click on Catalogue.
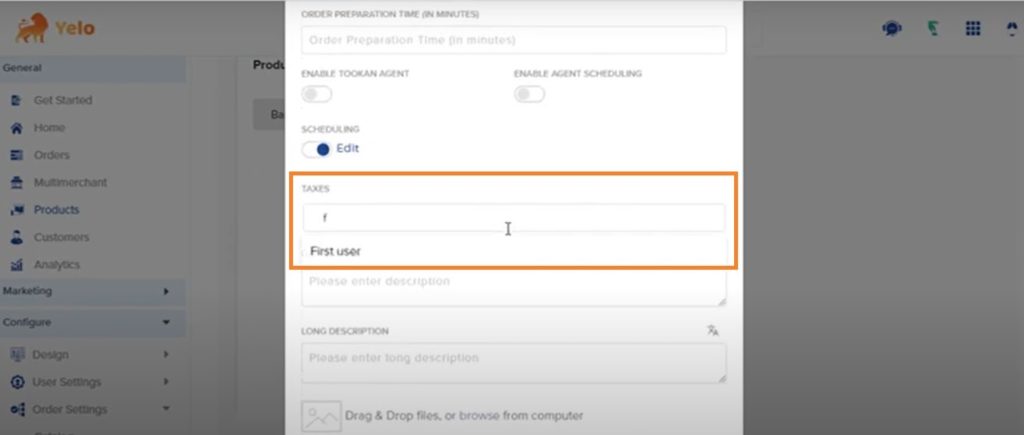
- Choose the product that you want to edit by clicking the three dots.
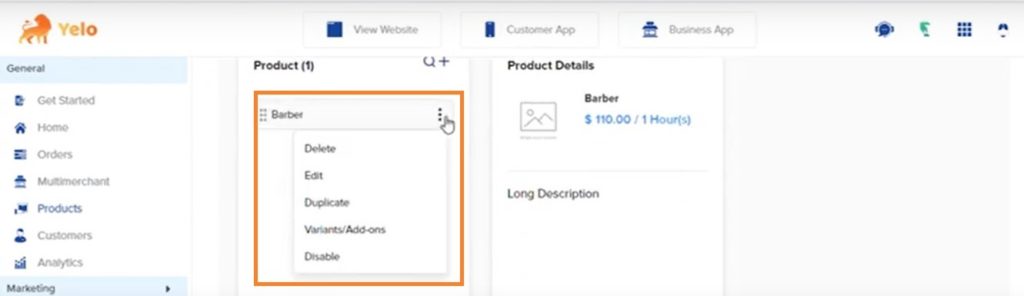
- A new dialogue box will appear. Here, fill in the details in the taxes, bar and click on Save.
- Move the cursor to the top of your dashboard and click on View Website.
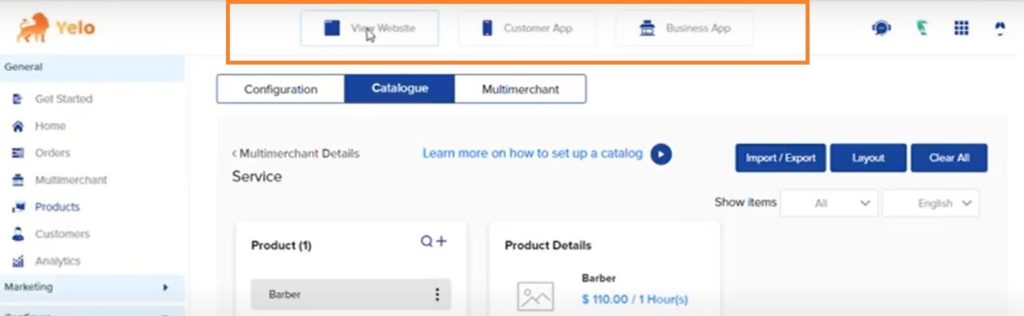
- Click on Go to the marketplace.
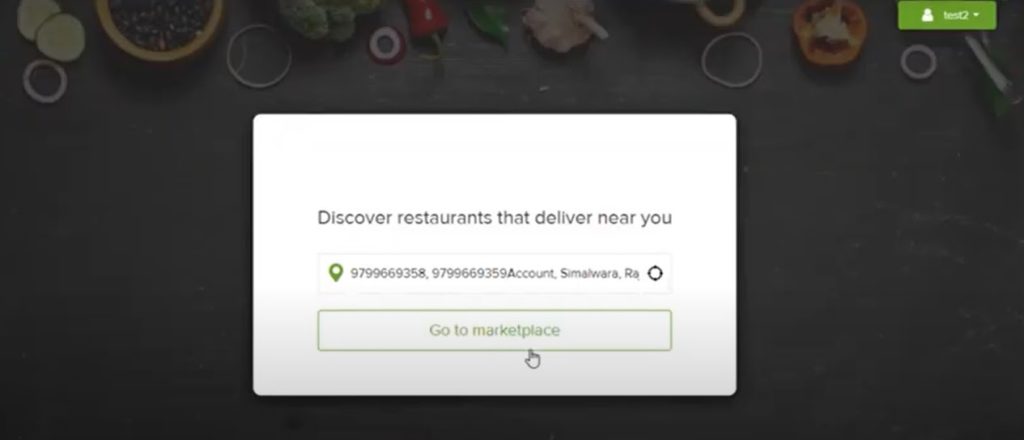
- Your customers can now place their orders. On the new window, click on the service you added product and taxes too.
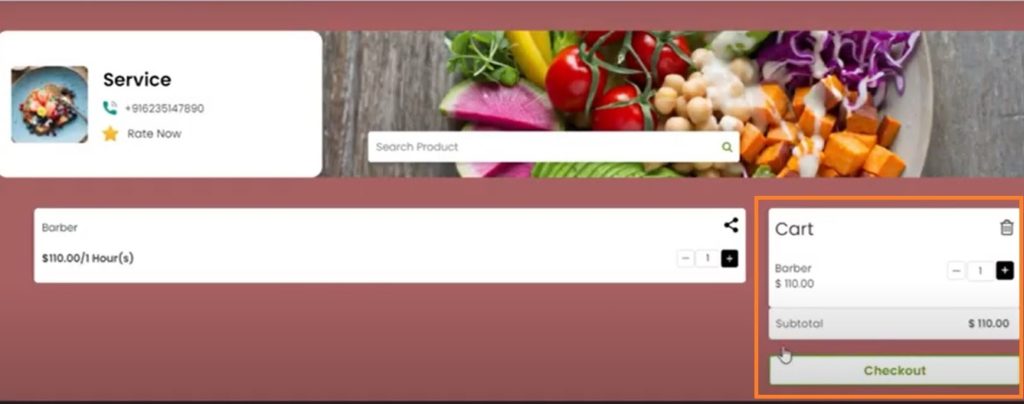
- Go to the product, schedule your order, and click on Save.

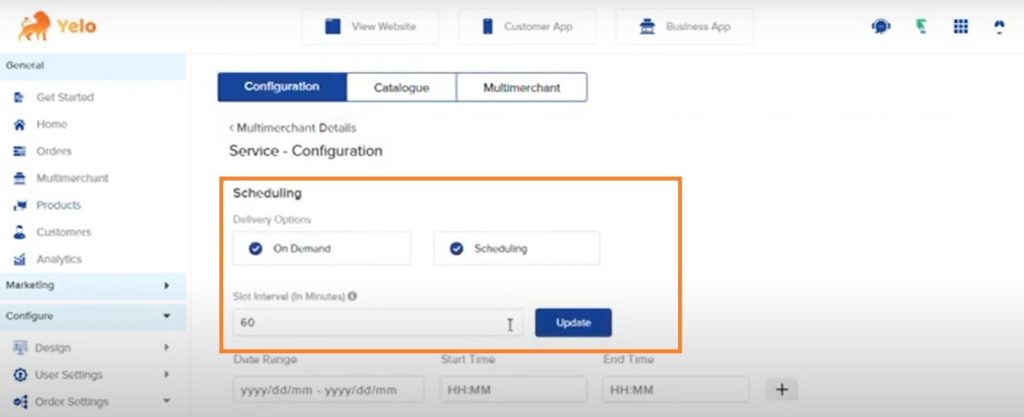
- If you want to alter the slot interval, go back to your Multimerchant dashboard on Yelo and click on Configuration. Go to Scheduling and update the Slot Interval.
- Once the changes are saved, you can head to the website, refresh it, and Schedule Order. Once the customer clicks on save, he will be able to view the product in the cart.
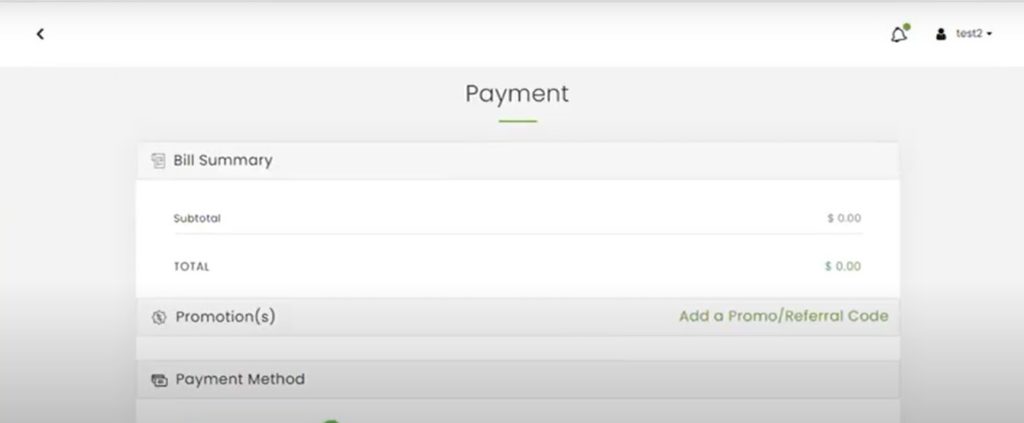
- Click on Checkout, fill in the required details, and proceed to pay.

- After they make the payment, they will see a message – order placed successfully.
- Now, head back to your Yelo dashboard to view the order placed. Click on Orders in the right sidebar menu of the dashboard and you will see the details of all the orders placed.
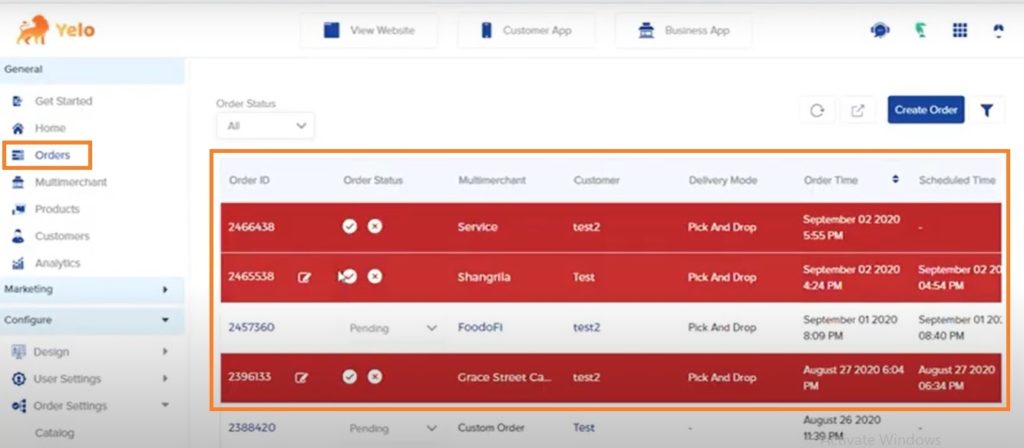
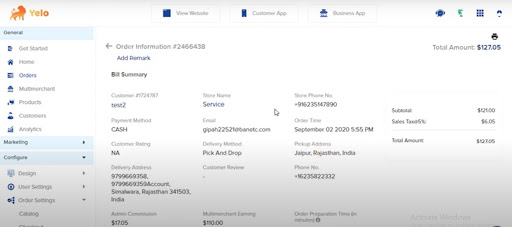
- You can click on a specific Order ID to view the complete details of the order.
Leave A Comment?