
Configure time-wise availability of a Merchant in Marketplace
Your marketplace on Yelo allows you to configure the time-wise availability of a merchant in a few easy steps. You can set different time duration for different merchants on different days of the week.
How?
Let’s walk through the following steps to do that:
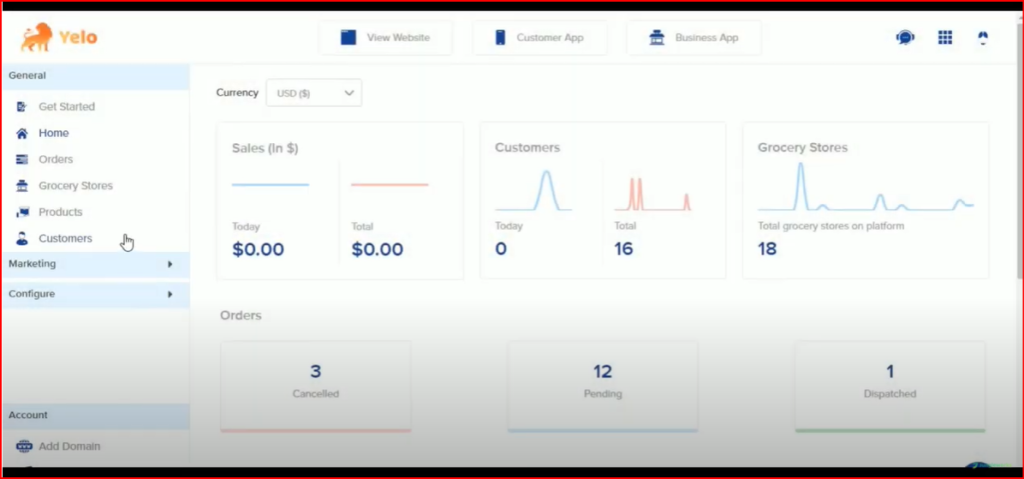
- Log in to the admin dashboard of your Yelo account, where you can get an overview of your sales, orders, customers and grocery stores.
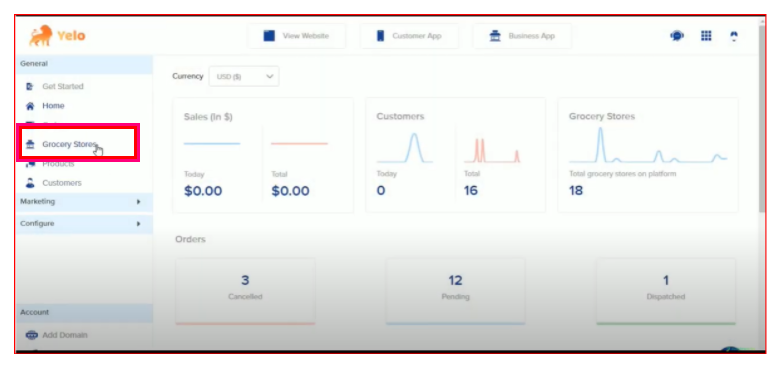
- On the left sidebar menu, click on the ‘Grocery Stores’ option. It will take you to the Grocery Stores page.
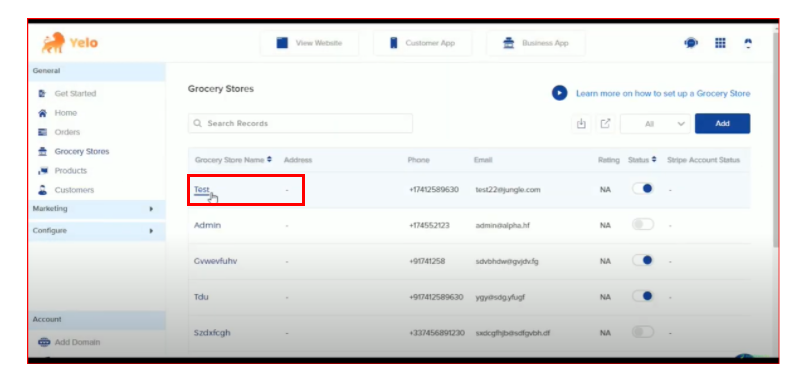
- The page displays the list of all the grocery stores currently on your marketplace. Now, click on the ‘Test’ store option.
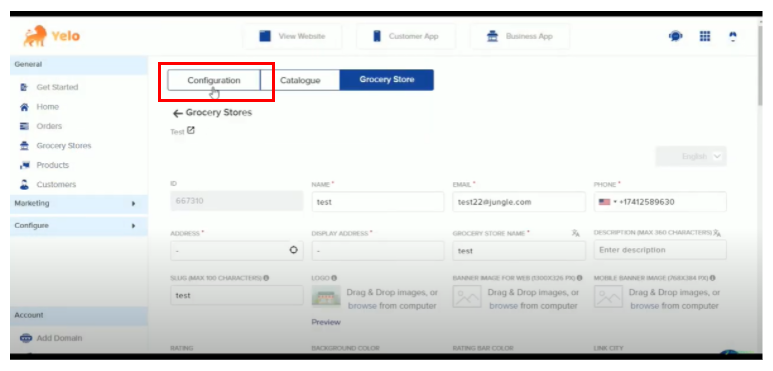
- It will open up a sub-page with all the details of the Test store. Here, choose the ‘Configuration’ tab listed at the top of the page.
- Scroll down to the ‘Timewise availability’ header. The section has two options placed side by side – ‘Full Time’ and ‘Specific Time.’
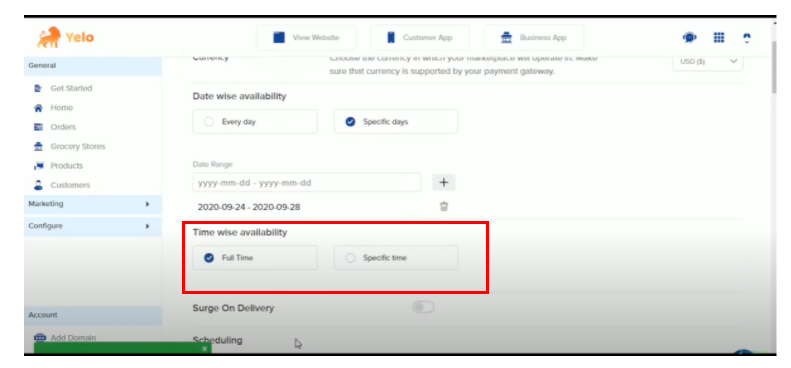
- If you click on the ‘Full Time’ checkbox, the availability of your merchant will be full-time on all the days chosen. But since we want to set availability for a specific time duration for a merchant, click on the ‘Specific Time’ checkbox.

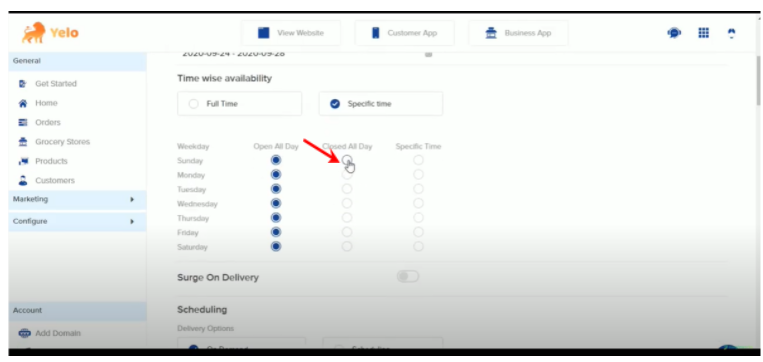
- Doing so would list down all the seven days of the week on the same page, under the Specific Time button.

- Now, click the first checkbox under the ‘Closed All Day’ column for Sunday. It indicates the merchant store is closed on Sunday. You can check the box for any other day the store is going to remain shut.
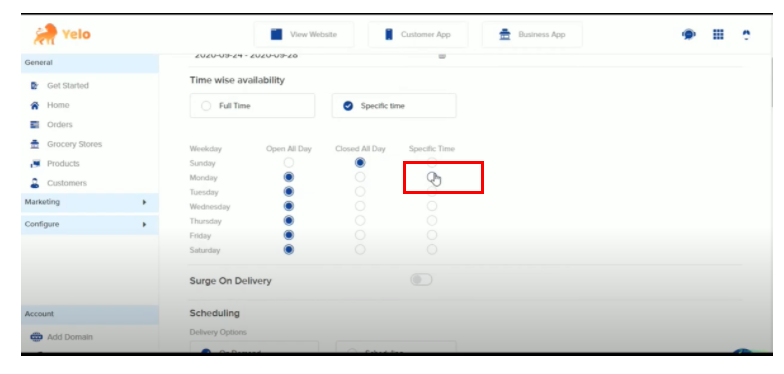
- Then, to set different time slots for Monday, click the checkbox under the third column titled ‘Specific Time.’
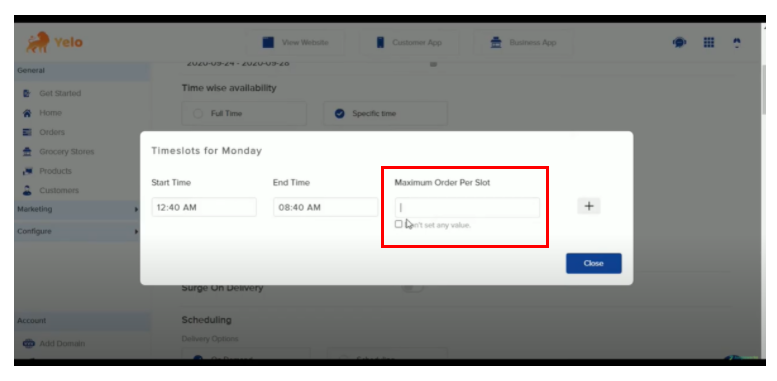
- It will open a dialogue box with options to add both the ‘Start Time’ and ‘End Time’ of the slot for Monday. You can set the exact time slots in the hours and minutes format.
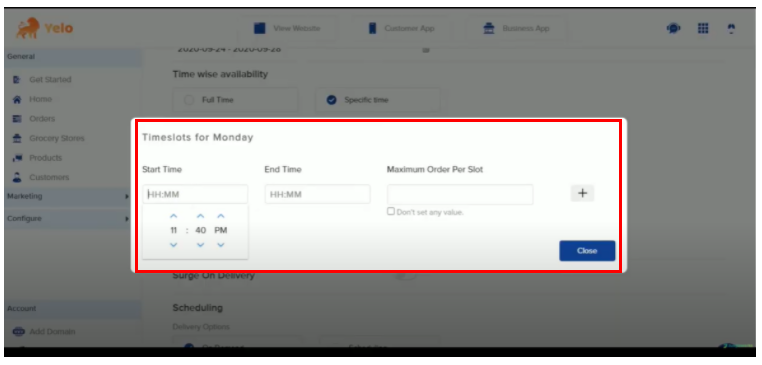
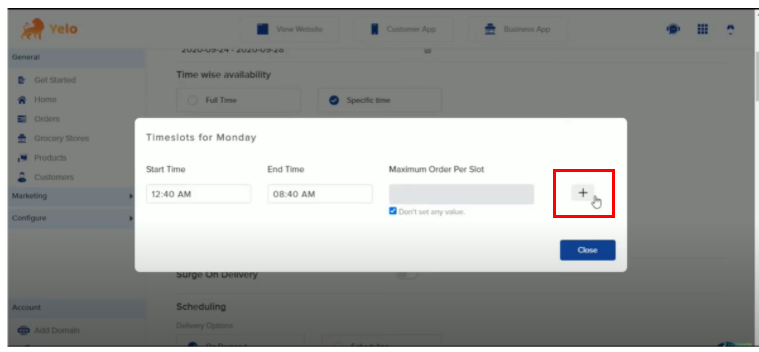
- After selecting the appropriate timing, you can also add Maximum Order Per Slot. If you don’t want to restrict the number of orders for the particular slot, click on the box beside ‘Don’t set any value’.
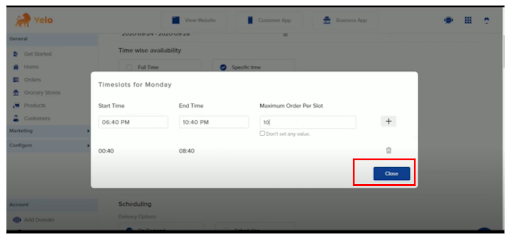
- Now, click on the plus icon on the far right of the dialogue box to add another slot for Monday and repeat the procedure to set the time.
- If you don’t want to add any more slots for the day, click on the ‘Close’ button. It will close the dialogue box.
Now, follow the same procedure to configure timeslots for the rest of the days.
You can also update the already added timeslot in case there are any changes in the merchant schedule.
Leave A Comment?