
How to Enable Sponsorship
Some merchants can even choose to be featured as the sponsored merchants. For example, if you own a restaurant marketplace or grocery marketplace, merchants can get a sponsored listing. This will give them more engagement.
Here is how to feature the merchants for sponsored listing:
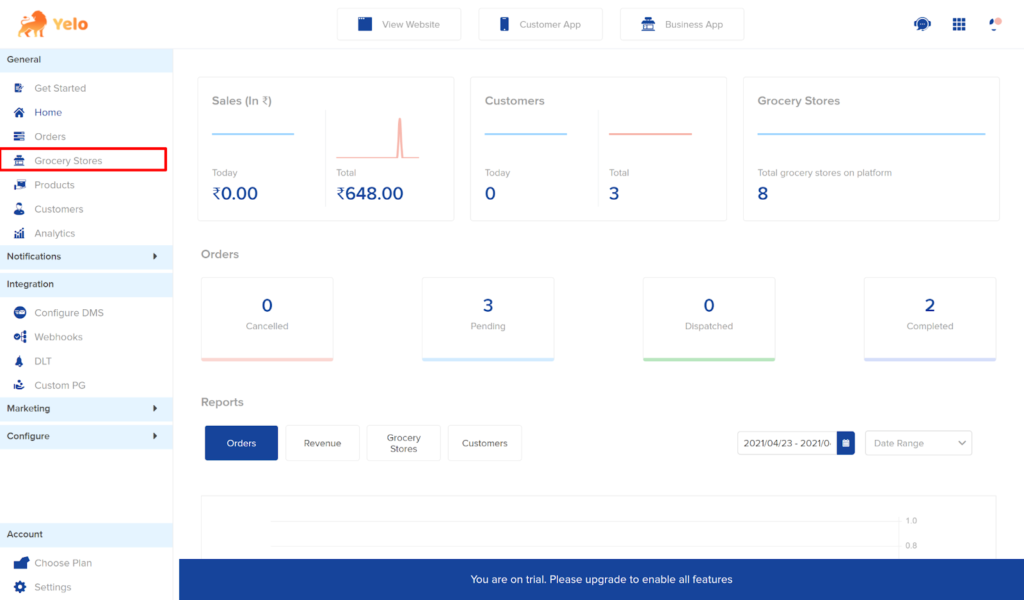
- Log in to the Yelo admin dashboard, where your monthly sales, revenue, and orders can be viewed.

- On the right sidebar of the dashboard, click on the ‘Grocery Stores.’
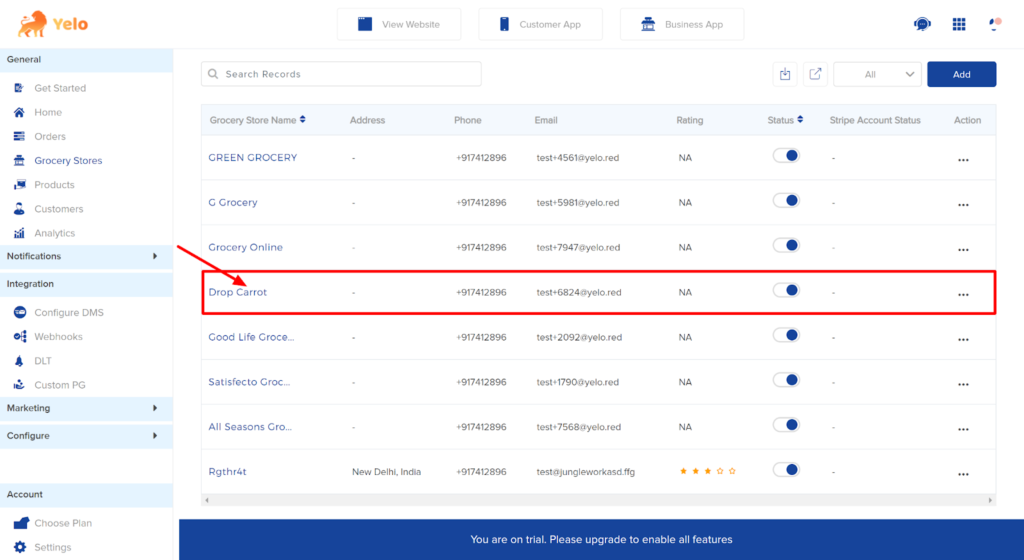
- You will have a list of all the merchants. Now choose the merchant for which you want to set the sponsorship.
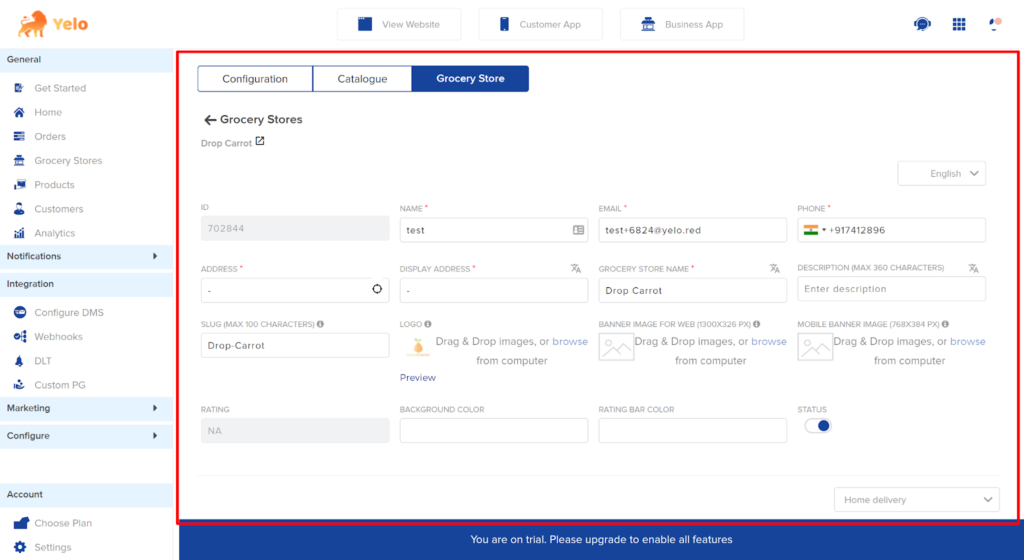
- Once you click on the store, a new page will appear for the customization.
- Scroll down the page and find the Sponsorship toggle button. Enable the sponsorship button for the sponsored merchant store.
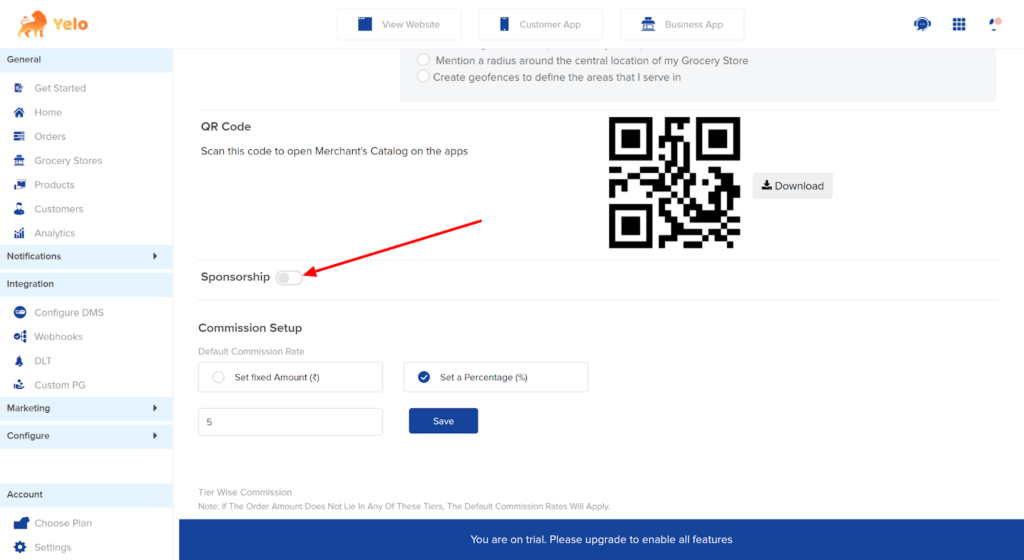
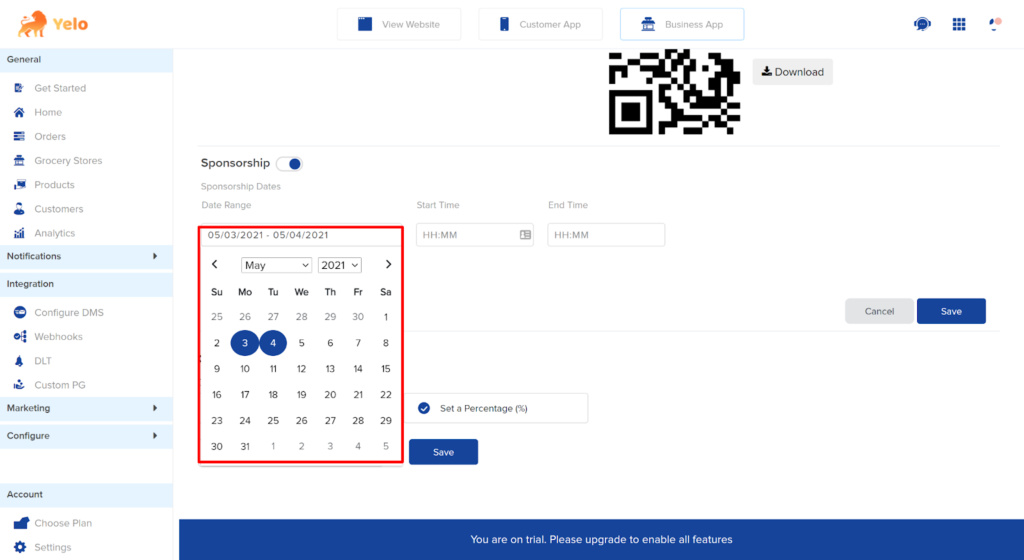
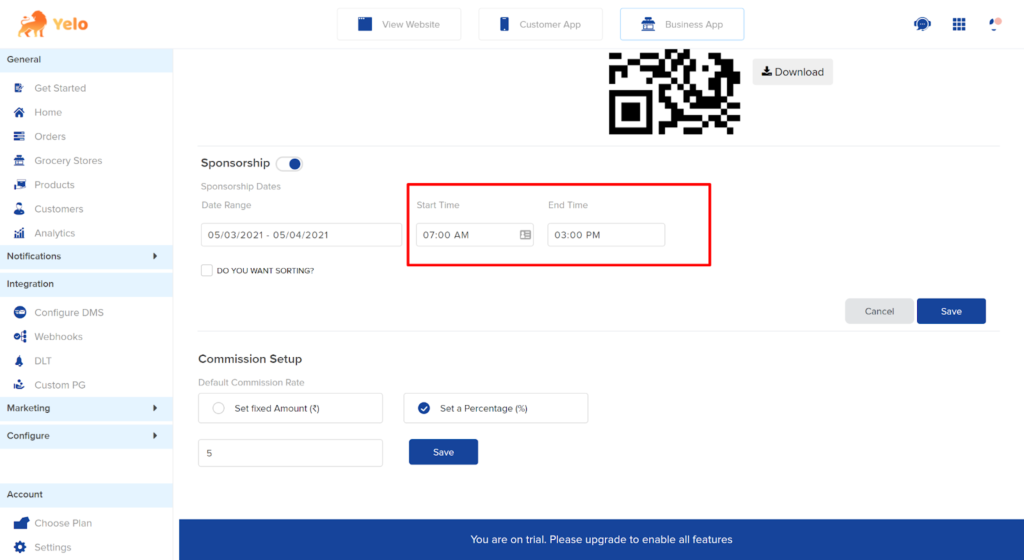
- Now, choose the start date and end date for which you want to feature them in the sponsored list. Similarly, choose the starting time and end time (if any).
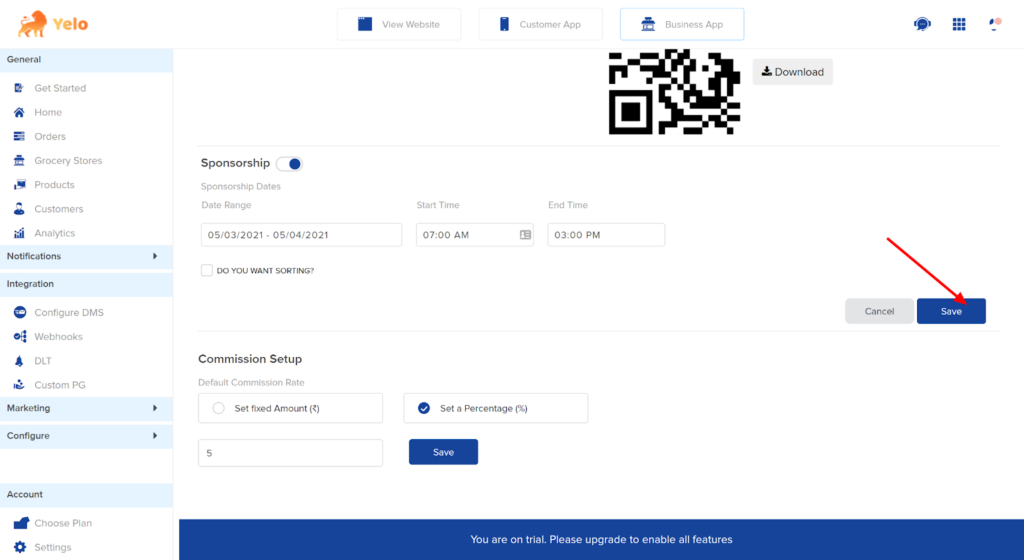
- Click on ‘Save’ to proceed.
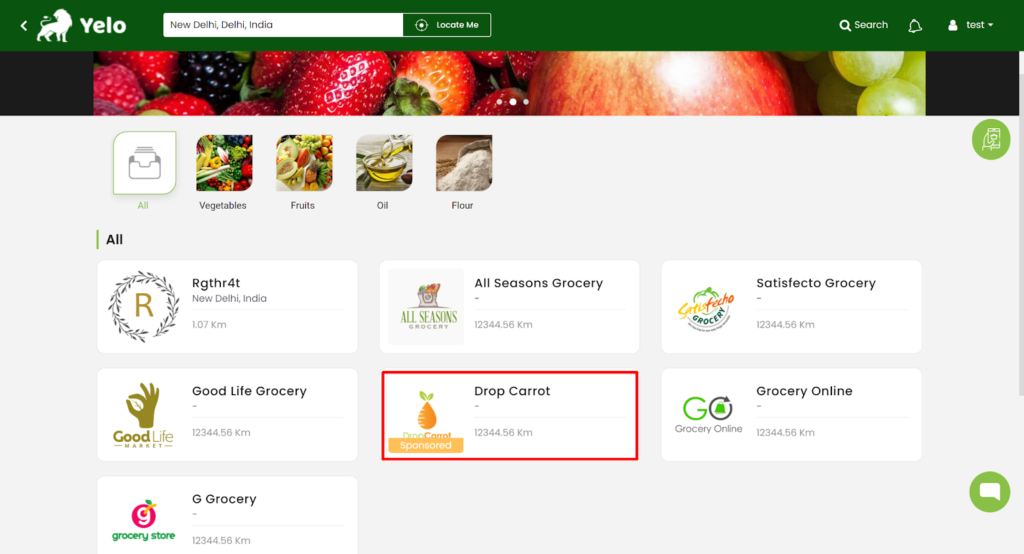
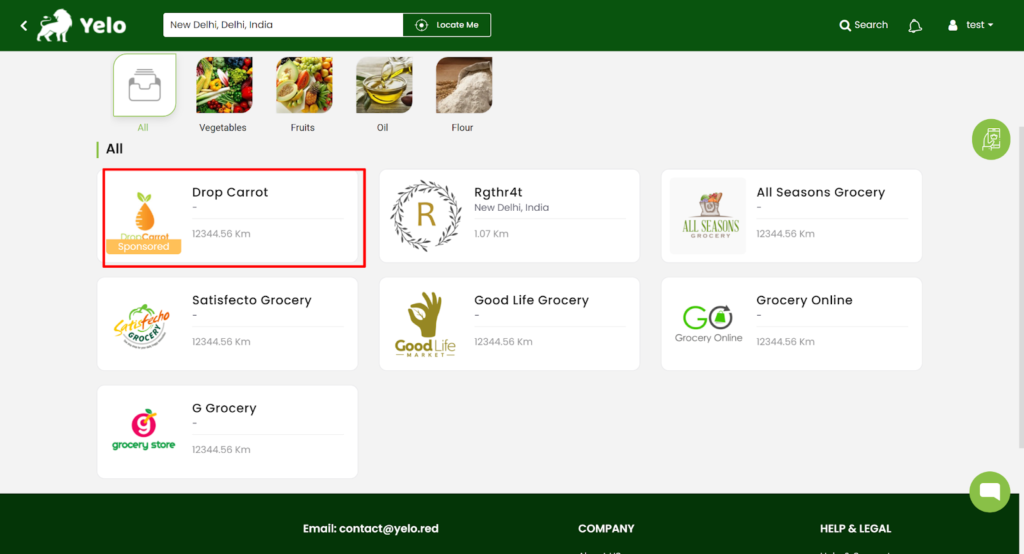
- This is how the marketplace looks with the sponsored listing store.
- Chances are that the sponsored store might be left unnoticed out of various stores available. So, it is better to sort and keep it at the top. Go back to the merchant customization page again.

- Under Sponsorship, check on the ‘Do You Want Sorting?’ option.

- Click on Save and proceed to the marketplace again. Now, the sponsored merchant store is listed first.
Leave A Comment?