
How to Generate Google App Client ID and iOS Client ID
This guide will help you set up your Google OAuth credentials to enable social logins (e.g., Google Sign-In) on Yelo admin dashboard
Step 1: Visit Google Cloud Console
- Open: https://console.cloud.google.com/
- Login using your Gmail account.
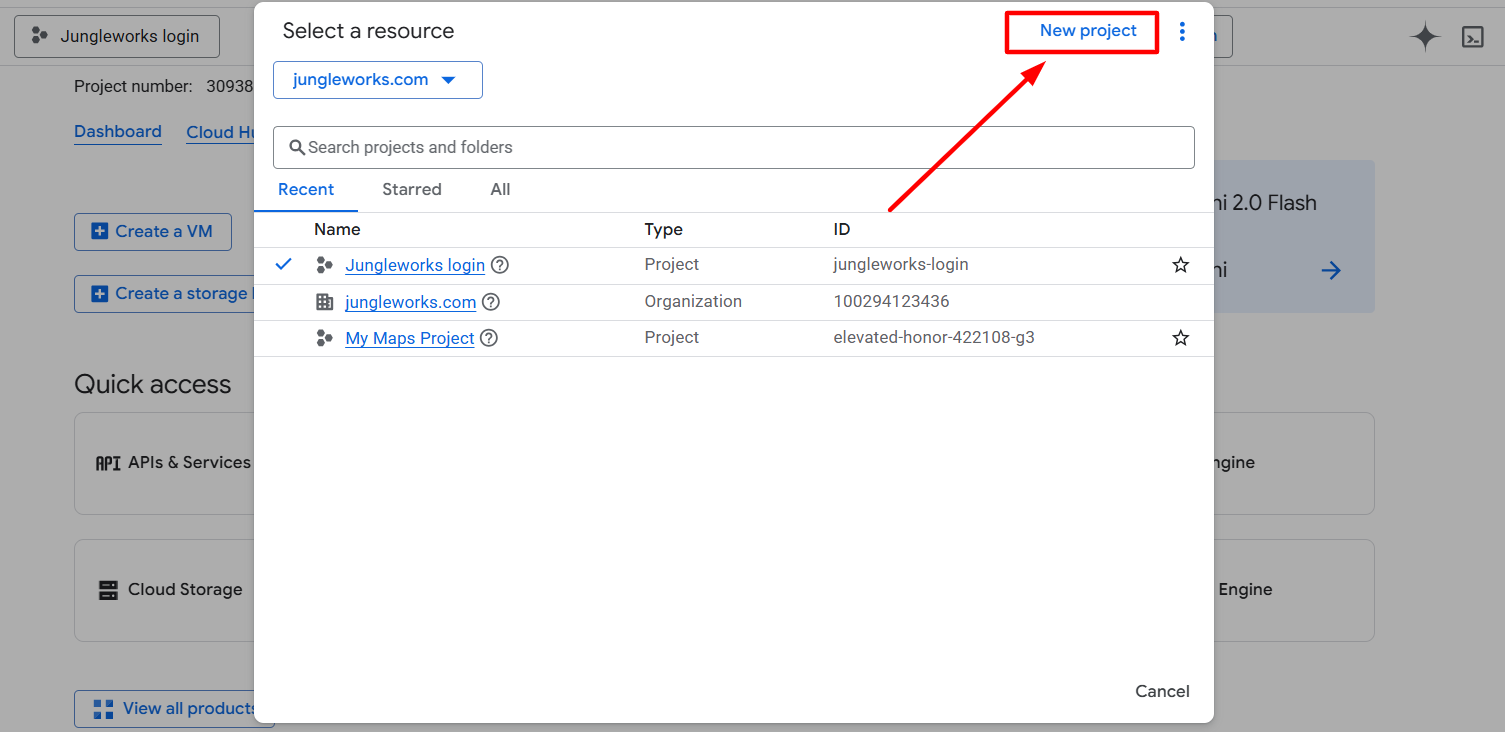
- If you don’t have a project, click on “Select a project” → “New Project”

Step 2: Create OAuth Consent Screen
- From the left menu, go to APIs & Services > OAuth consent screen.

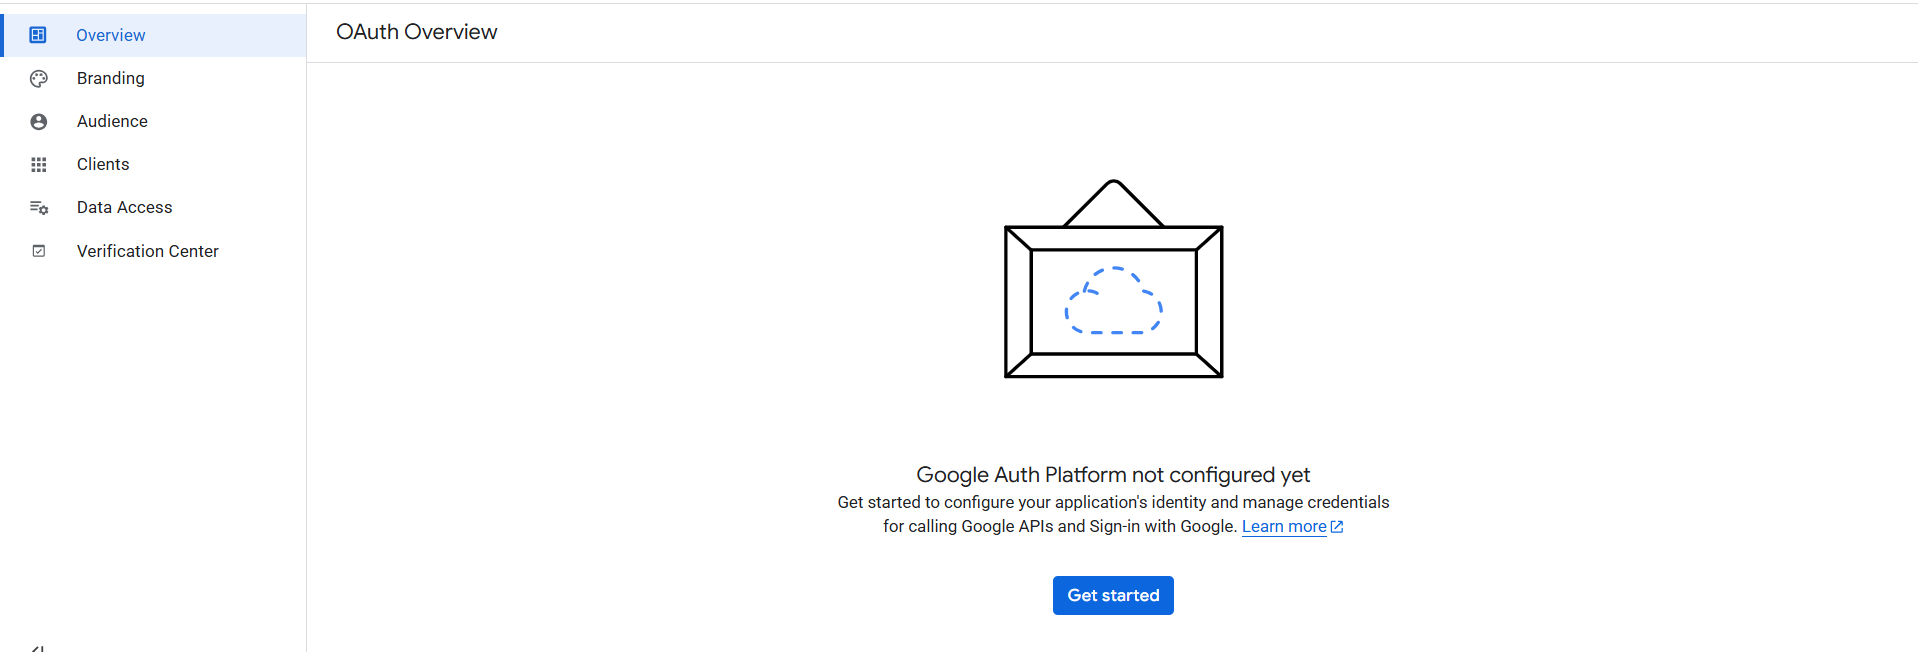
- Choose “External” user type and click Create.

- Fill in:
- App info (e.g., app name)
- User support email
- Contact info
- Developer contact information
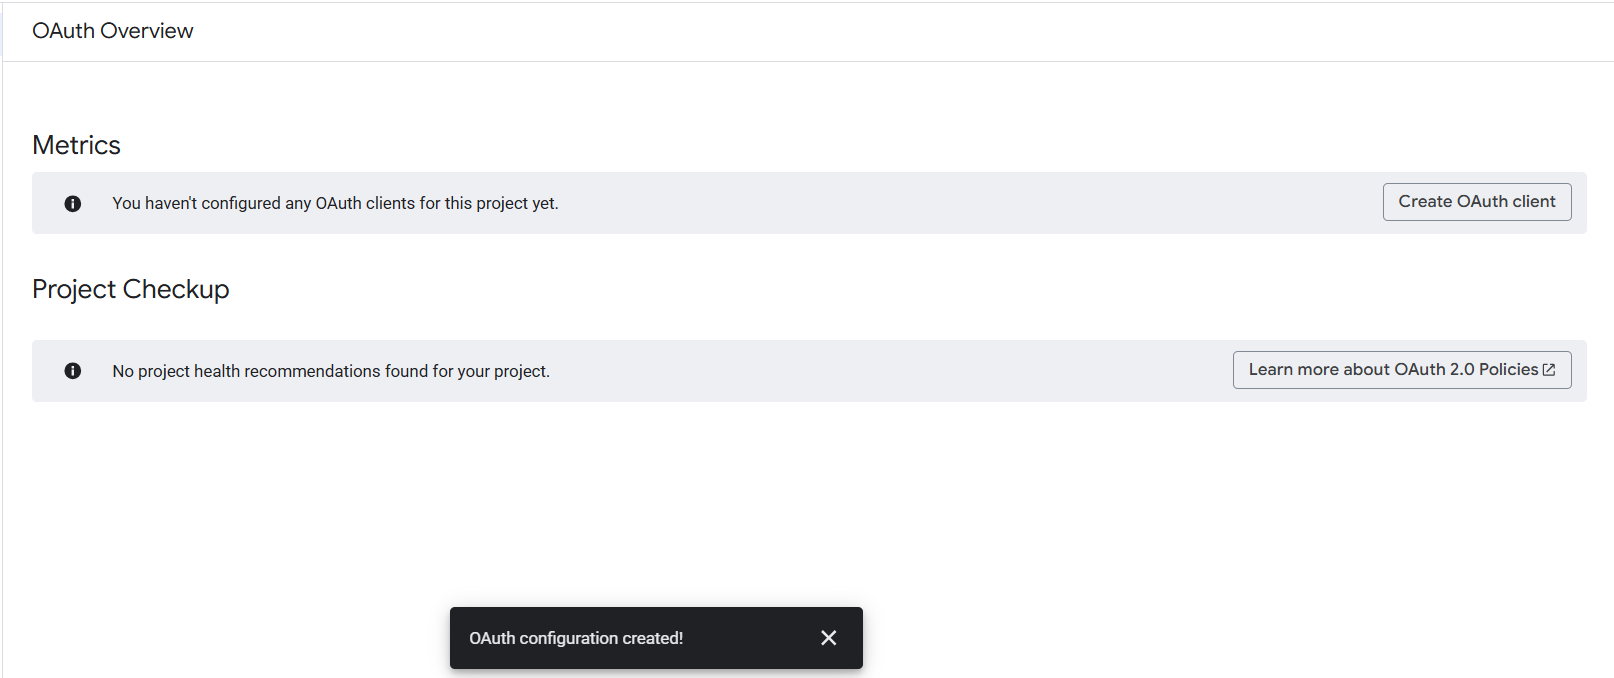
- Click Save and Continue (Scopes can be left as default).
Step 3: Create OAuth Client ID
- Go to APIs & Services > Credentials
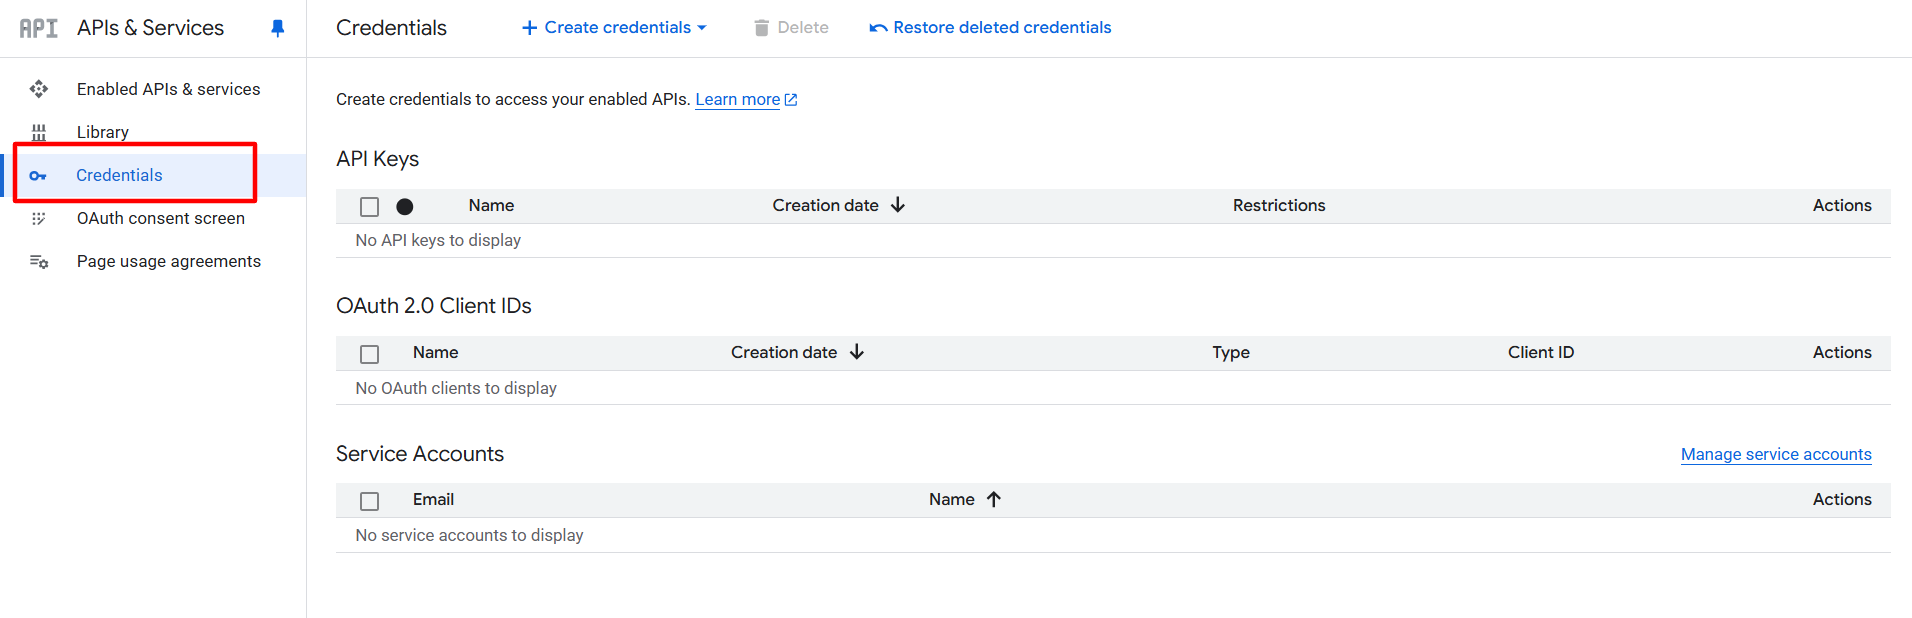
- Click “+ CREATE CREDENTIALS” → “OAuth Client ID”

- Choose application type:
- Web application : for Web
- iOS : for iOS mobile app

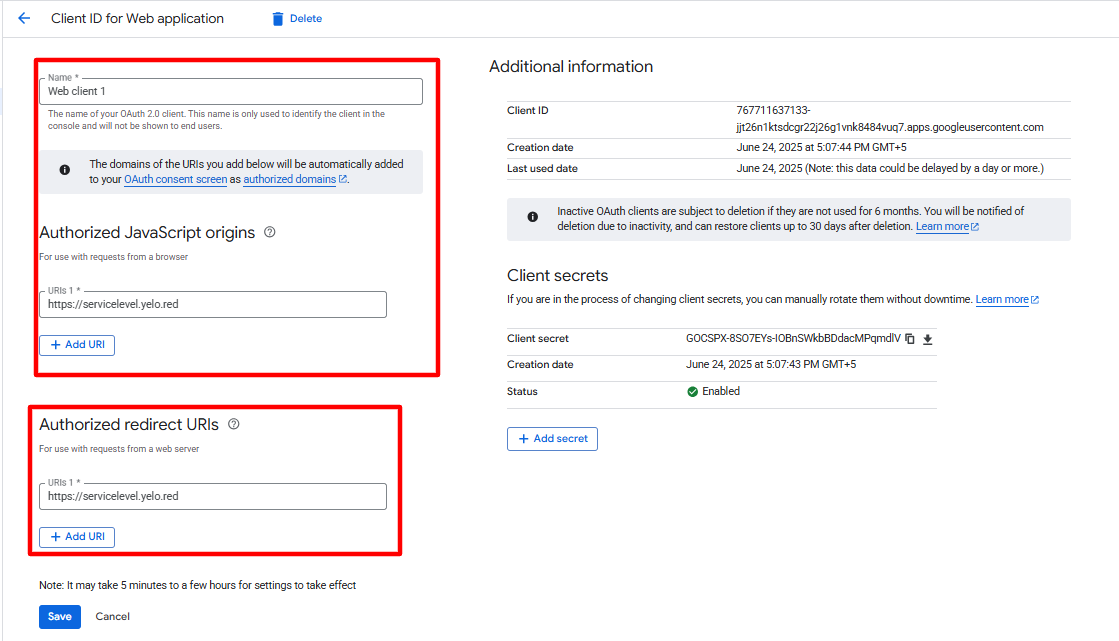
- For Web application, fill in:
- Name: Yelo Web App
- Authorized redirect URIs: Add Yelo’s customer web URL (you can get this from your Yelo dashboard or support)
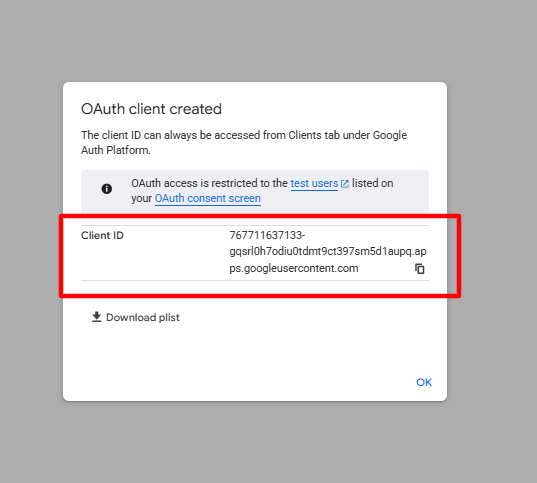
- Click on Create.
- Copy the client ID generated as it needs to be pasted on the yelo admin dashboard under the section named “google app client id”.
- For iOS, fill in:
- Name: Yelo iOS App
- Bundle ID: You can get this from your iOS developer (usually something like com.yourcompany.customer)
- Click on Create.
- Copy the client ID generated as it needs to be pasted on the yelo admin dashboard under the section named “google app IOS client id”.

Step 4: Add to Yelo Dashboard
- Login to your Yelo Admin Dashboard.
- Go to Configure >> User Settings >> Guest >> Sign up>> Login via Google.
- Paste the relevant Client IDs in the respective fields.


Step 5 : Yelo Website
Login via google feature will now be visible to the end customer’s website and app.

Leave A Comment?