
How to Update the Menu on Yelo?
If you have set up your food ordering services online on Yelo, you can create your menu and update it as per the availability of your services. Here’s a step-by-step guide that will help you to create/update your menu anytime.
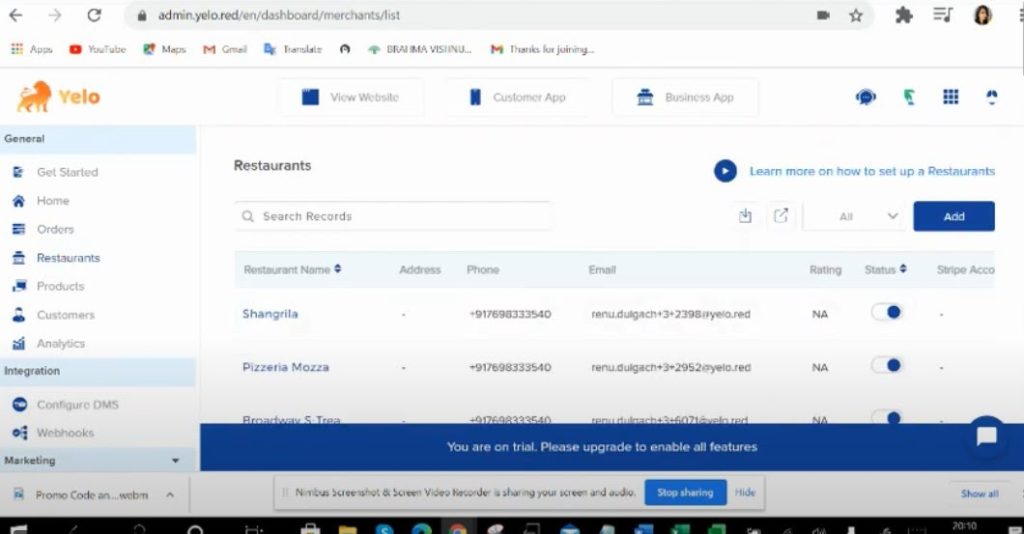
- Login to Yelo- You will be directed to the admin page. Here what you see on the screen is the dashboard, where you can manage all your orders, delivery partners, menu, and locations in one place.
- Go to Configure> Order Settings> Catalog
- Scroll down and enable the menu.
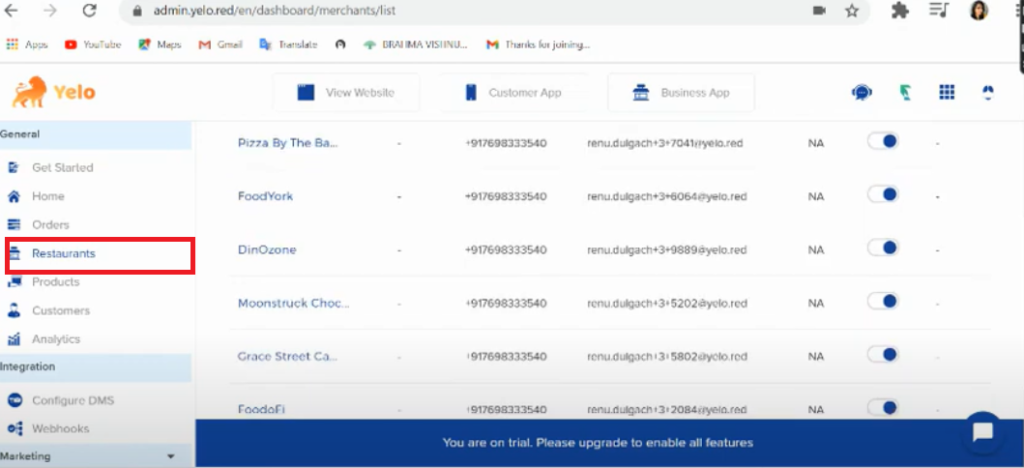
- Once enabled, select a merchant.
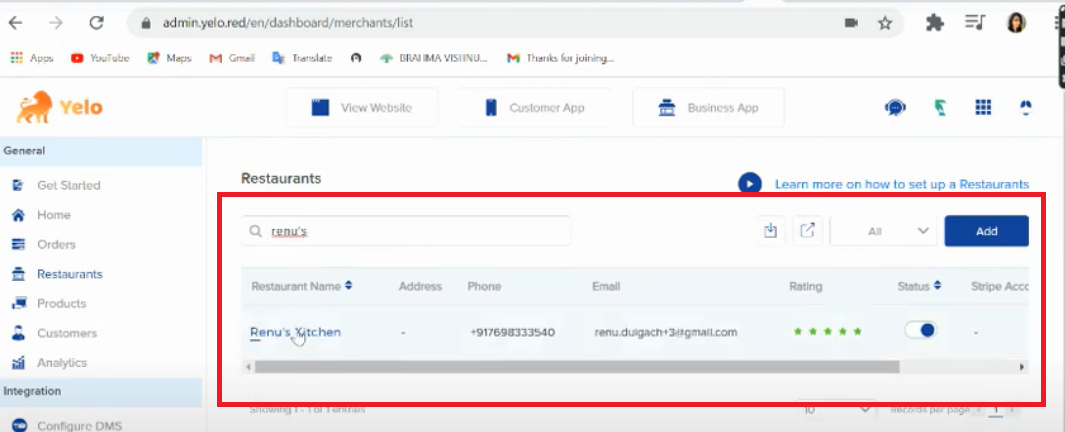
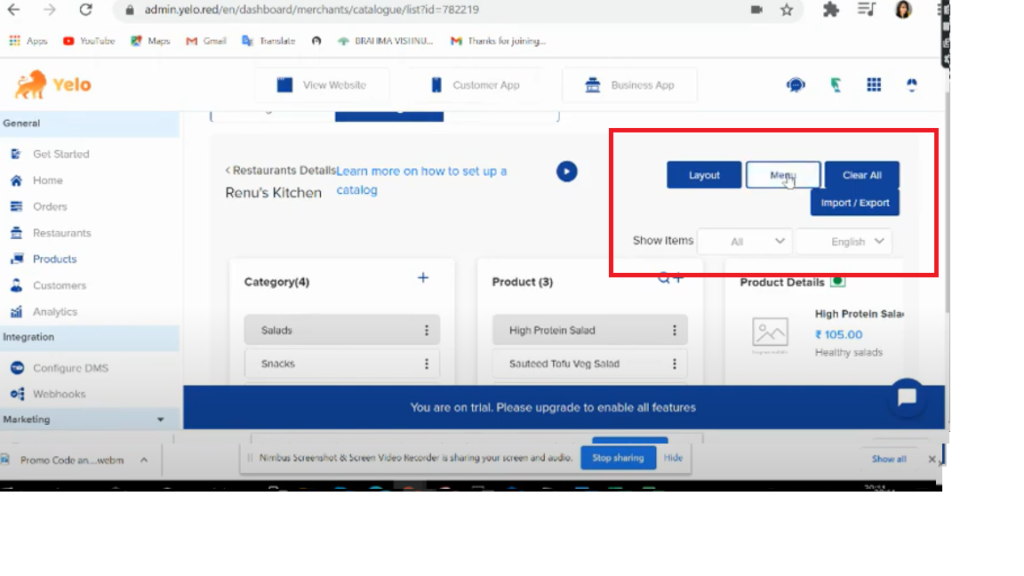
- Select “Catalogue”- Once you click on the restaurant name the page will show the details of the restaurant with three main horizontal tabs in the middle of the screen namely “Configuration” “Catalogue”, and “Merchant”.
- Click on “Catalogue” and you will see a few more options on screen like “Layout”, “Menu”, “Import/Export”, etc. Select the tab named “Menu”.
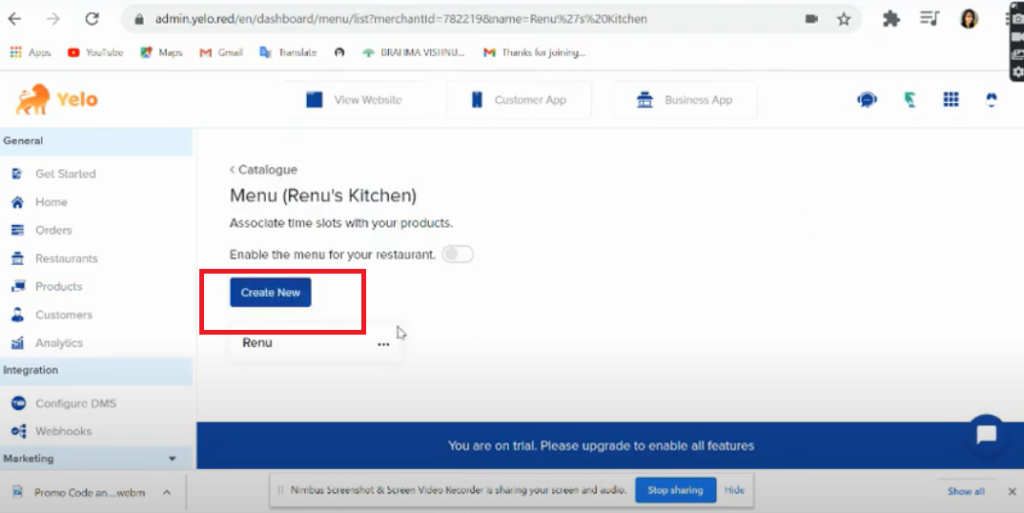
- Create menu-You will be directed to the catalogue menu page. Here click on “Create now” to create your menu. You will get an “add menu” page on the right side of your screen.
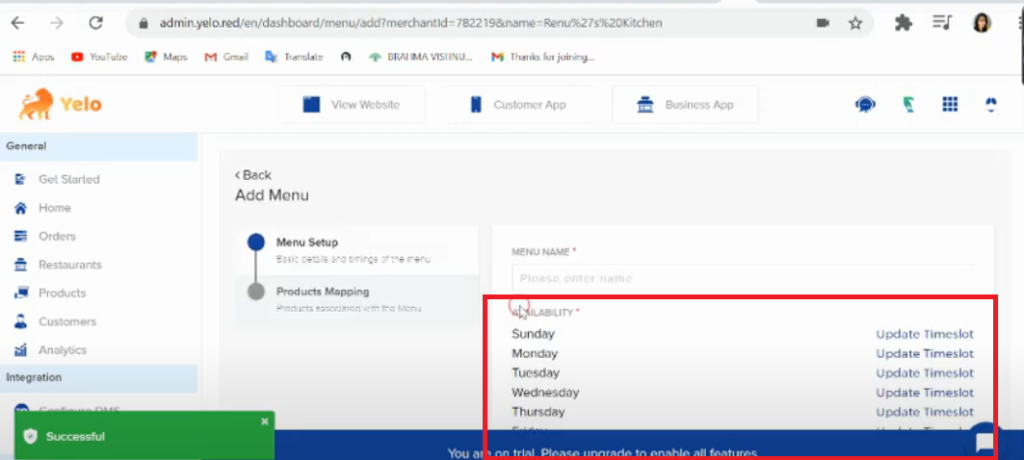
- Select “Menu” Setup-To customise the time slot and days available for delivery click the “Update Timeslot” option next to each day.
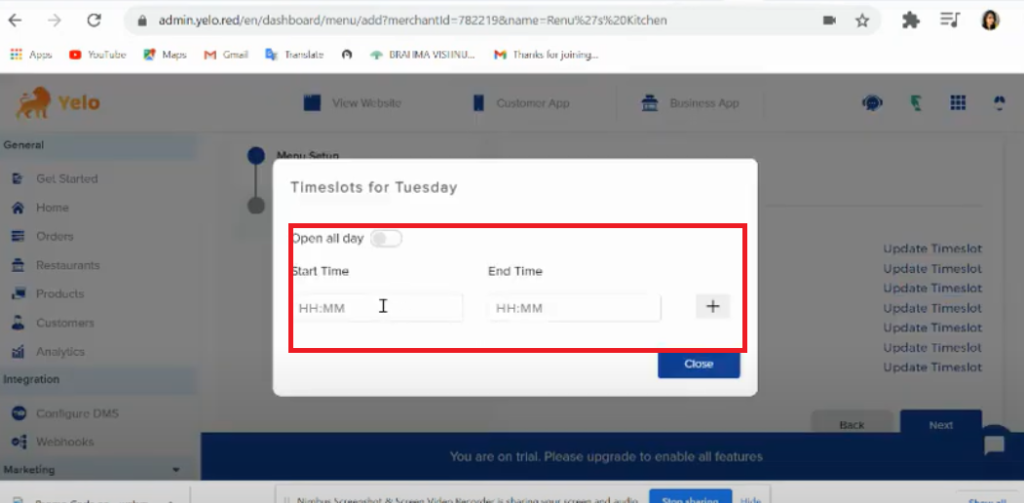
- Update Time slot-A pop-up screen appears. Set the timings here, during which you are available to serve the customers with the dishes on the menu.
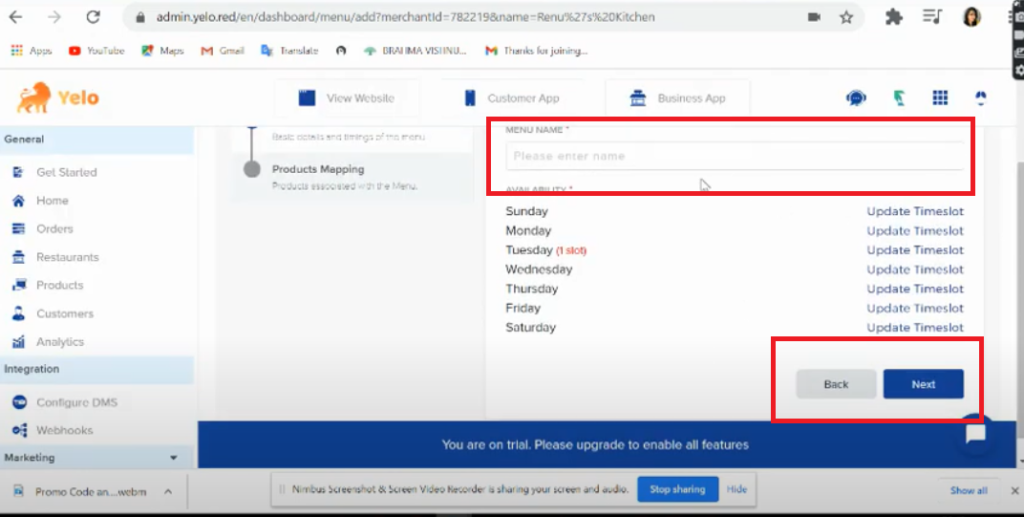
- Add Menu Name-Once you update the time slot and available days create a name for the menu and click next.
- Add Items to the menu-Next, you need to add the items to your menu. Type the name of the dish you want to add on the search bar and press enter. You can add more than one dish. Once done, click “Next”.

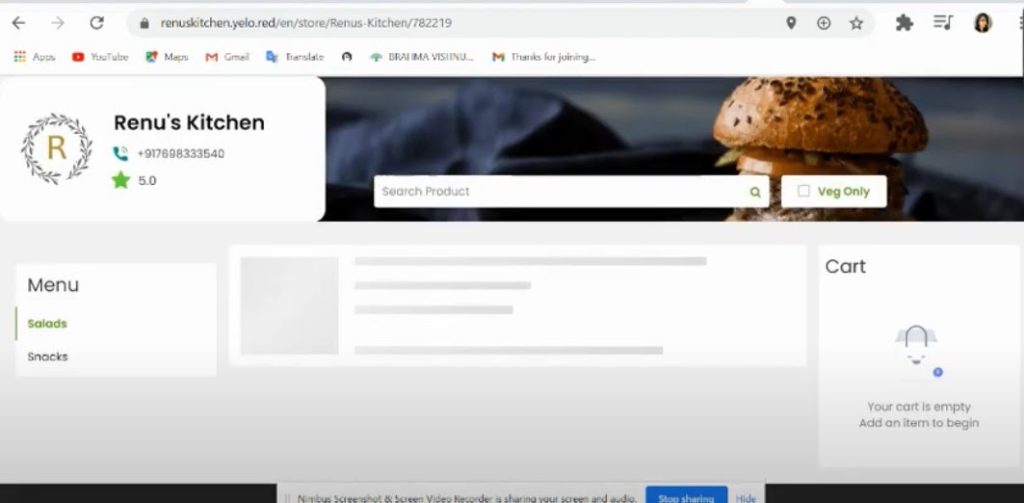
- Go to the customer’s page and refresh – Check if the menu is added correctly and wait for your next order.
Leave A Comment?