
Merchant tags
With Yelo, you can add the subscription plans and merchant tags to the merchant store. Merchants can choose the subscription plans based on these tags.
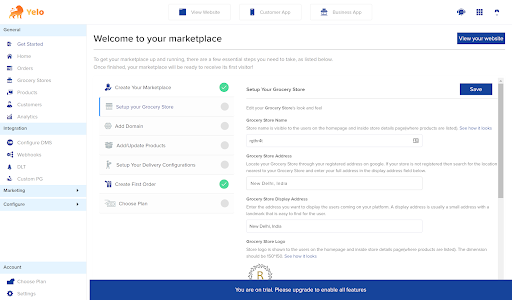
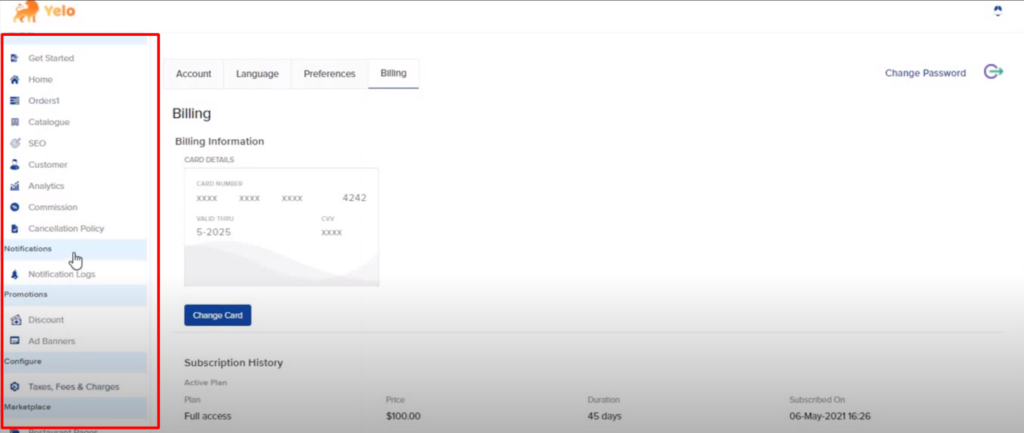
- Log in to the Yelo Admin Dashboard, which looks like this.
- Go to Configure and click on User settings.
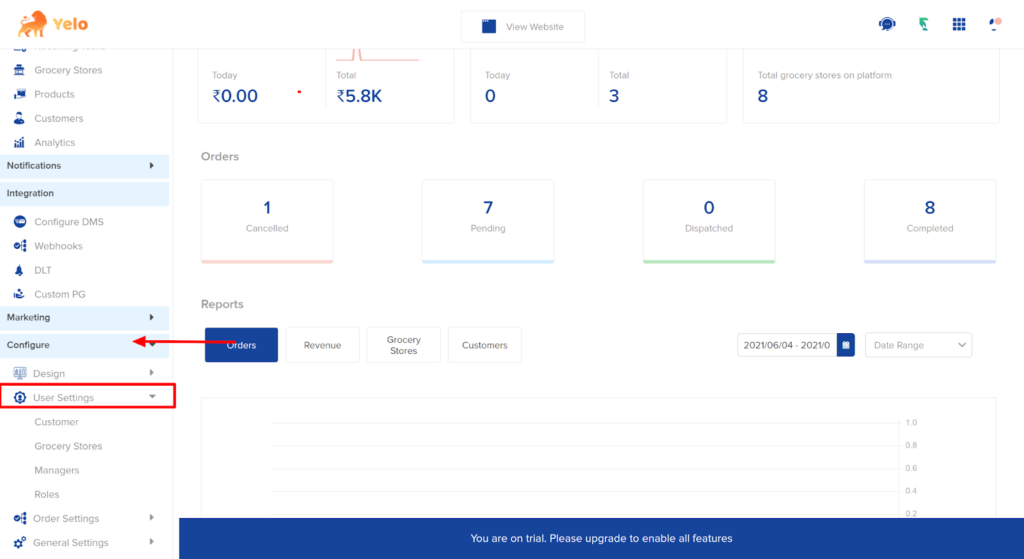
- Under User Settings, find the Merchant store option.
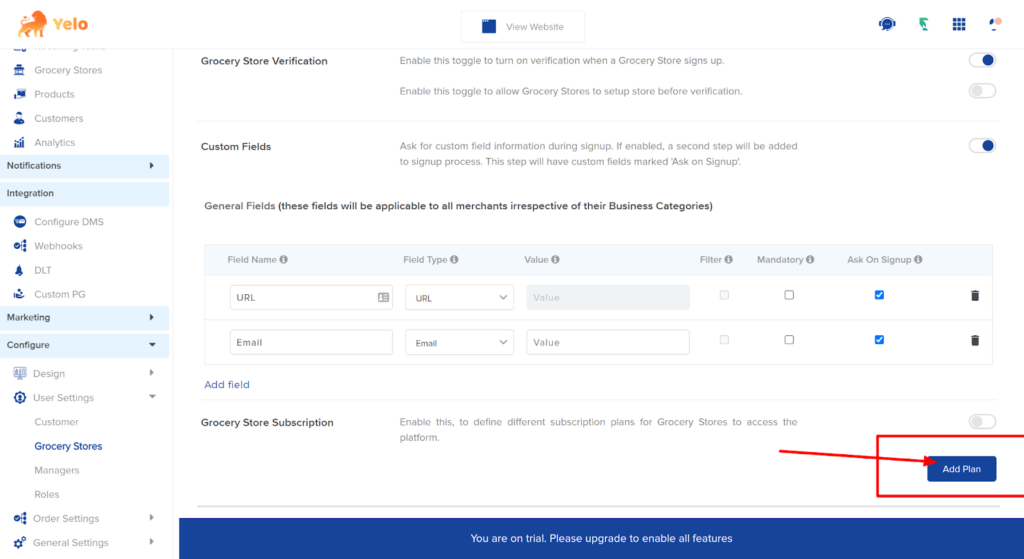
- Click on ‘Add Plan’ to the Grocery Subscription settings.
- Add the details as given in the subscription plan dialogue box.
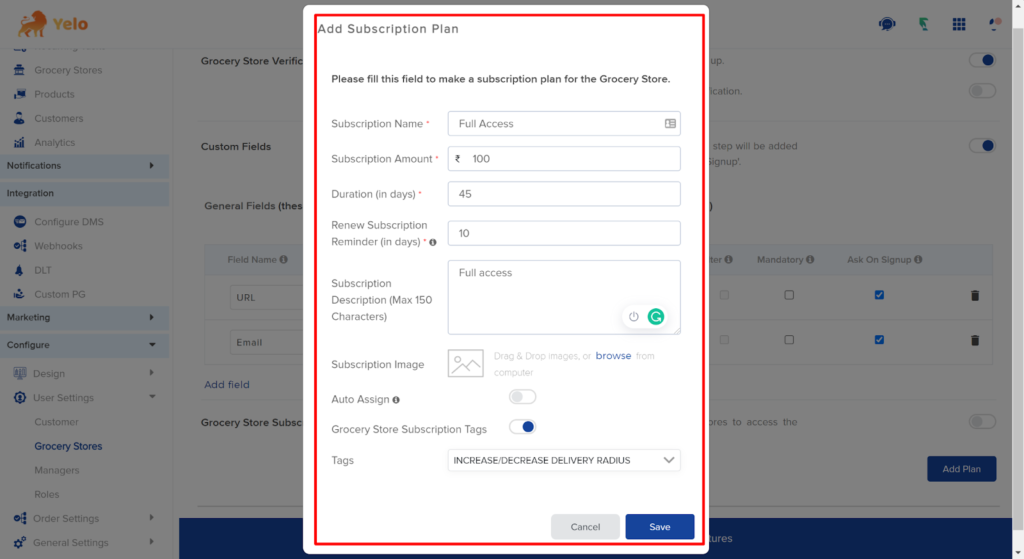
- Click on Save. You can add other subscription plans as well and add the tags accordingly. Under Tags, you can select more than one option.

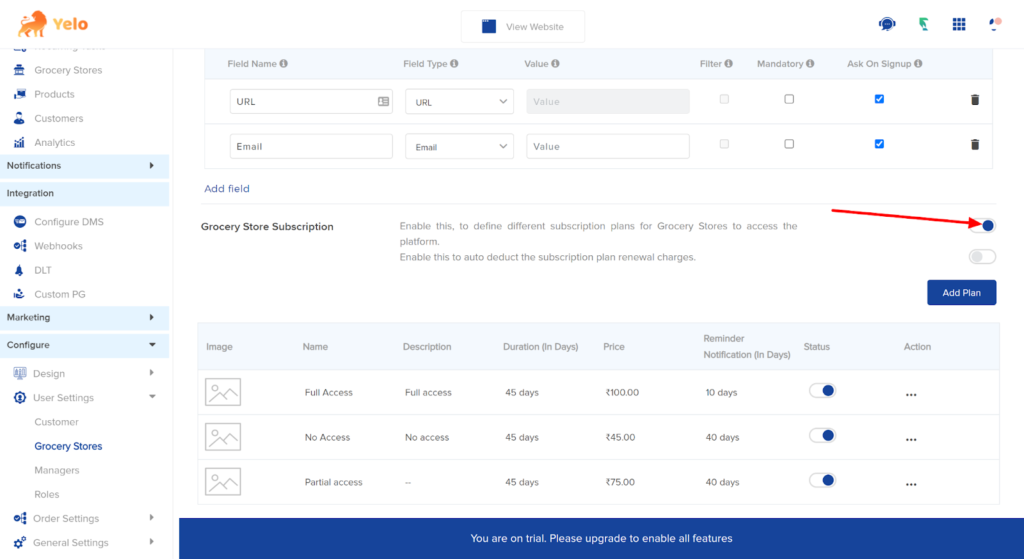
- After clicking save, enable the Restaurant subscription option given.
- Once the merchant creates their account and logs in, they will be asked to choose the subscription plans.
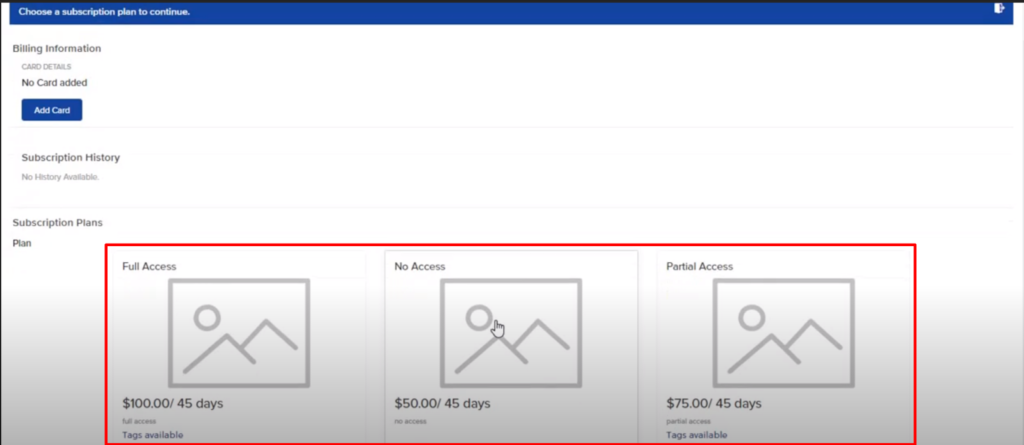
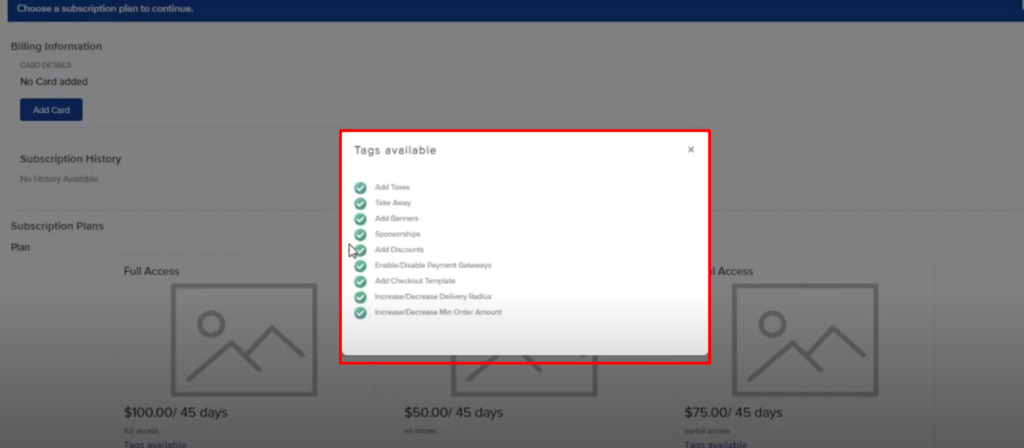
- Merchants can look for the available tags and choose the plan accordingly.
- You can give various payment options to the merchants for the subscription.
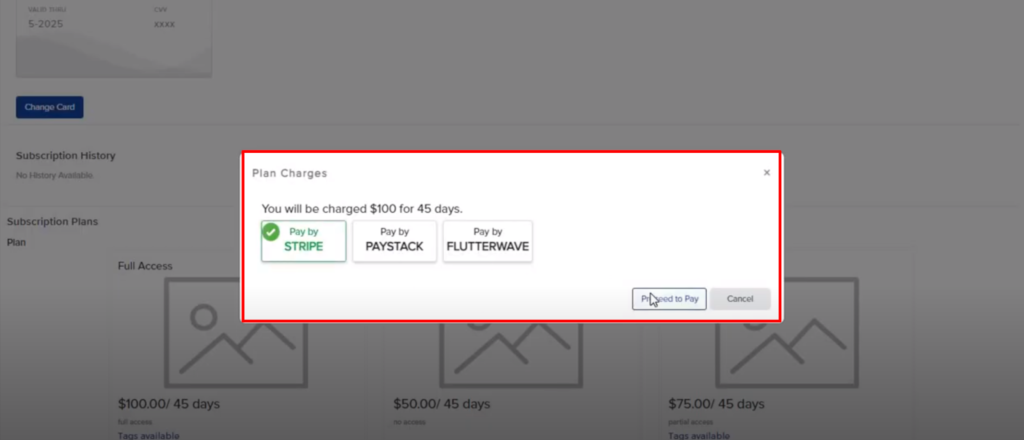
- Once done, the merchants will have access to the store features depending on the subscription plan. For example, merchants with full access will have access to the tags that you have enabled.
 Similarly, merchants with No Access or Partial access will have limited access.
Leave A Comment?