
Terms and Conditions Integration
Adding the terms and conditions pertaining to your business is crucial. It helps share the privacy requirements and limits your liability, sharing the due process with the potential users.
Here is the process to add Terms and Conditions on your Yelo-powered Marketplace.
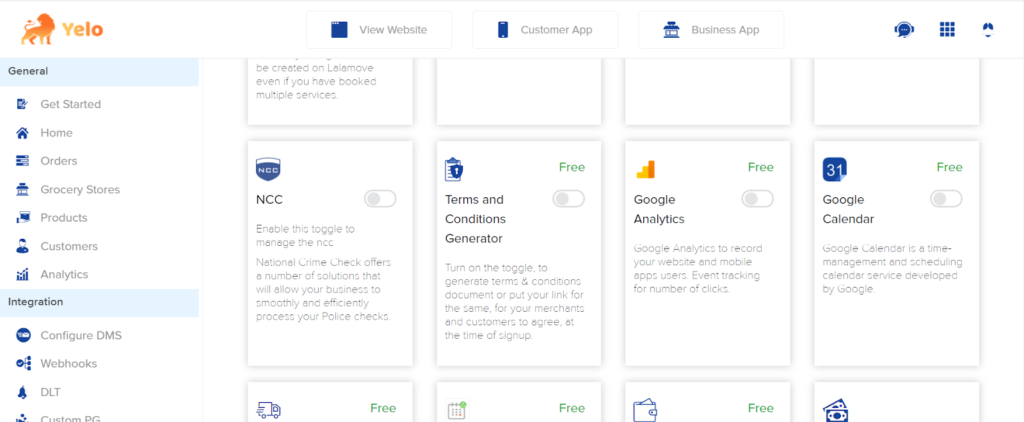
- After logging in to your Yelo Account, go to the Dashboard and click on the ‘Integrations’ tab at the top right corner.

- On the Integrations page, scroll down to locate the “Terms and Conditions Generator.” Click to Toggle it On.
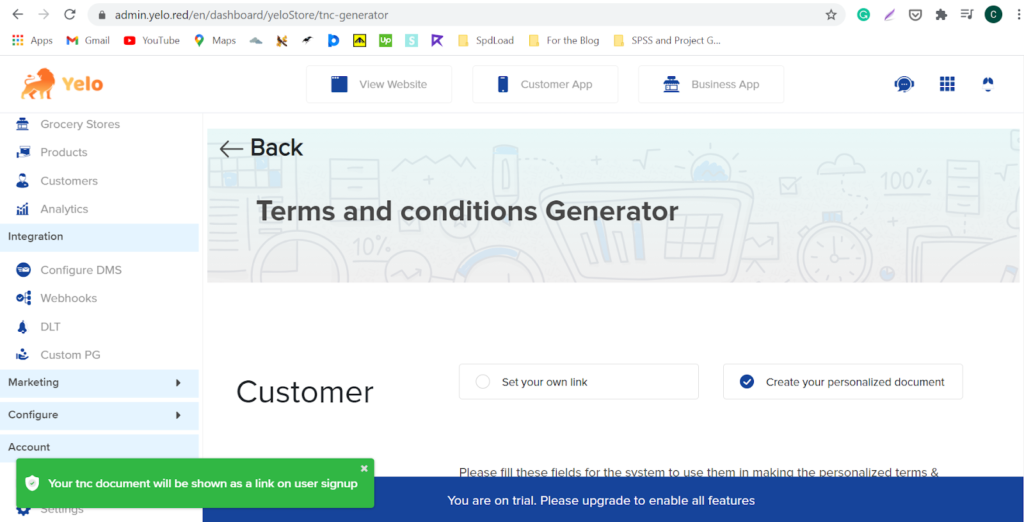
- Yelo lets the account holder add a separate TnC for the Customers and Merchants. For both types, it is possible to either add a link to the existing TnC page or generate it from Yelo. The process to set TnC for both types of users is the same.
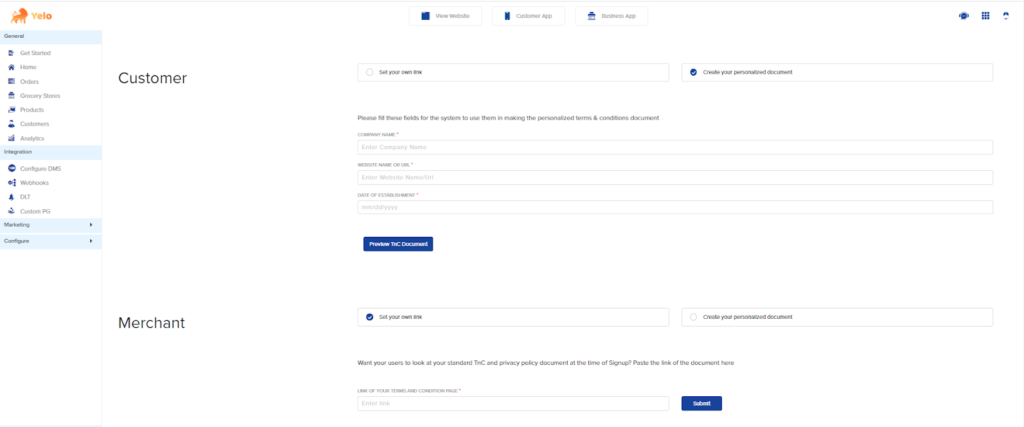
- To add an existing TnC, Click on “Set Your Own Link,” and paste the page link in the given box and click on Submit.

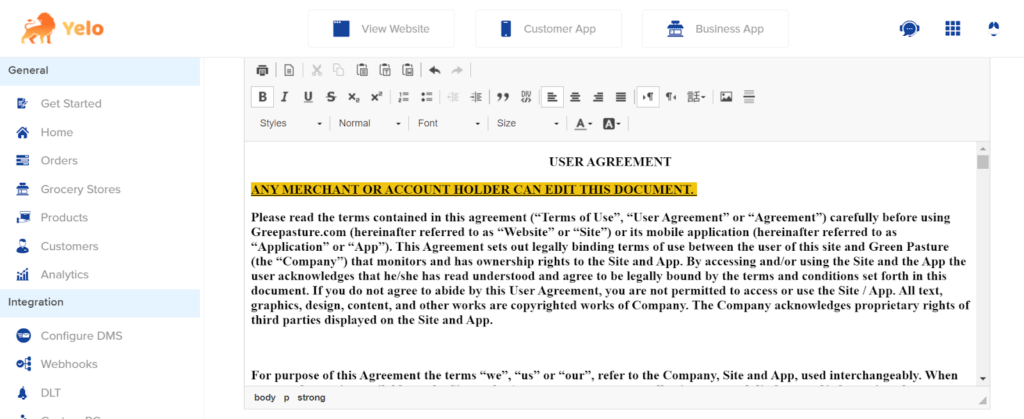
- If, however, the account holder wants to create a personalised TnC document, click on “Create Your Personalized Document.”
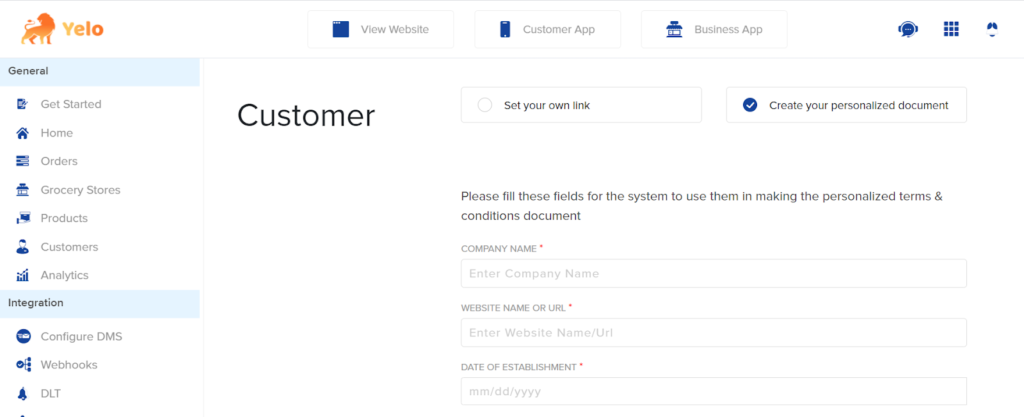
- Start by entering the business details. Adding the Company Name, Website Address, and Date of Establishment is mandatory. Once done, click on Preview TnC Document.

- Yelo auto-generates the TnC content with the provided company name, website address, and establishment date.

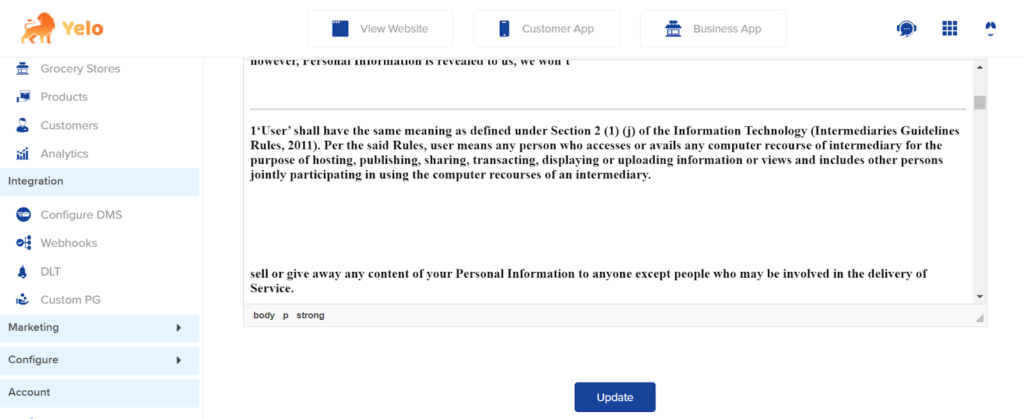
- If required, it is possible to edit the auto-generated content. Scroll down a bit to find “Edit” for personalising the document according to the specific business requirements.
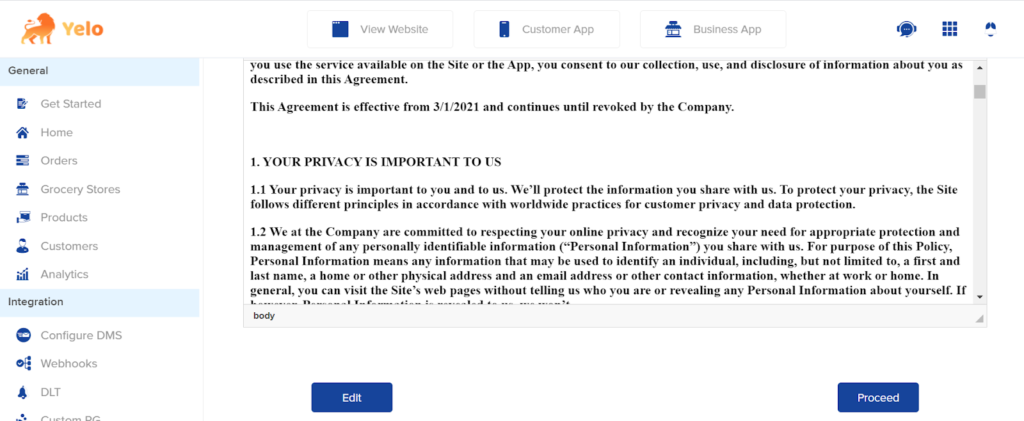
- After adding the details and making changes, Click on Update.
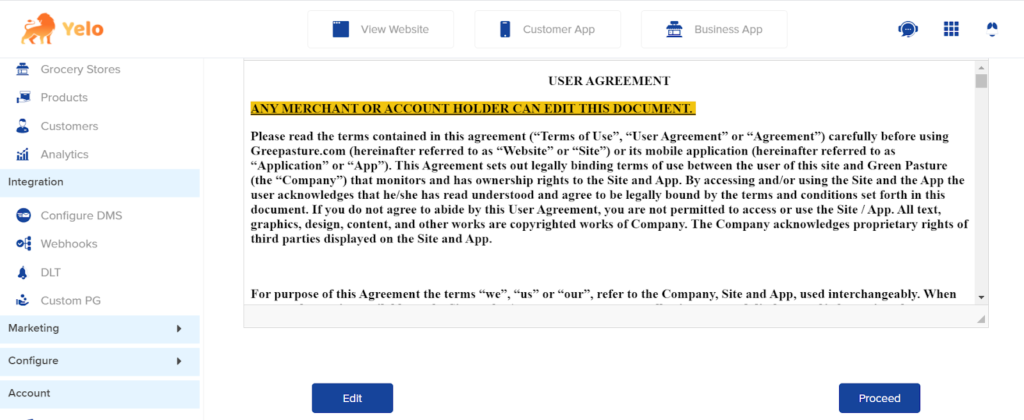
- Go through the updated content to affirm that the changes have been reflected in the document and click on “Proceed.” This must be followed by clicking on “Set this document as a link at your User Signup.”
- Now the TnC will be shown to the users at the time of Signing Up to engage with the marketplace.
Leave A Comment?