
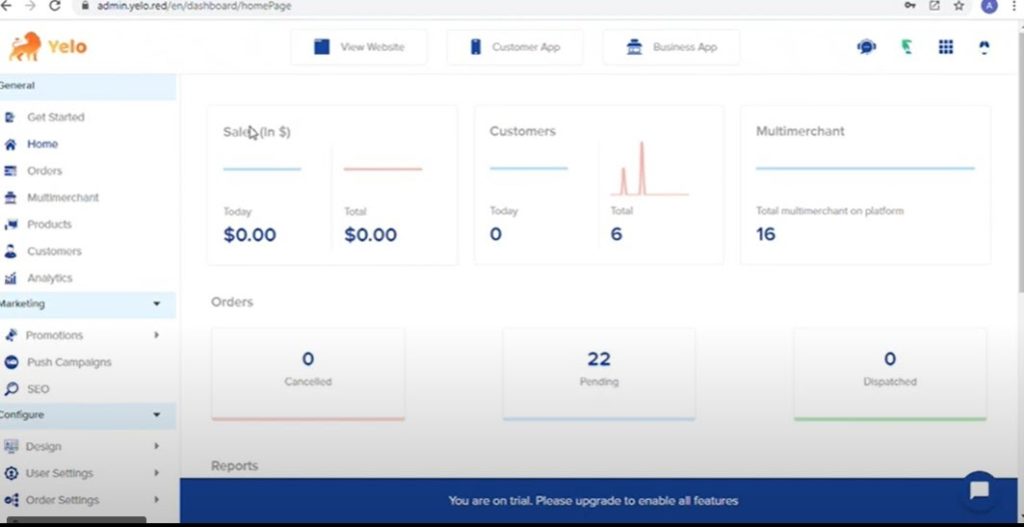
- Log in to Yelo and go to your MarketPlace Dashboard.
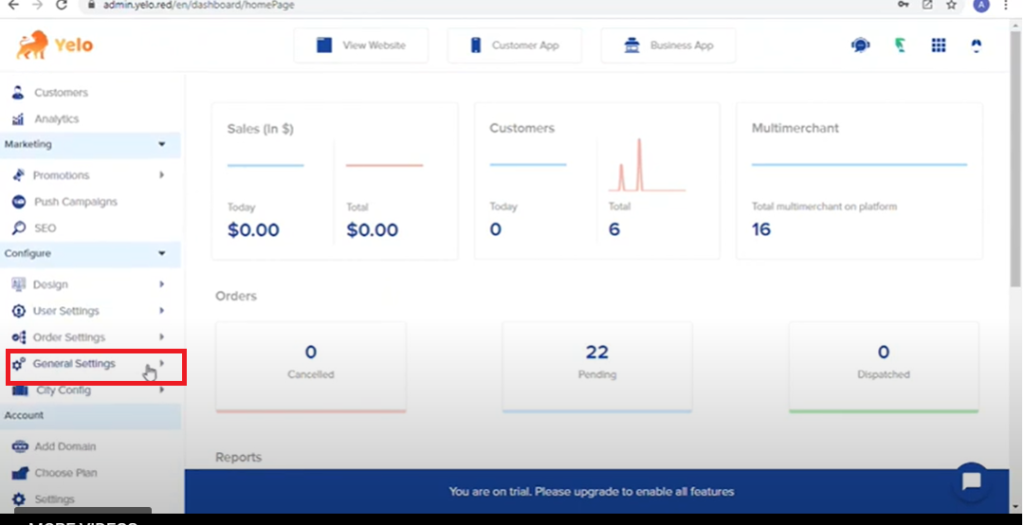
- From the side, menu bar, select General Settings under Configure option.
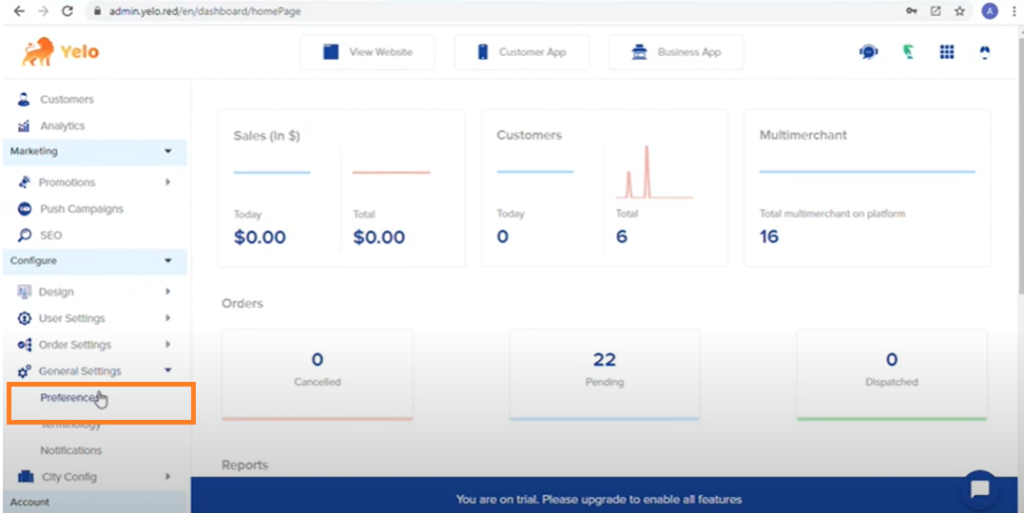
- Select Preferences general settings
- Scroll down and find User tags
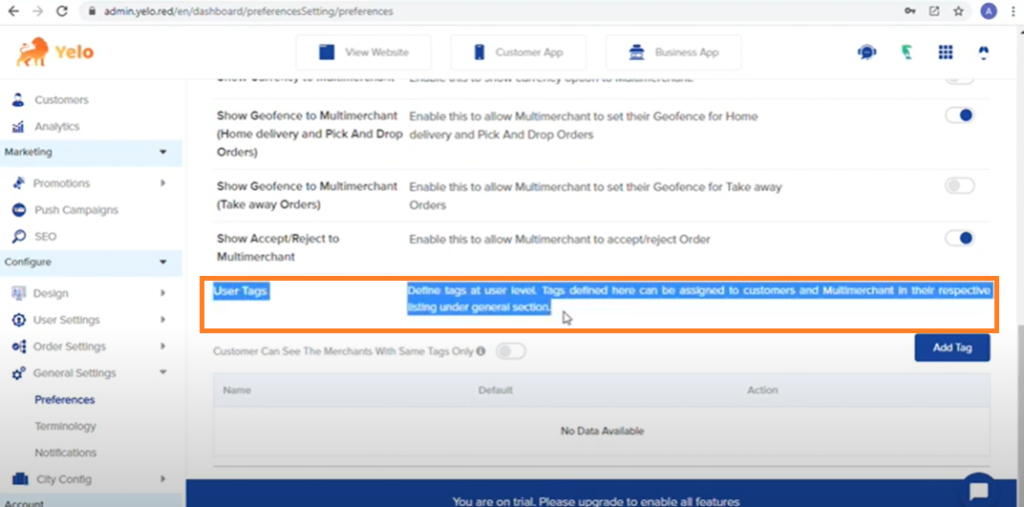
- Add tags.
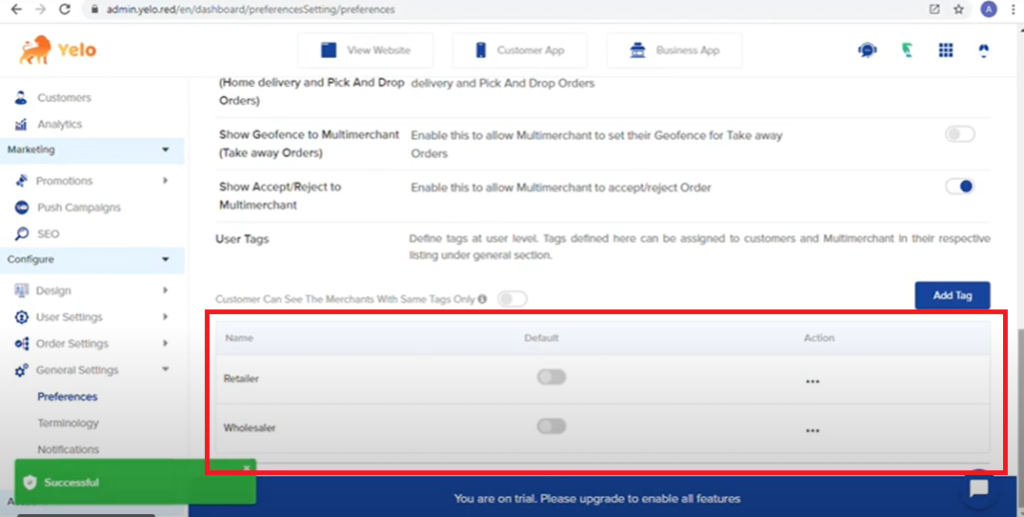
Here, we have used two tags(retailers and wholesale), as an example.
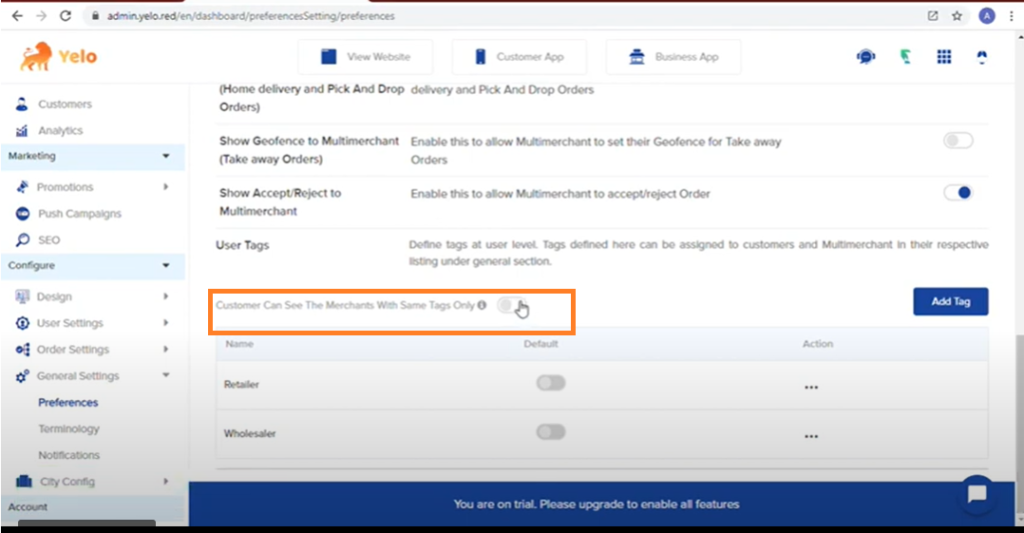
- Enable “Customers can see the Merchants with the same tags”.
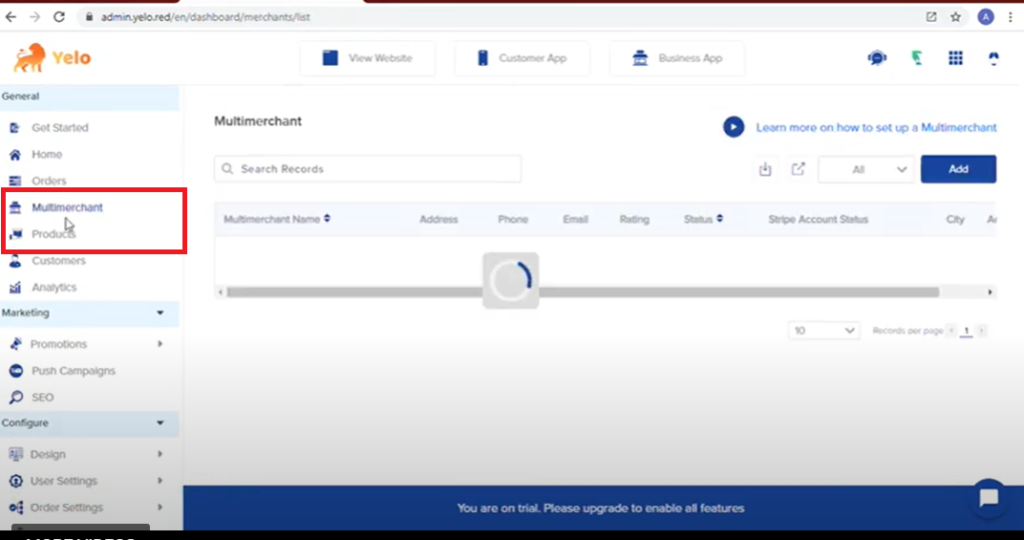
- Next, go to the Multimerchant tab. You can find it under the General option in the side menu bar.
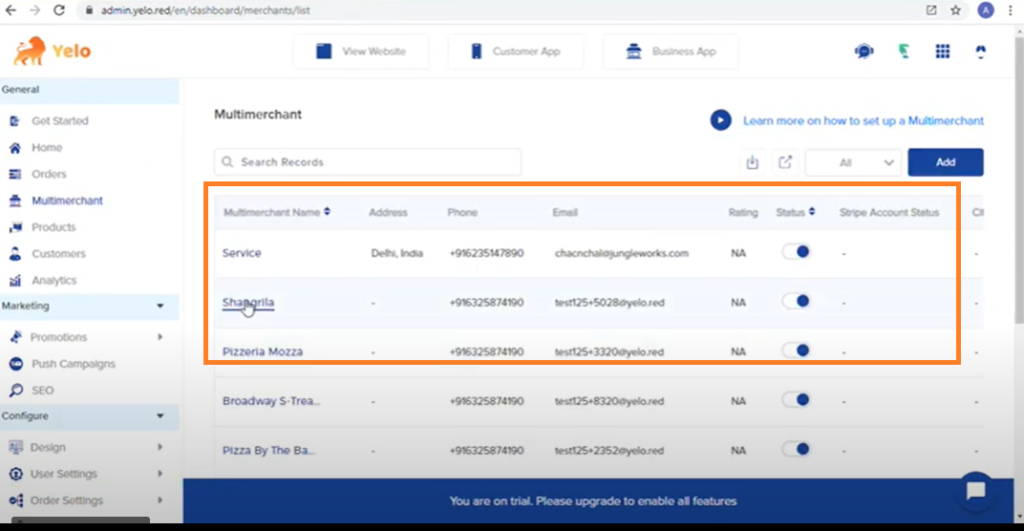
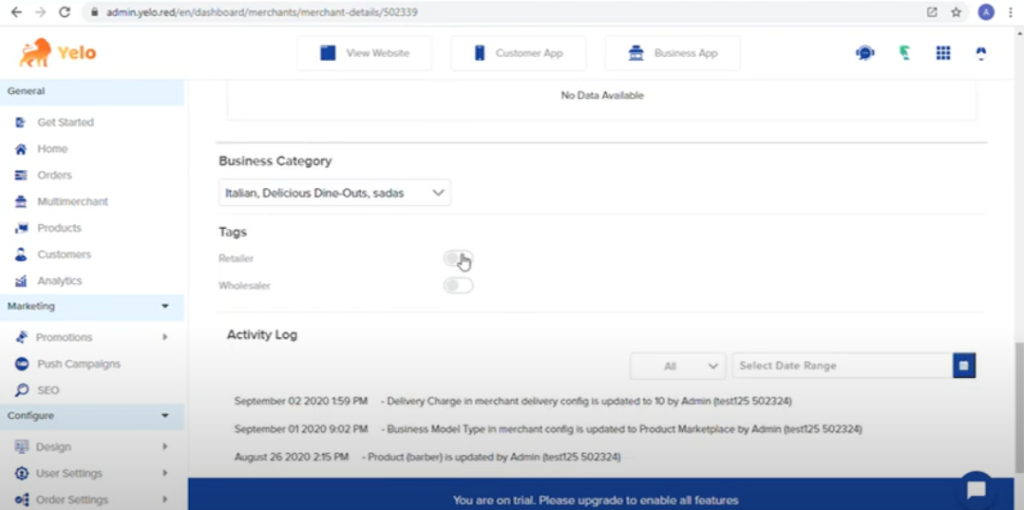
- Choose a merchant name. (Shangaritha, in this example)
- Scroll down and find the tags option. Enable either of the tags (Example- Retailers).
- Next, select the Customer tab under the General option in the side menu bar.
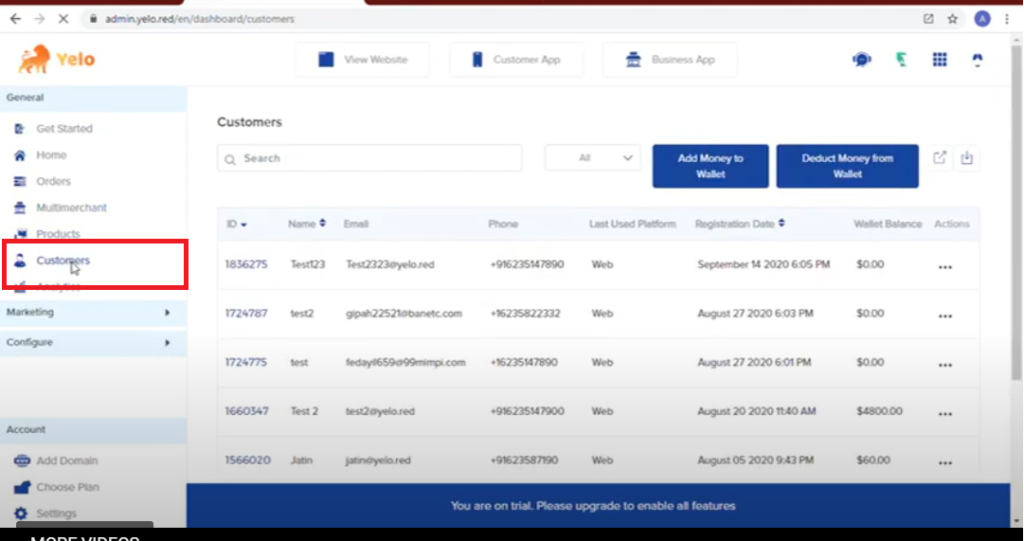
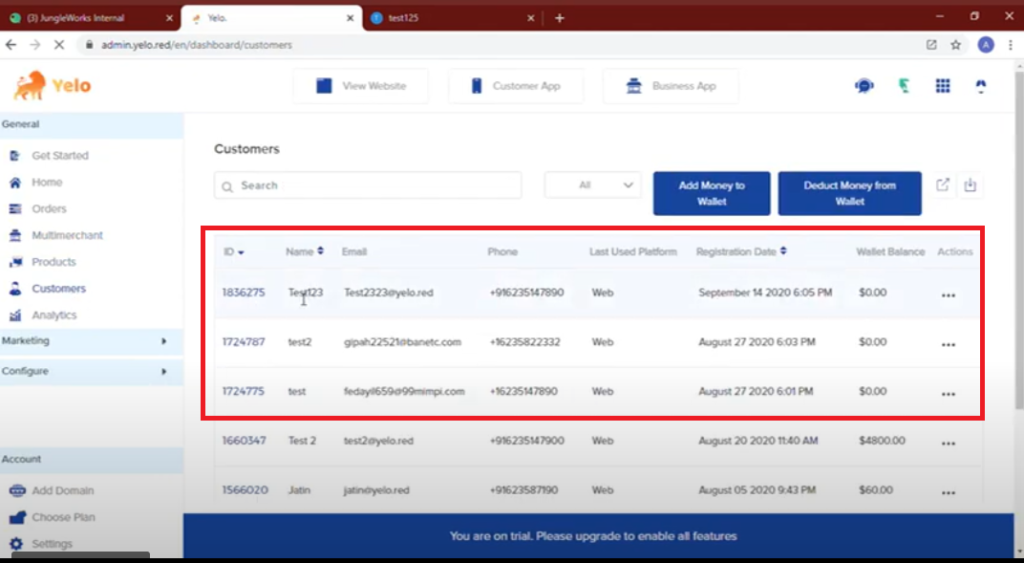
- Choose a customer ID/name.
- Enable/disable tags-
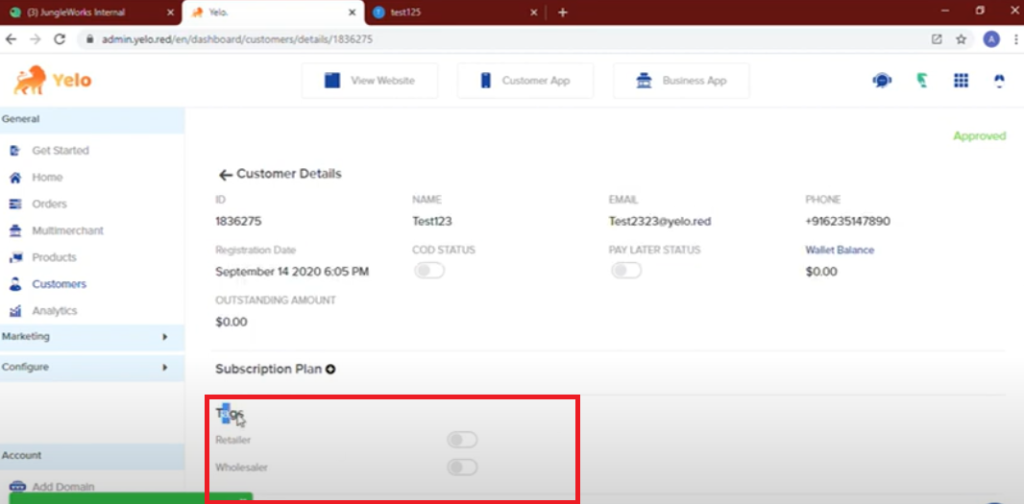 Here we have enabled the retailer tag. So now, when this customer logs in and visits your marketplace, they will see merchants with retailer tags. (In our case- Shangri La.)
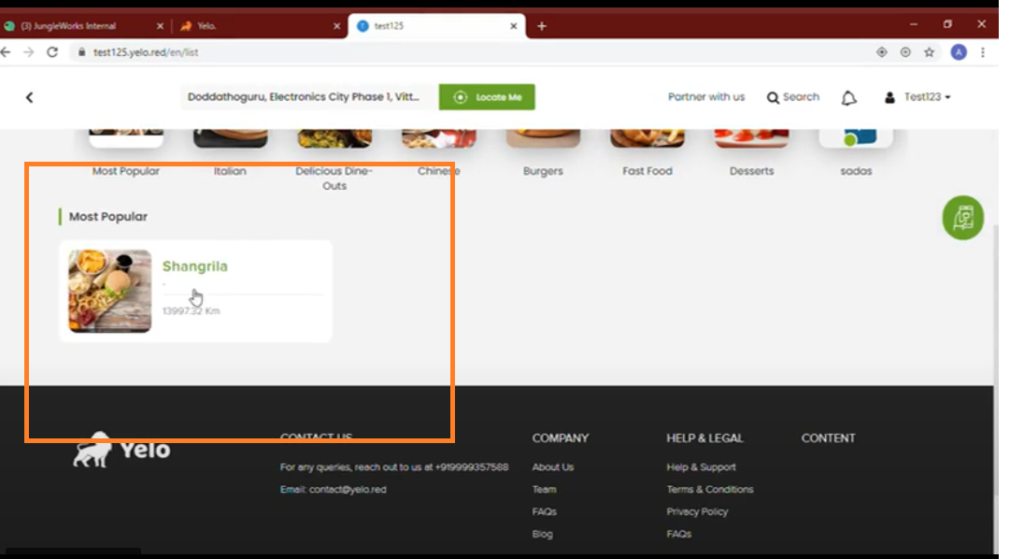
And, that’s it! The customer will be able to see only those merchants in your marketplace, for which you have enabled the tags.
This way, you can easily configure the wallet settings on the marketplace.
Leave A Comment?