
Overview
Email marketing is a critical part of any business’s marketing strategy. It enables you to target different segments of your audience on a one-to-one basis with highly customized and personalized messaging. Hippo’s email channel allows you to engage with your customers by sending them the right emails at the right moment.
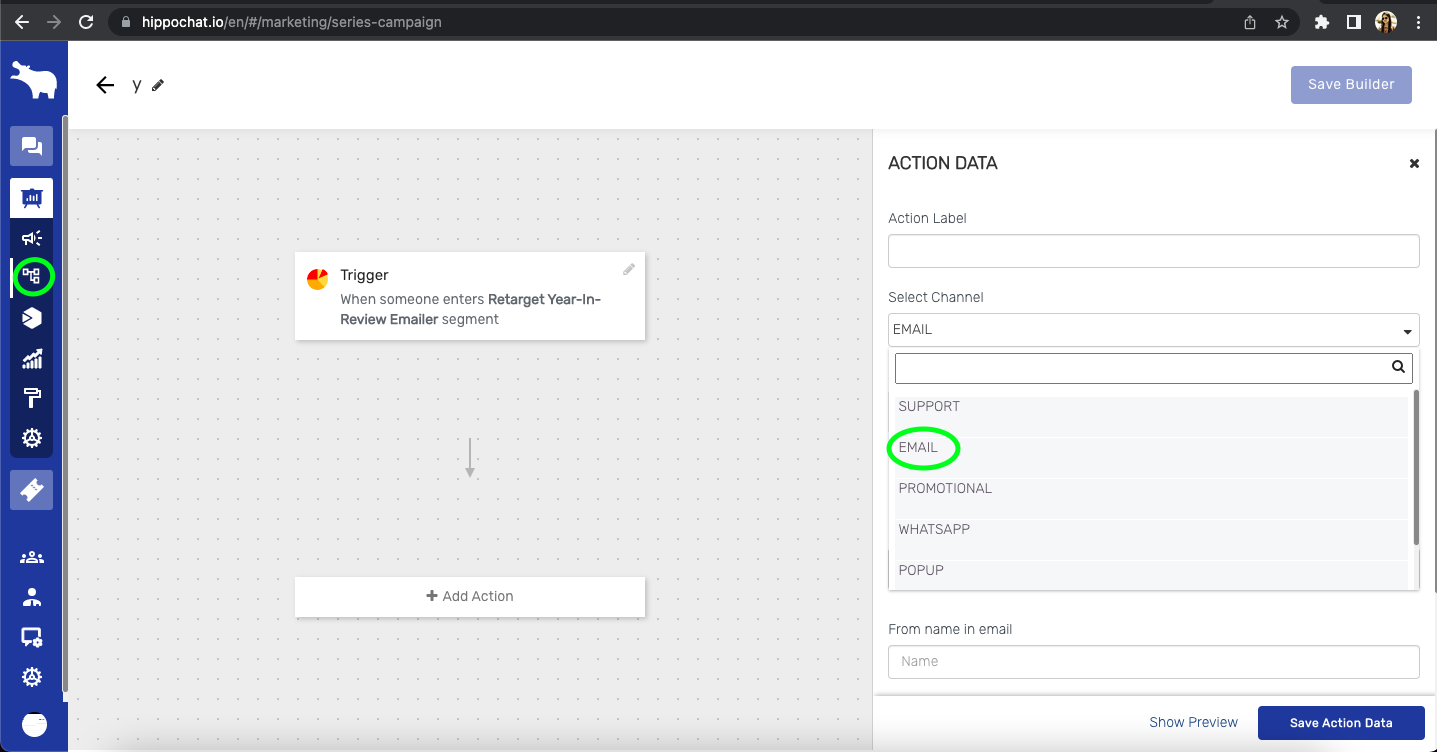
To use this channel in campaigns, your domain must be verified. Once done you can choose Email as a channel, add from the name, select an email address, and select a template.
You can draw your template as well as drag and drop content. You can also import your HTML file directly.
Once a campaign is sent, you can check several stats of the email like Reach, Delivered, Opened, Clicked, Bounce, etc.
Configure Email Channel
HIPPO allows you to configure any email service of your choice to send emails from its system. Configure your email by going into Engagement Automation-> Settings -> Configuration -> Email configuration>Add Email in HIPPO Dashboard. Fill in a valid email address. An email verification will be sent to the email address and the link will be valid for 24 hours. Verify your email and you are all set and ready to send emails to your contacts.
You can also view the list of other emails added with verification status. You can resend the verification email or refresh added emails from here. The verified emails will be displayed in case the email channel is selected while setting up a campaign.
Watch the video below to learn more:
Create an Email Campaign
Email campaigns reach your application or product users using the email channel. A marketing email is a type of email used for sending promotions, sales or discount offers, new features, or products.
You can send personalized emails to your users based on:
- Target audience immediately or at a specific time (One-Time)
- Target audience
Before you start creating email campaigns, make sure you have configured email settings.
To create an email campaign:
- Navigate to HIPPO Engagement Automation Dashboard> Instant Campaigns using the left navigation bar.
- Click New Campaign on the top right-hand side corner of the menu screen.

- Enter the campaign name and select the campaign type as “Email” to create an email campaign.
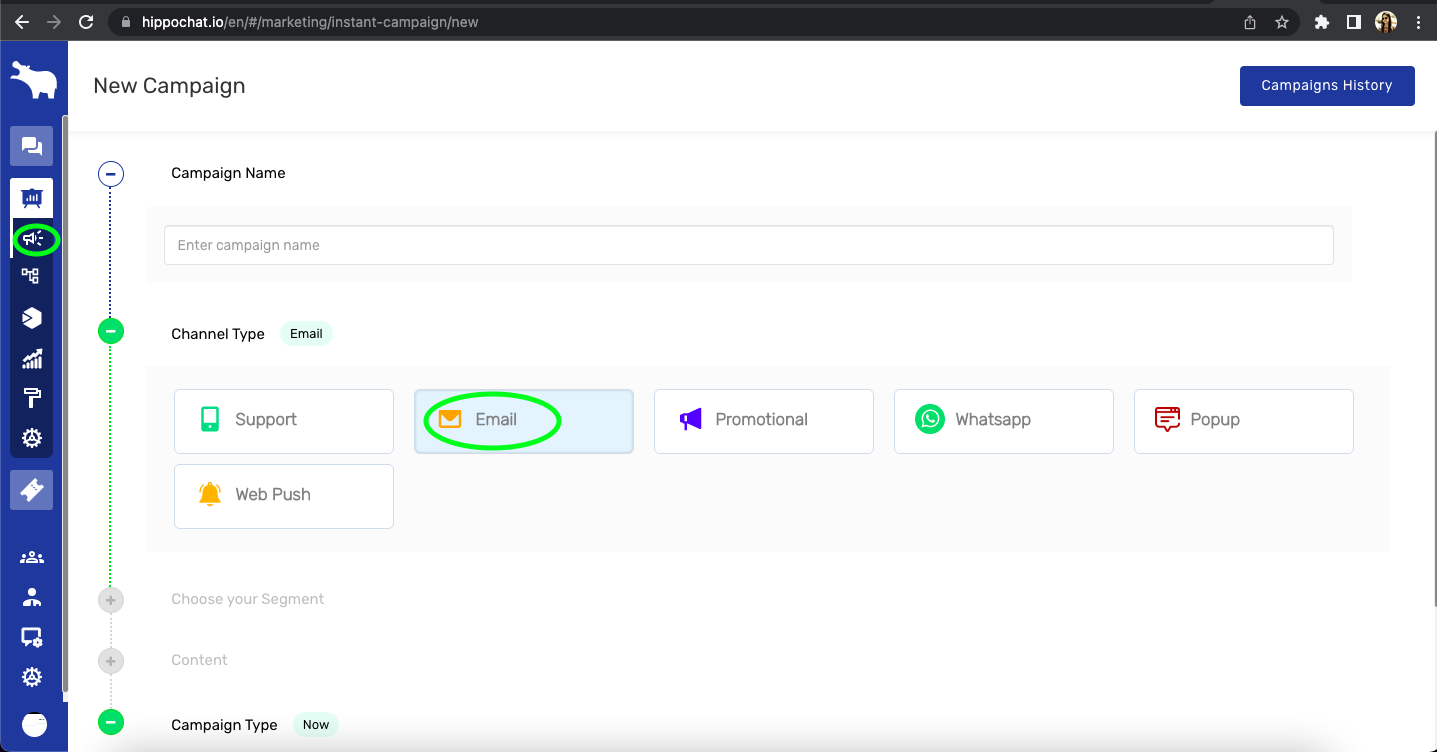
- You can also create a “Live campaign” as an email campaign by selecting the channel as “Email“.
Leave A Comment?