
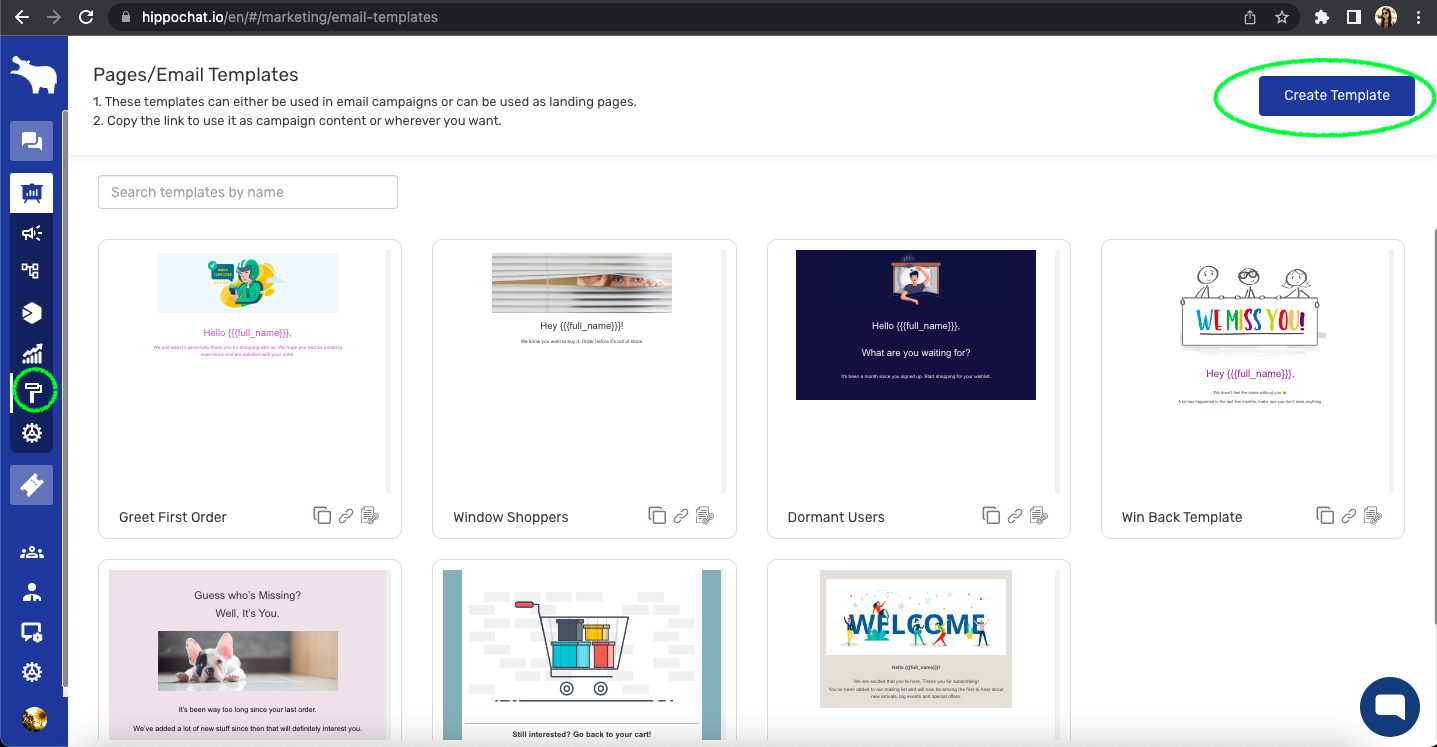
Pages/Email Templates
HIPPO lets you create a customized engagement experience through our Pages/Email Templates feature which lets you either create your own template or choose from the library of already created templates. You can also edit the existing templates as per your needs
You can use these templates to send a message to your customers via email or set them as a landing page whenever a contact opens or clicks on your campaign message.
Create a new template
To create a new template you must click on the “Create Template” option in the top right-hand corner of this screen. This will redirect you to the template editor screen.
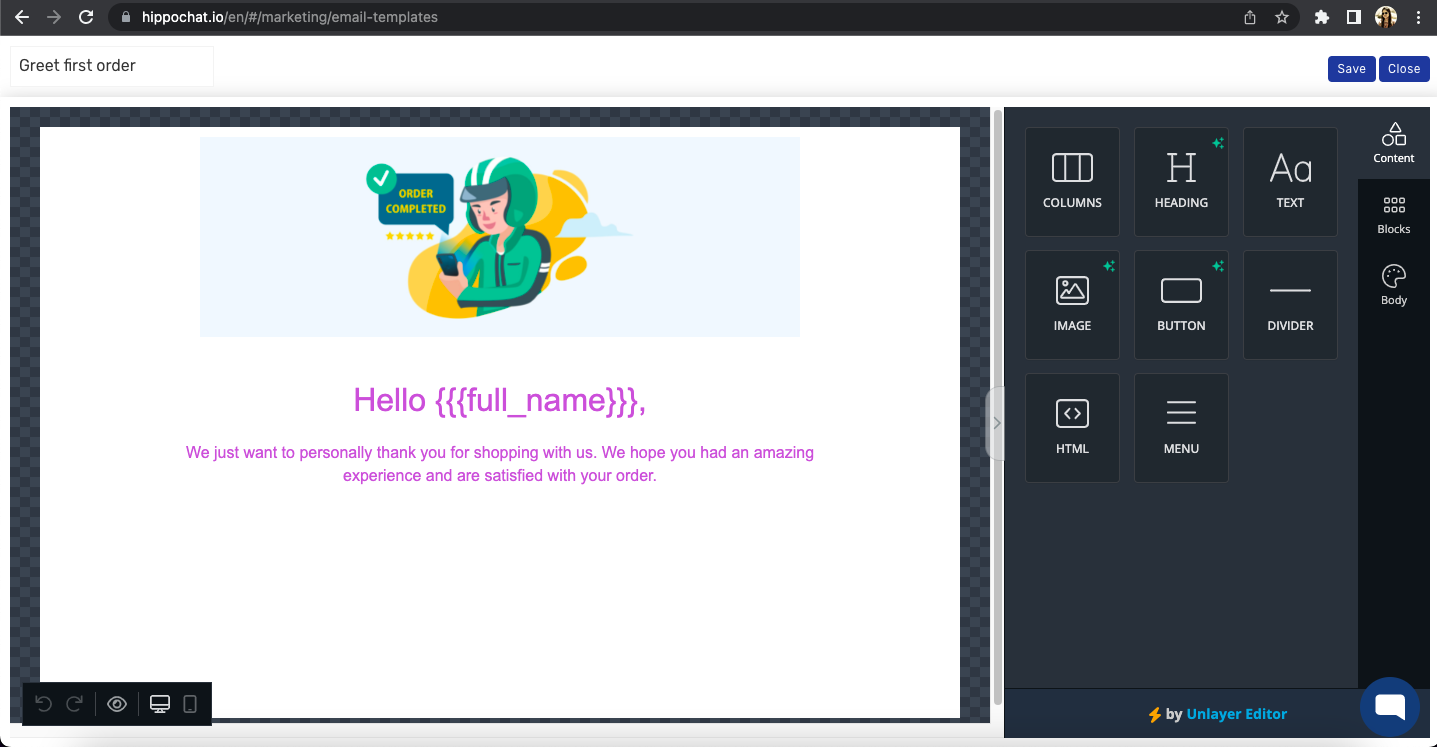
Enter the template name, add content from your desktop or mobile, and set the number of columns/rows and each column/row property like background color, border, etc.
You can also add text, images, buttons, page divider, HTML code, and menu just by drag and drop and play around with their respective format settings to get the desired look.
You can also preview how your template will look in Desktop and Mobile view while creating the same. Once created save your template and it is ready to be used for your campaigns.
Let’s understand each item in detail.
A. Content
- Columns: This function lets you add N number of columns and rows to your template. You can add content in these columns and rows. You can also set each column/row property like background color, border and padding style.
- Heading: Headings are content that you can add to a column or row. You can set the heading type, font size, color, alignment, etc
- Text: Text lets you add text content to a column or row. You can set the text’s font size, color, text alignment, etc
- Image: Image lets you upload images for your campaigns. You can upload images in png, jpg, or jpeg formats. You can also set image alignments and link an image to an action which is redirecting to a third-party link.
- Button: The button lets you insert a button in the template with the button text, action (setting a link to which the user will be redirected upon clicking this button), and button options like font, size, alignment, border, padding, etc.
- Divider: Divider is used to divide a template into sections as per your needs.
- HTML: HTML lets you add HTML code to your template.
- Menu: The menu lets you add items when clicked by a user will lead to a certain set action like opening a website, sending an email, or initiating a call to a phone number. Along with this, you can also set menu styles like font family, font size, color, layout, alignment, etc.
B. Blocks
Blocks let you add rows and columns in different layouts.
C. Body
The body let you set the overall text color, background color, content alignment, font family, font-weight, etc for all the texts in the template.
Leave A Comment?