
How to Integrate your RazorpayX Account with Tookan?
Tookan is a cloud-based platform designed to revolutionize real-time tracking and field management for businesses of all sizes. By leveraging Tookan, Businesses can Increase their operational efficiency, Enhance customer satisfaction, Reduce costs and increase profitability, and Gain a competitive edge in their respective markets.
Integrating Tookan with RazorpayX offers a comprehensive solution for businesses looking to streamline their delivery operations and payment processing. By leveraging the strengths of both platforms, businesses can enhance efficiency, and stay ahead in today’s competitive market.
The integration process is very simple and takes only a few minutes to set up.
Here’s a step-by-step guide:
1. Go to RazorpayX Sign Up or Login Page by clicking on the following link and create an account: (https://x.razorpay.com/auth)

2. Click on the top right button as shown in the image and then go to the RazorpayX dashboard.

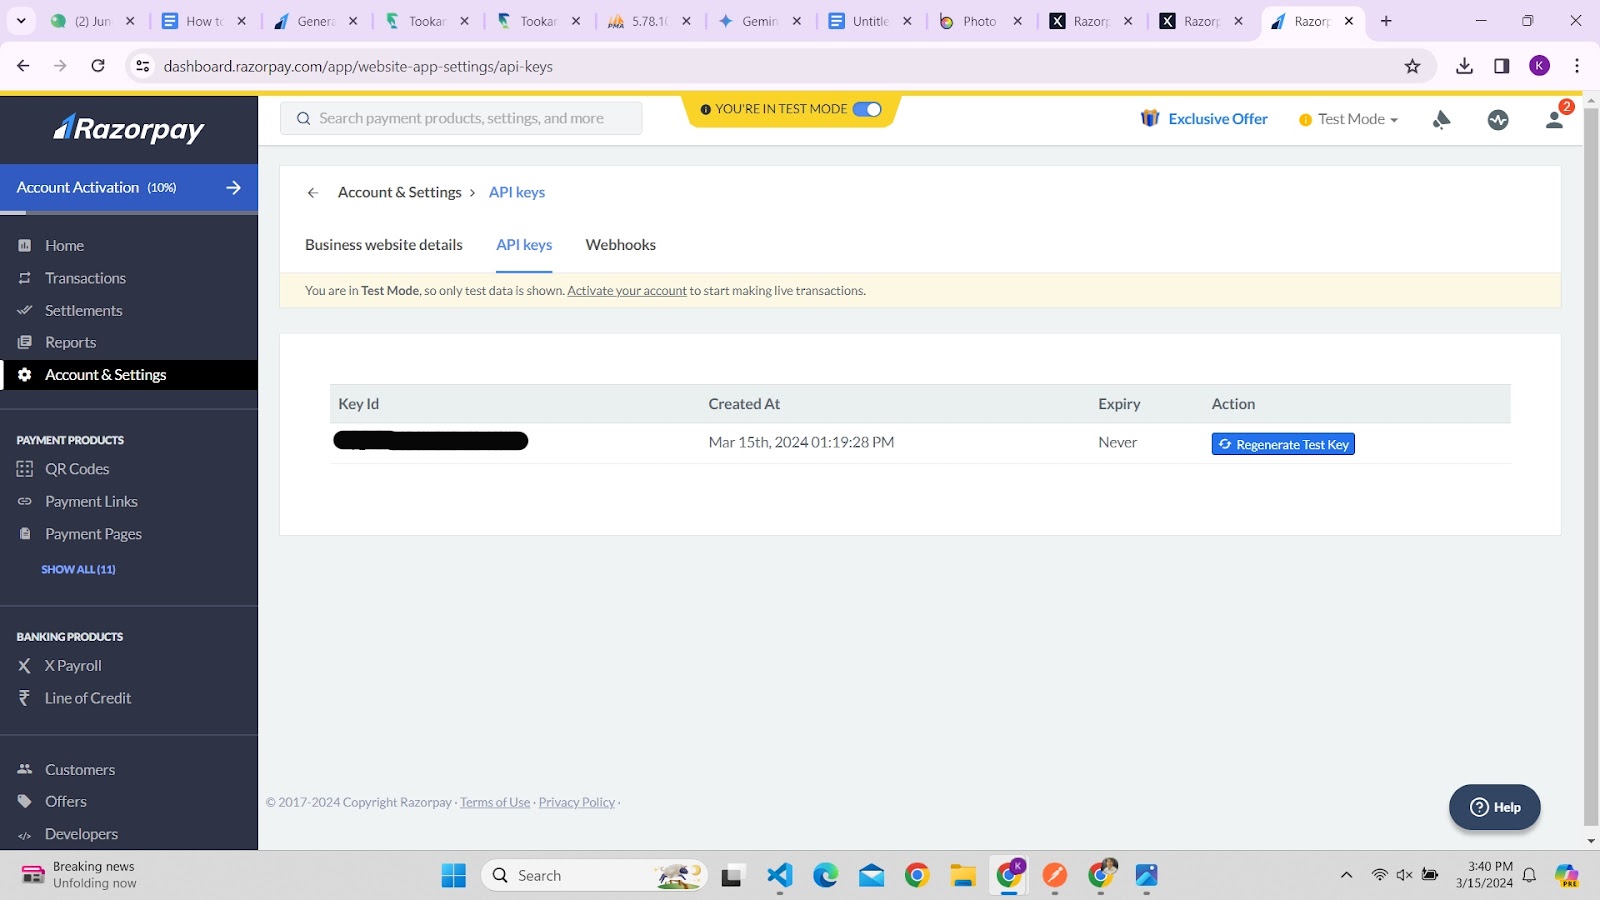
3. Click on the Account & Setting button given in the left side menu go to API Keys and then click on Generate Key to generate your Key-Id and Key Secret.
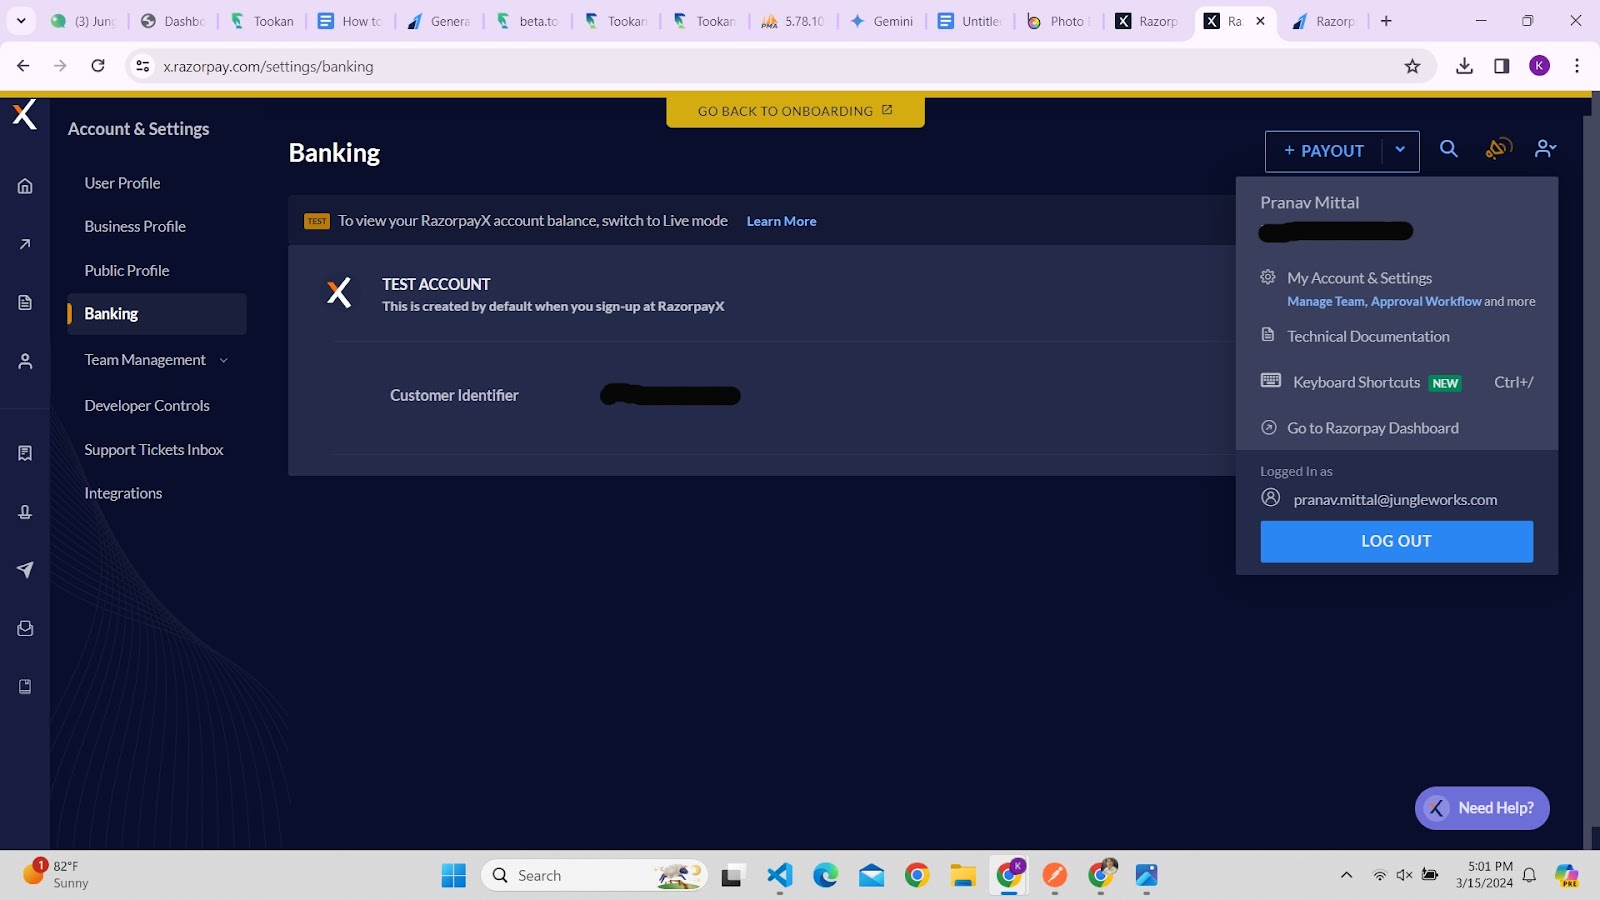
4. Click on the Profile button and open the MyAccount and Settings tab. Now, go to the Banking tab to view your Account Number.
5. Go to the Tookan Extensions page (https://extensions.tookanapp.com/addons) search for Razorpay Agent Payouts and click on it.
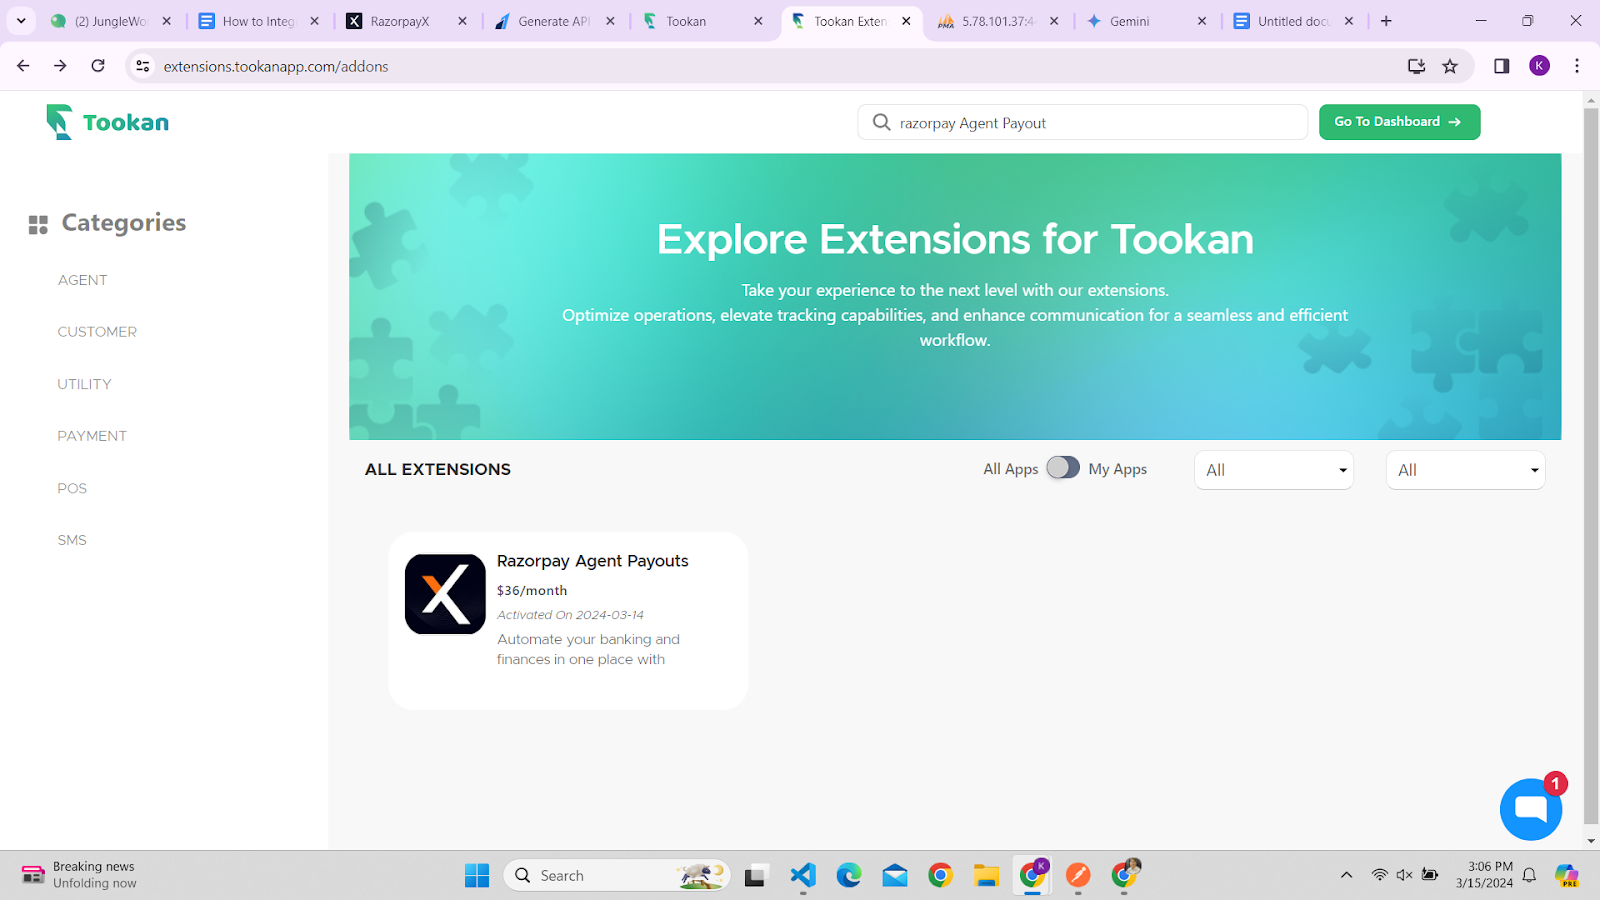
6. Click on the Activate button.

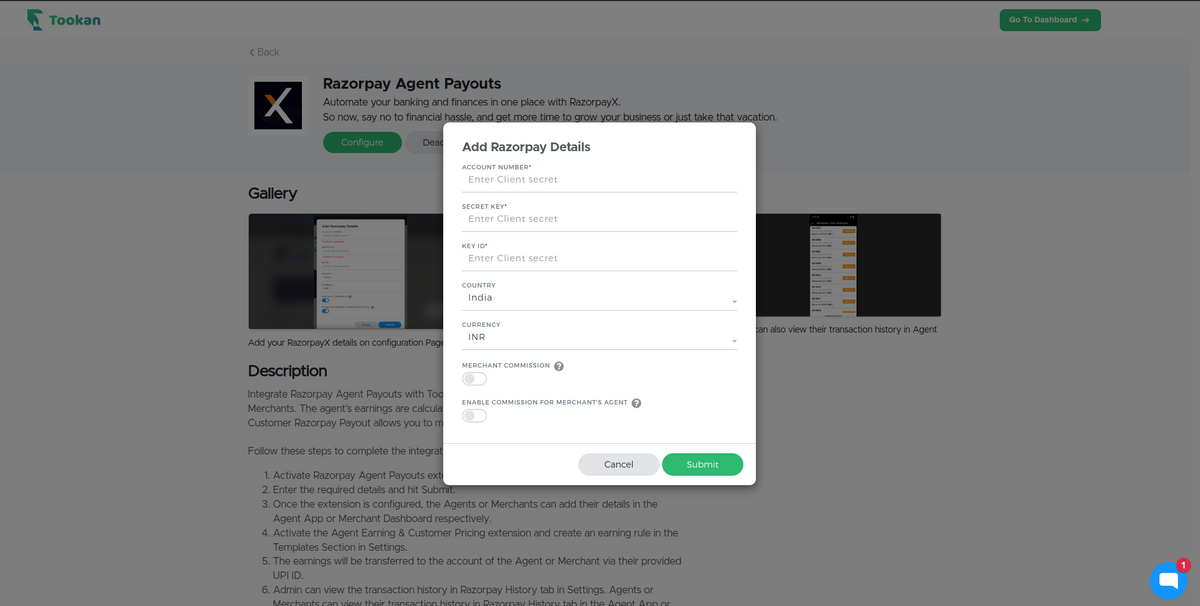
7. Fill in all the details that you gathered from your RazorpayX account and update it.
8. Once the extension is configured, the Agents or Merchants can add their details in the Agent App or Merchant Dashboard respectively.
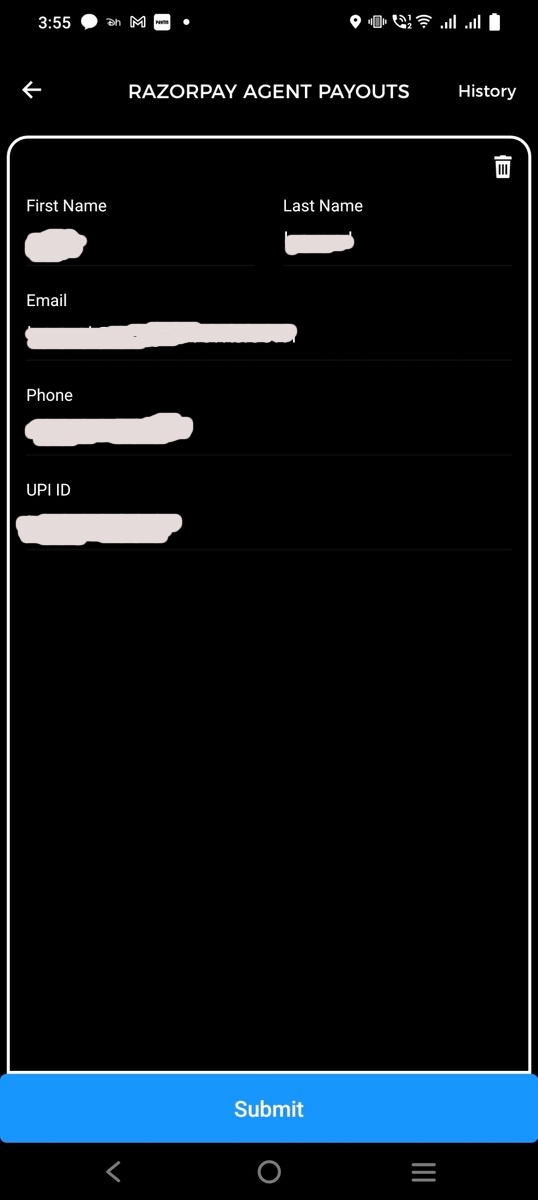
For Agent App:
Open the Agent App and click on the left side menu and go to Razorpay Agent Payout and fill all your details and submit it. Below is the screenshot as shown in agent’s app.
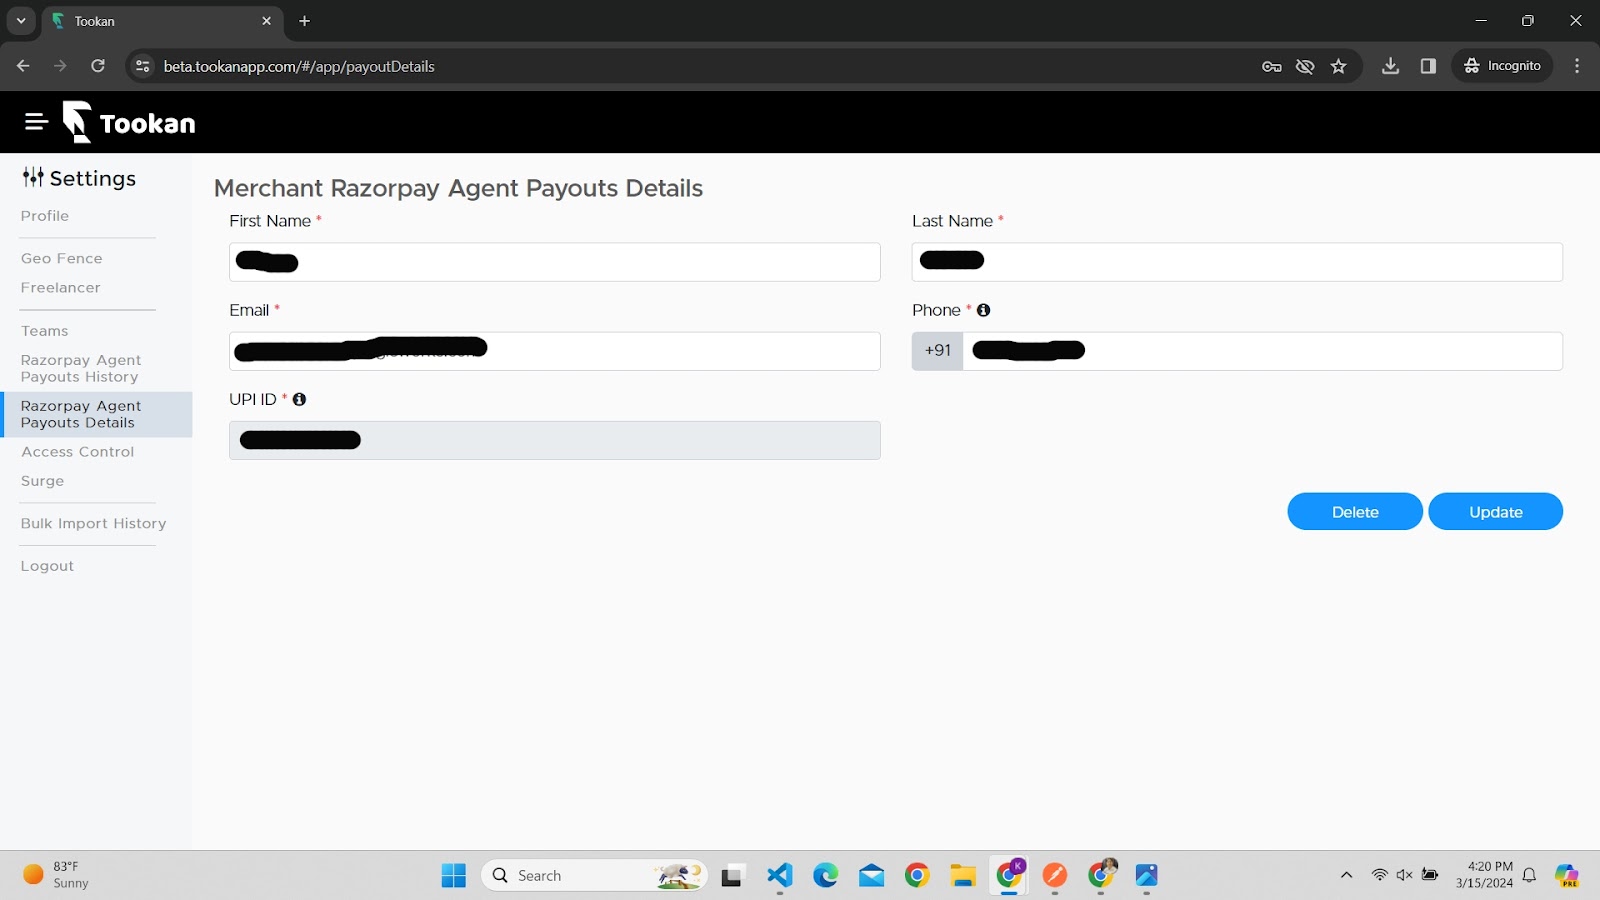
For Merchant App
Open the Merchant dashboard and click on the left side button and go to Settings and click on the Razorpay Agent Payout Details and fill all the details.
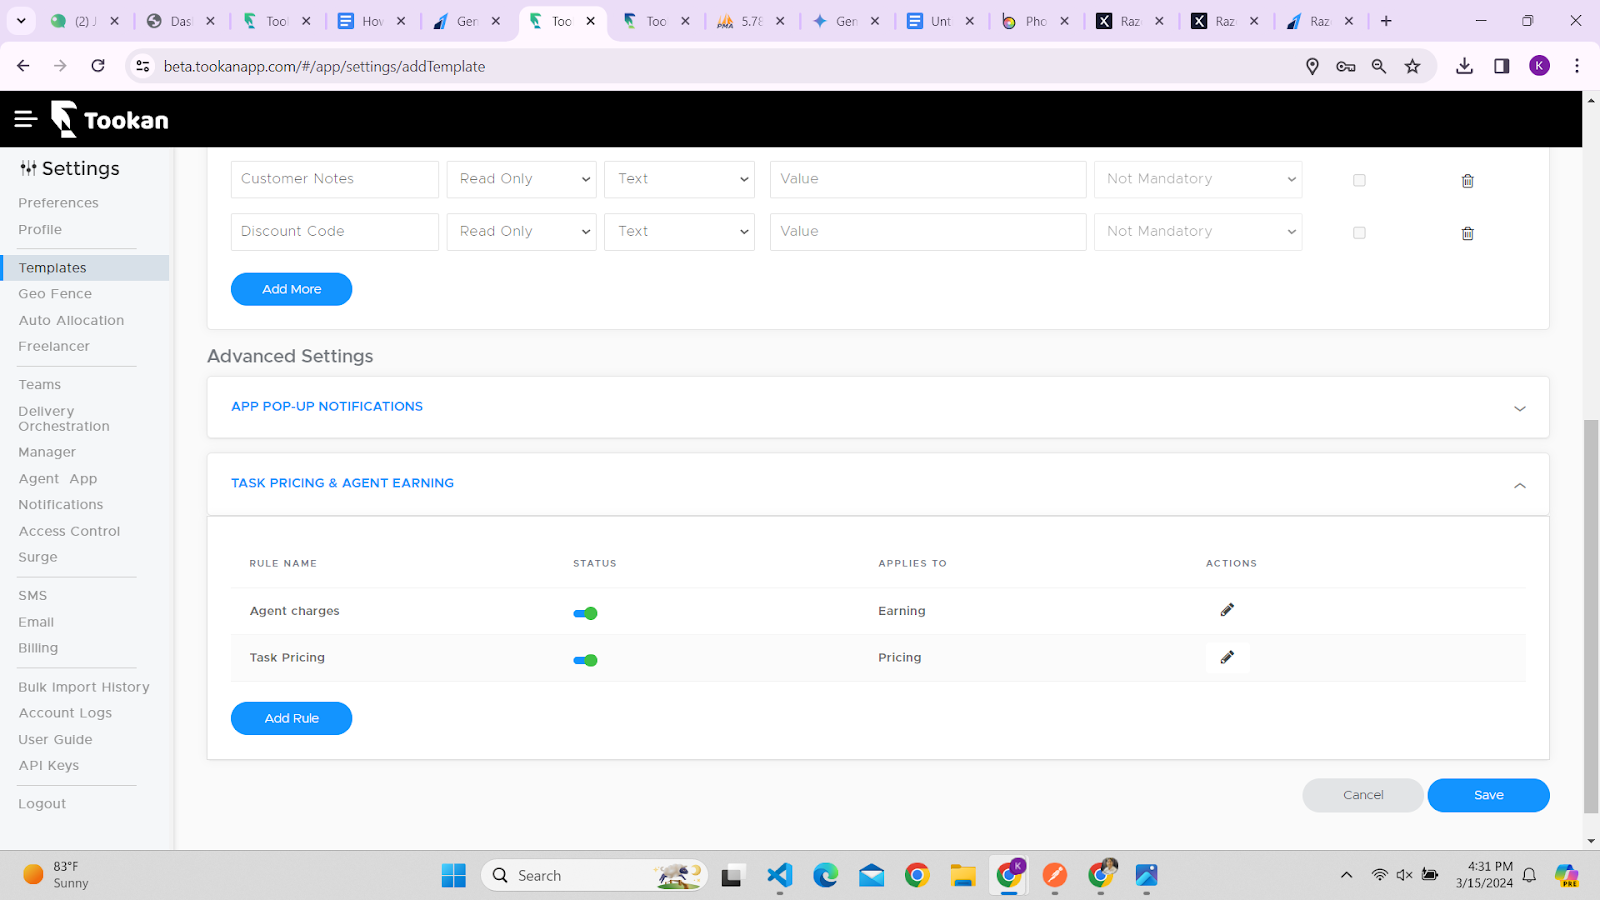
9. To create Payouts, you should have to activate the Agent Earning & Customer Pricing extension and go to the Template section in Settings to create an earning rule in the Order Details Template.
Open the Order Details template and click on the Agent Earning and Task Pricing and then add rules for both agent charges and task price as shown in image and save it.
10. The earnings will be transferred to the account of the Agent or Merchant via the UPI ID.
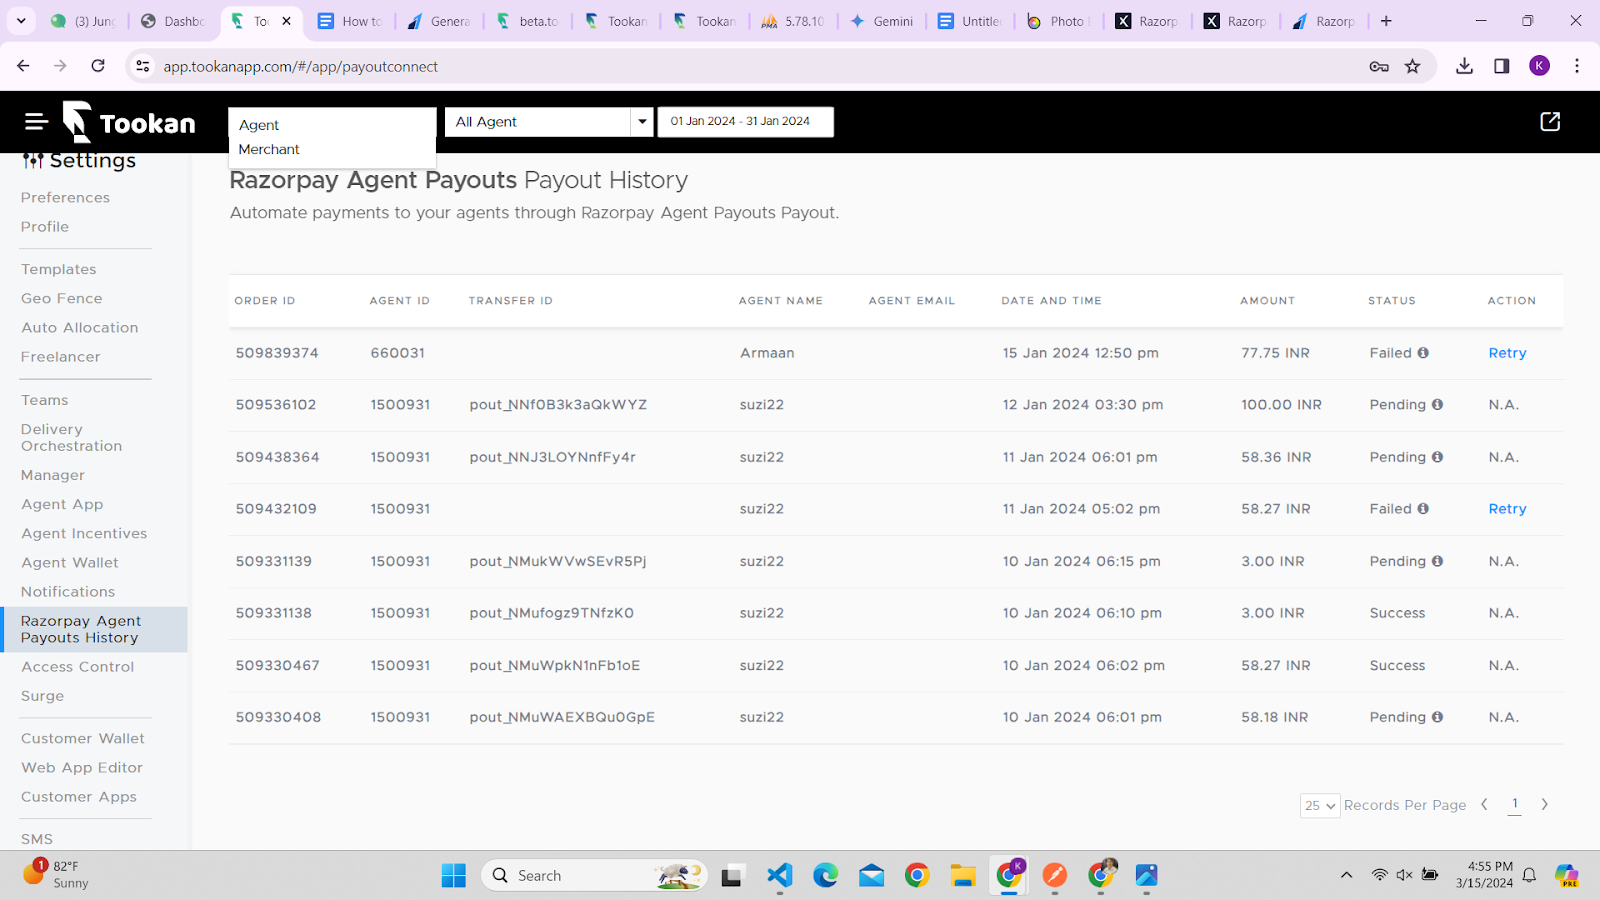
11. Admin can view the transaction history of both Agent and Merchant in the Razorpay Agent Payout History tab in Settings.
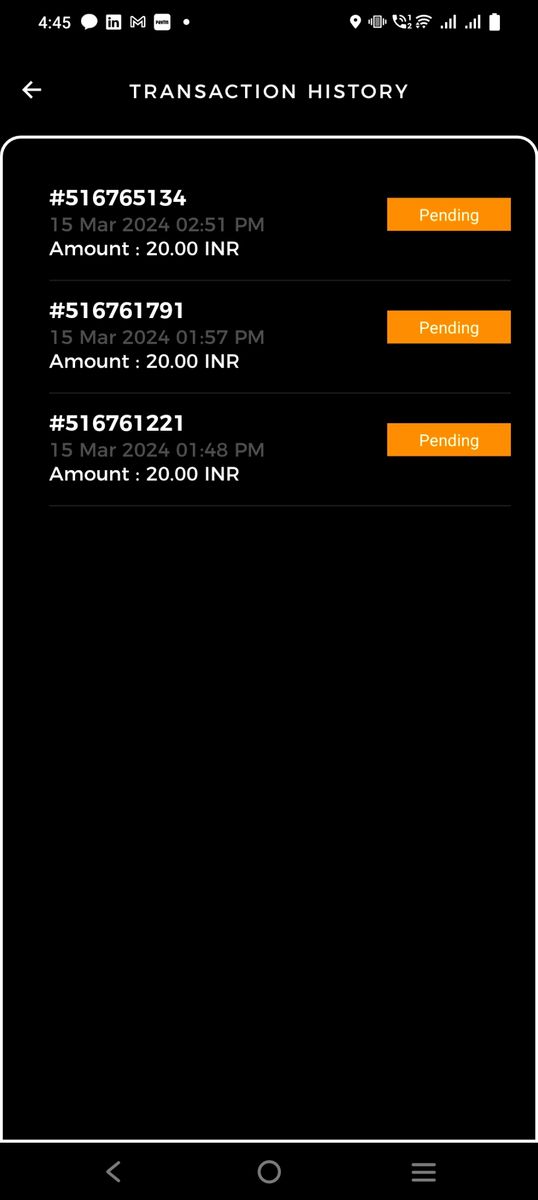
12. Agents or Merchants can view their transaction history in the Razorpay History tab in the Agent App or Merchant Dashboard respectively.
Transaction History in the Agent App:
Transaction History in the Merchant App:

Leave A Comment?