
How to Add Agents in Mappr?
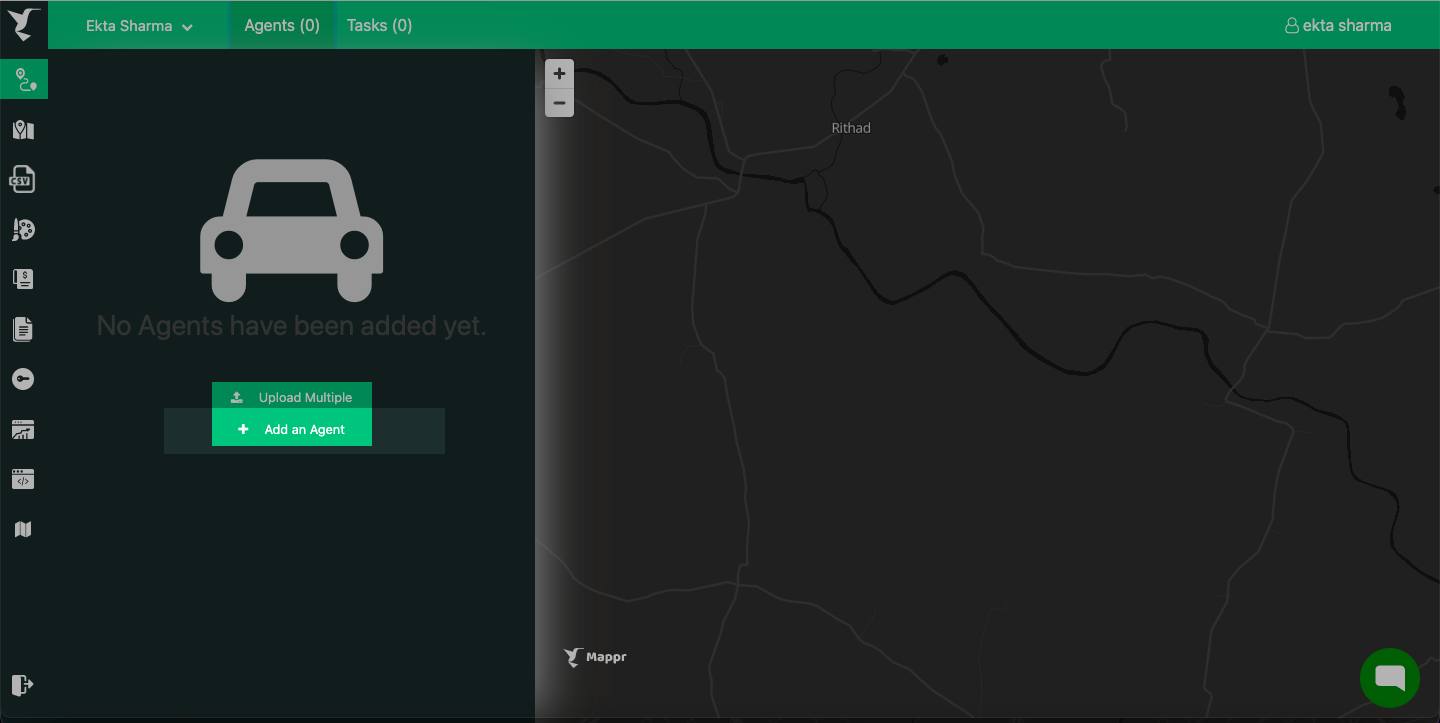
Agents are added to a project. This is the first step once you create a project on Mappr. If you have already added agents to any previous project system will show those agents by default under the “Agents” tab on the “Optimize Routes” project screen. You can add more agents to this list or delete these agents and add new ones. You can add agents one by one within Mappr. Click the ‘+Add an Agent’ option to add a new agent (see below):
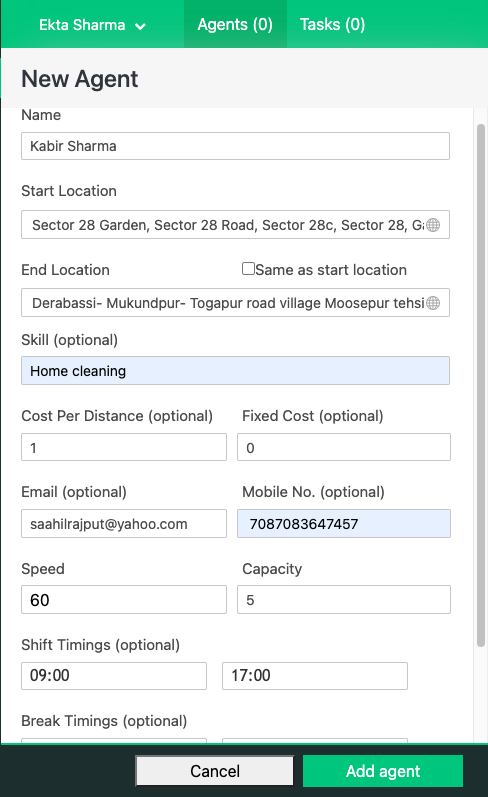
What each field means:
- Name: Name of the agent.
- Start Location: The start location of the agent.
- End Location: The end location of the agent where he will end his/her shift.
- Skill (optional): Allows you to assign certain stops to certain agents. Enter a word or a letter into this field, and make sure you’ve indicated Skill in your Stop, too.
- Cost per distance (optional): These are costs incurred by the company for fulfilling the tasks. There will be a fixed cost and variable cost per ride. For example – if the driver commission is based on distance then the calculation has to be the amount based on the agent traveled to complete the task.
- Fixed Cost (optional): These are costs incurred by the company for fulfilling the tasks. There will be a fixed cost and variable cost per ride.
- Email (optional): Email of the agent.
- Mobile number (optional): Mobile number of the agent.
- Speed: The speed of the agent vehicle.
- Capacity: This is the capacity of the agent or the vehicle that the agent operates for delivery. It is a number that can act as any unit of measurement. Agents with sufficient capacity will be considered by the system to assign tasks of stops that have load defined.
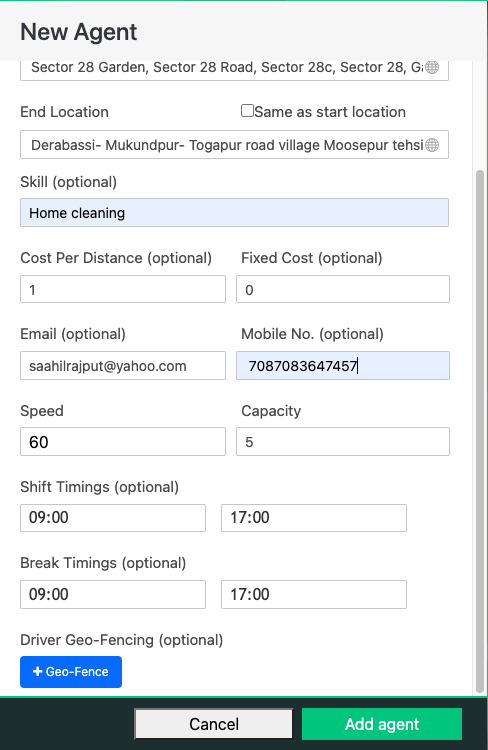
- Shift timings (optional): The start and end shift time of the agent when he will be available to take task requests.
- Break timings (optional): The break time in between the shift timings when an agent will not be available to take task requests.
- Driver geofence: This is for restricting the agent’s assignment to tasks of a specific region. To assign a geofence, first, you need to add tasks, then only you will be able to select geo-fence for an agent.
Watch the video below to learn more:
Leave A Comment?