
Project Settings in Mappr
Project settings help you set certain criteria for optimizing routes and assigning tasks to your agents.
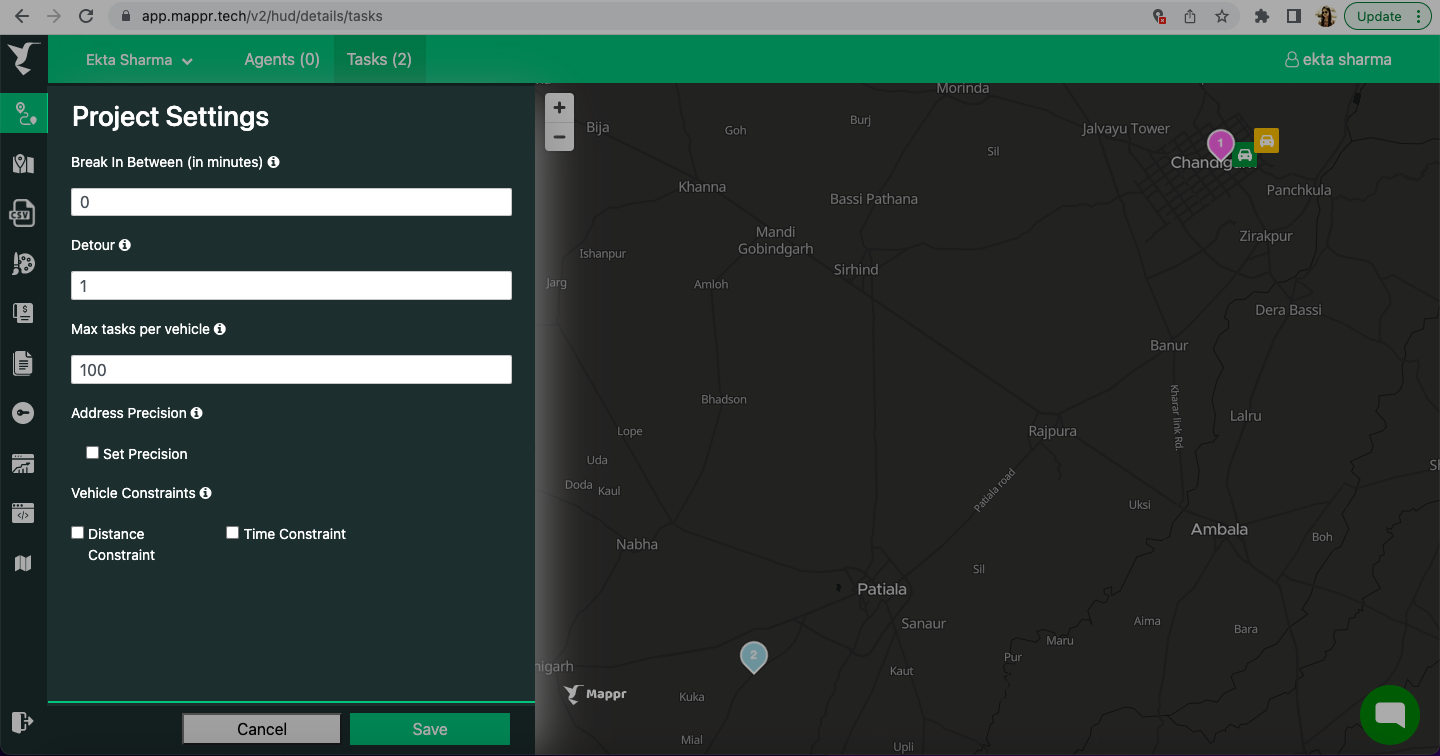

What each setting means:
- Break in between (in minutes): Here you can set up the wait time for the agents before moving to the next stop. This will be considered for route optimization. The system will add this time between each task and determine tasks to be assigned accordingly.
- Detour: Here you can set the maximum detour allowed for the stops that are being optimized. If defined, the system will consider alternate paths as well for optimizing routes to minimize overall task time.
- Max tasks per vehicle: Here you can set the maximum number of tasks each agent can complete in a shift.
- Address precision: You can set the precision percentage for considering the address of the stops for optimization. Precision will be considered while searching for the address in stops uploaded through CSV. By default, the percentage is 100%. You can set your own precision percentage below 100%
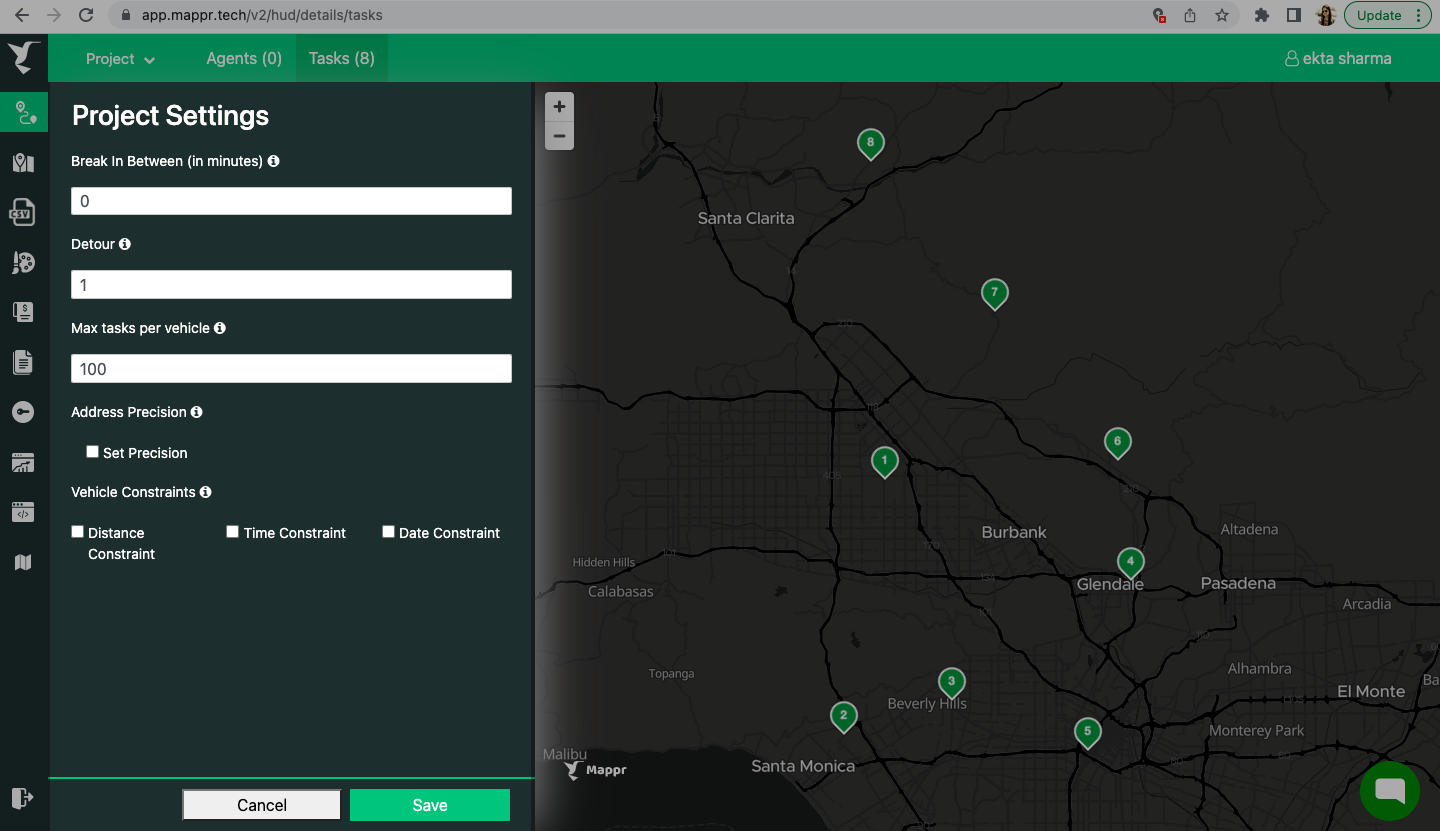
- Vehicle constraints: Here you can set distance and time-based constraints for agents to be assigned tasks for the project:
- Distance constraint (in meters) means the maximum distance each agent can cover.
- Time constraint (in seconds) means the maximum time an agent can be on duty.
- Date constraint: This is applicable in case of projects with the Appointment workflow and for Stops uploaded through CSV. The tasks of the dates in the CSV will be assigned according to the dates set in the project settings. For example- If a user uploads 50 tasks through CSV and 30 of them have a date of 30/01/2023 and 20 have the next day date i.e 31/01/2023, in this case, in the Project settings we can enter the start date as 30/01/2023 and working days as 2 and we can enter shift timings as well then the tasks will be assigned according to these dates and shift timings.
You can either apply either or all of the constraints in a project.
- Vehicle information: This is applicable in case of projects with the Custom workflow. This is used to estimate vehicles required to complete the tasks. You need to enter the per-vehicle capacity and total vehicle count. Kindly note: Capacity also termed as Load must be defined while adding Stops. In case the load is not defined at the Stop level the system considers the default capacity of the Stop as 1.
- Agents phone number: This is applicable in case of projects with the Custom workflow. You can add your agent’s phone numbers so that the agents can receive an SMS with the assigned task information and the routing link. After allocating the vehicles the agents will be auto-assigned tasks in the order of phone numbers added which means the agent whose phone number is added first will be assigned tasks first.
Leave A Comment?