
1. Adding basic details
The first step towards setting up your platform is to add basic details of the platform. Basic details can be added by going to Admin Dashboard> Configure> Basic Details
Basic details include:
– Adding the marketplace language . Since Panther is a multilingual platform, you can also add multiple languages from the available list.
– Marketplace Name
– Adding slogan to the homepage ( Can be seen in the hero section of the landing page)
– Adding description to the homepage ( Can be seen in hero section of the landing page , just below the slogan)
– Adding the Search help text

2. Setting up Design section
Now let’s add some design to your marketplace. It can be added by going to Admin dashboard> Design
Design configurations include-
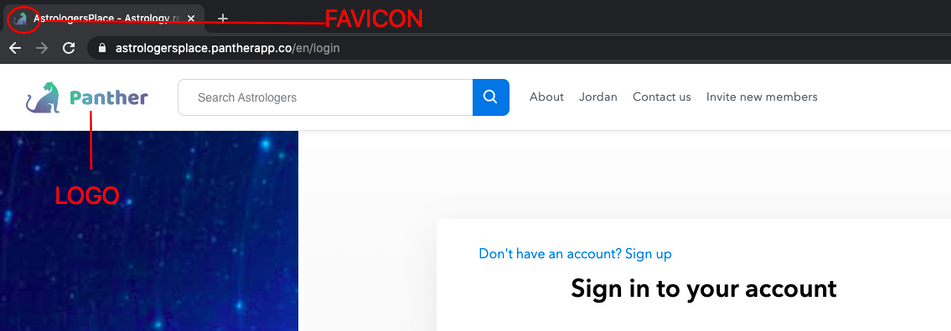
– Adding a logo for your web platform and mobile view
– Selecting the marketplace theme/main colour
– Adding a cover photo, selecting a default browse view
Please note: Cover photo will appear on the hero section of the listings page and will only be visible if the landing page is disabled
– Adding the favicon
– Adding Custom Scripts
Explore the custom scripts option to add an extra design element to your platform or add any integrations to your platform only by simply adding the code to this section
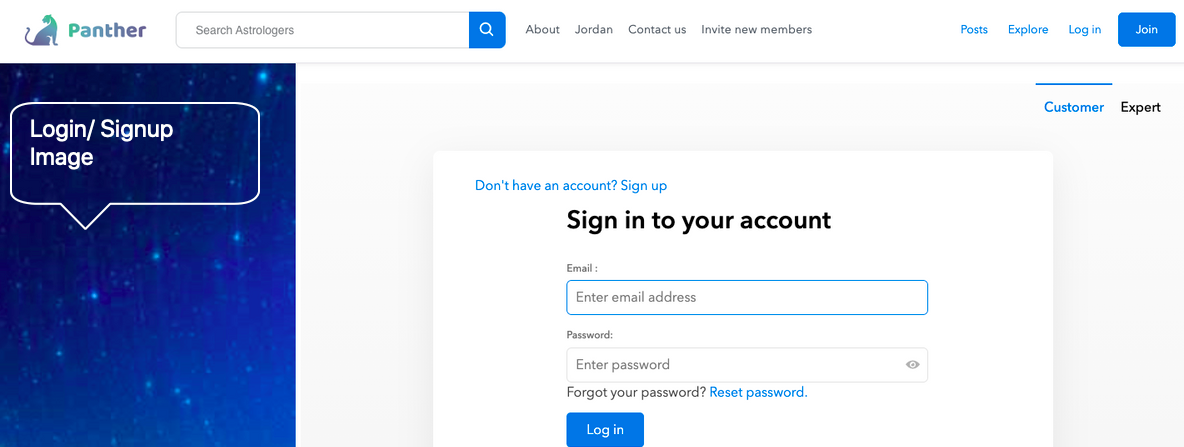
– Adding Login Photo
– Adding Customer and Expert Signup Photo
Please note : Login, Customer and Expert Signup photos are currently visible only with the premium theme and appear in the side panel while logging in or signing up
3. Selecting a Theme
Now select an appropriate theme for your platform by going to Design> Themes.
You can choose from the available 3 themes. Basic, Lite and Premium.
Changes in the themes can be seen through top bar and visibility of categories in the side panel (in lite theme) or in the top bar (in premium theme).
4. Changing Terminologies
Panther gives you the option to change the terminologies of the platform that best suits your Use-Case. Terminologies can be changed for all key features of the platform and can be configured by going to Configure> Terminologies.
5. Setting up Top bar
Go to Design> Top bar to configure the top bar. Configurations in the top bar can be:
– Changing text/ terminology for Post a new listing option
– Adding static content pages (About, Contact Us, Invite new members) to the top bar
Please note: To edit text static content pages, please enable them from the top bar section Once enabled you will be able to edit their content from Configure> Static Content
– Apart from enabling the static content page, you also have the option to add Custom content pages (created by going to Configure> Content Pages) by clicking on Add a new link to menu
– You can also add a URL to your logo by adding the URL under Logo Link
6. Setting up Footer
Last step in basic settings is to customise the platform’s footer by going to Design> Footer.
Learn more about how to customise footer through this detailed article https://help.jungleworks.com/panther/dashboard-designs-how-to-customise-footer/
7. Adding Categories
Now it is time to add categories for your platform. As an admin you will be required to add categories for listings and courses seperately
– To add Listing categories
Go to Listings> Categories
– To add Course categories
Go to Course> Categories
Leave A Comment?