
PetPooja Integration
PetPooja is an amazing Restaurant and POS billing system that lets clients manage their orders, reduce the wait time, change the menu, and also facilitates the customer through various modes of payments like cash, cards, or online.
Integrating PetPooja with your restaurant website can be beneficial. You can also add it if you own a Grocery store. Here is how you can integrate PetPooja into a restaurant website with Yelo.
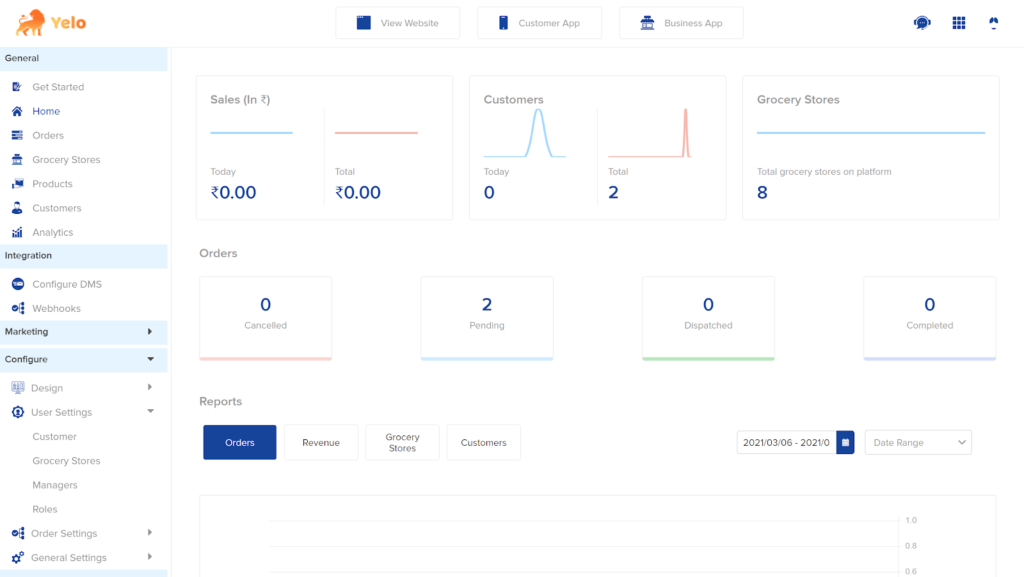
- Log in to the Yelo Admin Dashboard, where you will find all the sales, orders, pending orders and other reports.
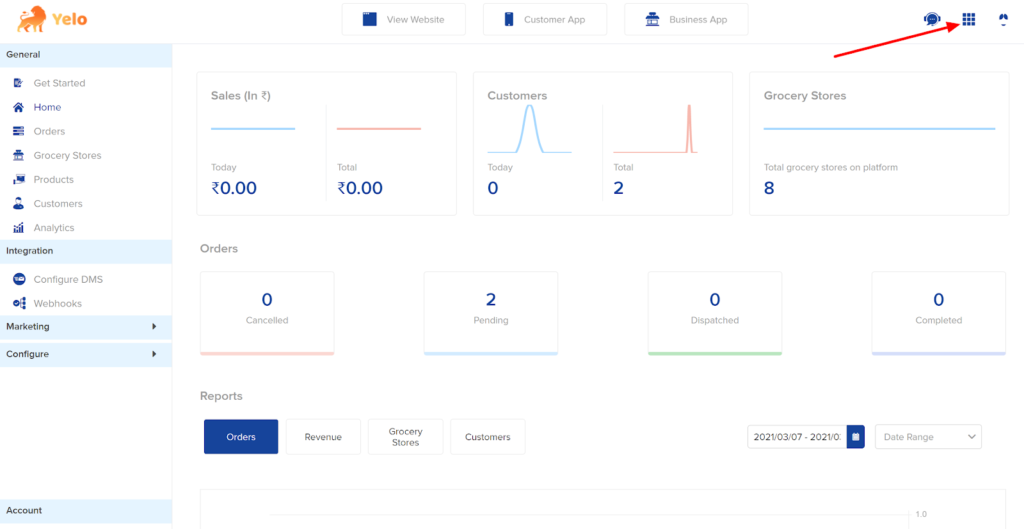
- In the top right-hand side of the dashboard, click on Integrations icon and a new page will appear.
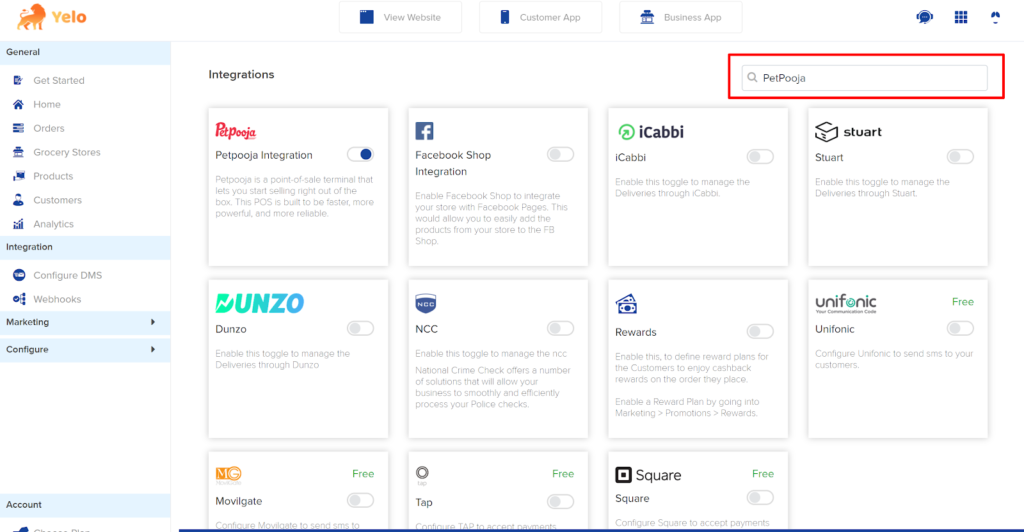
- On the Integration page, type ‘PetPooja’ in the search box.
- Toggle on the PetPooja integration option.
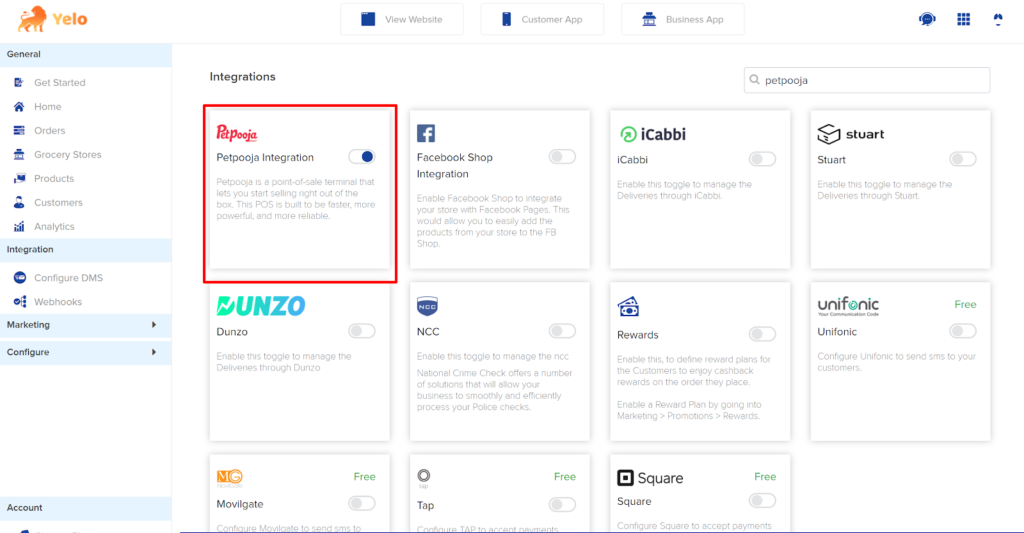
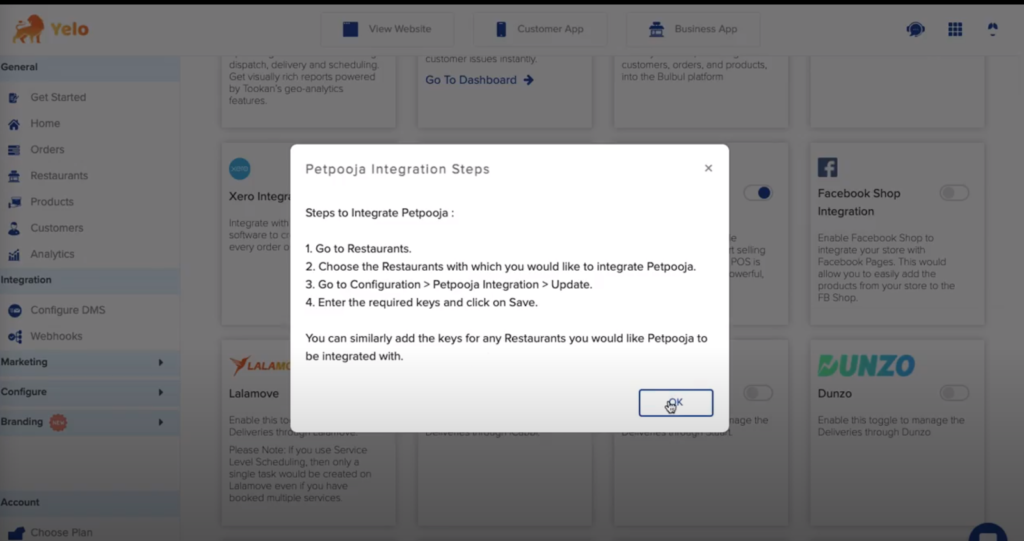
- Once you toggle on, you will get the following dialog box with instructions on how to update the PetPooja integration.
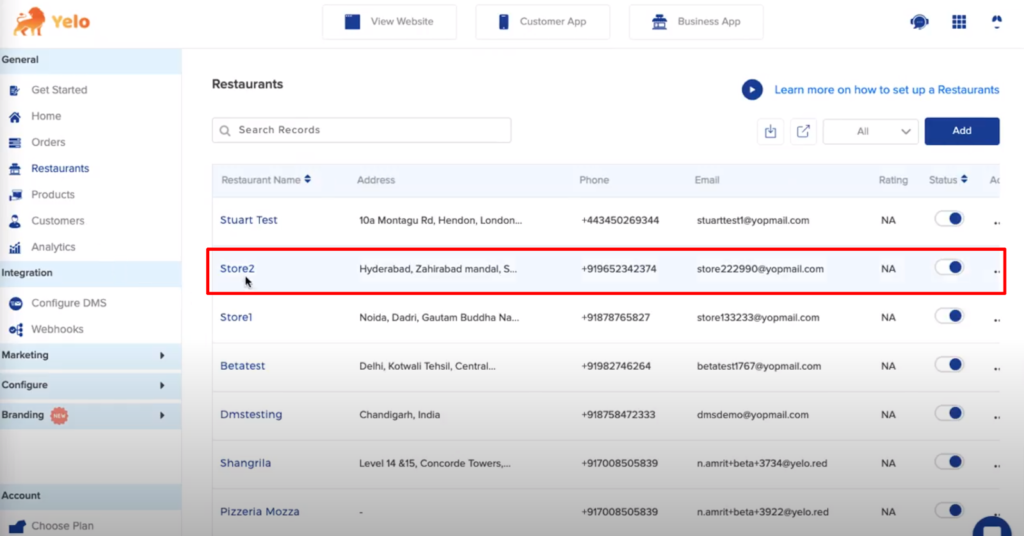
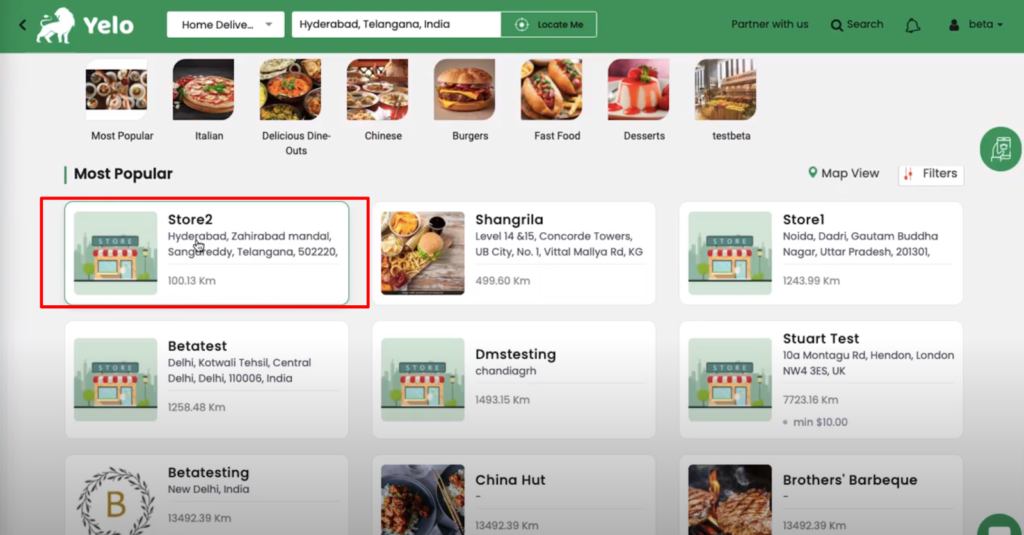
- Go back to the Restaurants tab. Choose a Restaurant for which you want to activate the plugin. In the screenshot below, we have chosen store 2.
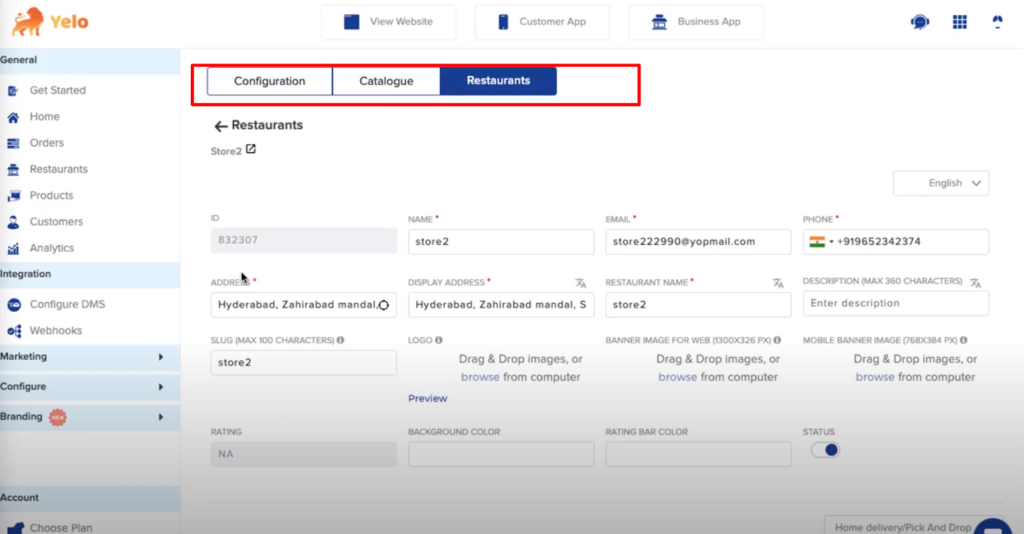
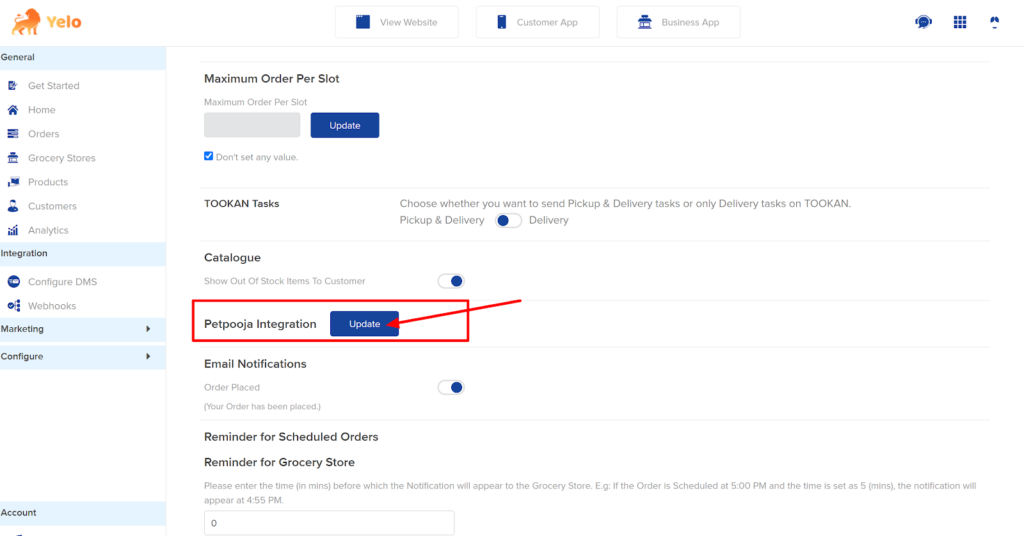
- Click on the Configuration tab and scroll down. You will find the PetPooja Integration option.
- Click on Update.
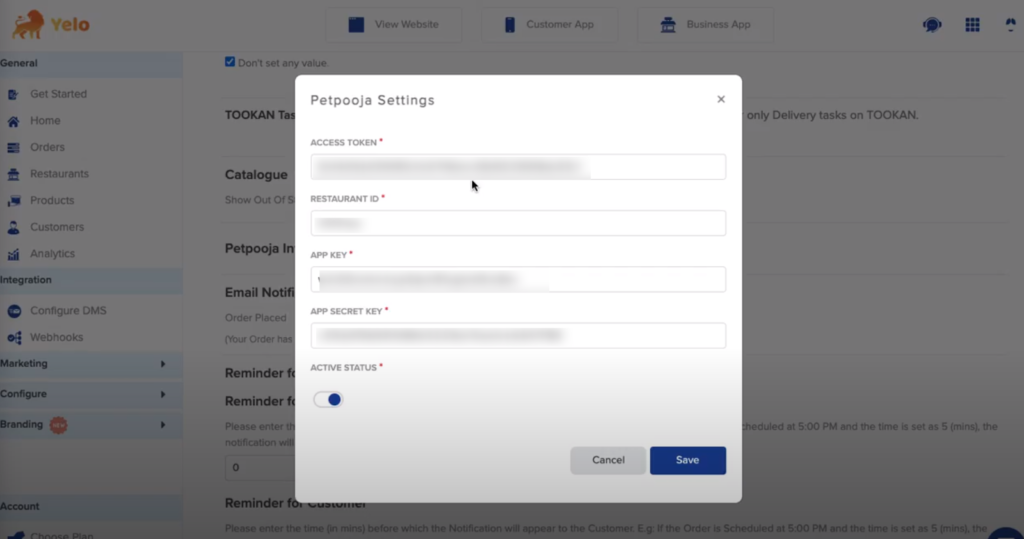
- A new dialog box will appear where you can enter the PetPooja Access Token, RestaurantID, AppKey and App Secret Key. Add details and click on ‘Save’.
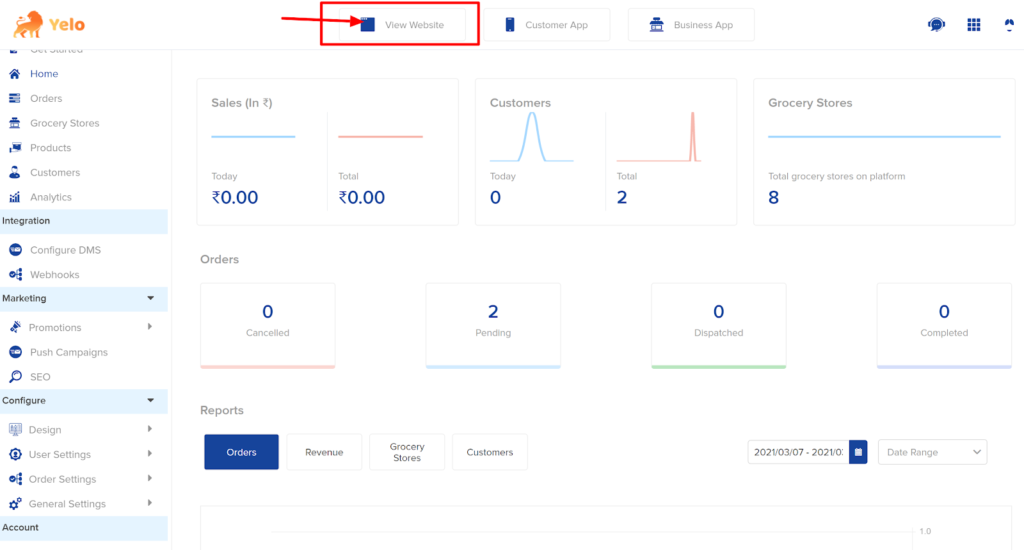
- At the top of the dashboard, click on ‘View Website’ and it will direct you to the website.
- Now, your website can start working with PetPooja. Click on the store that you have added the PetPooja integration to.
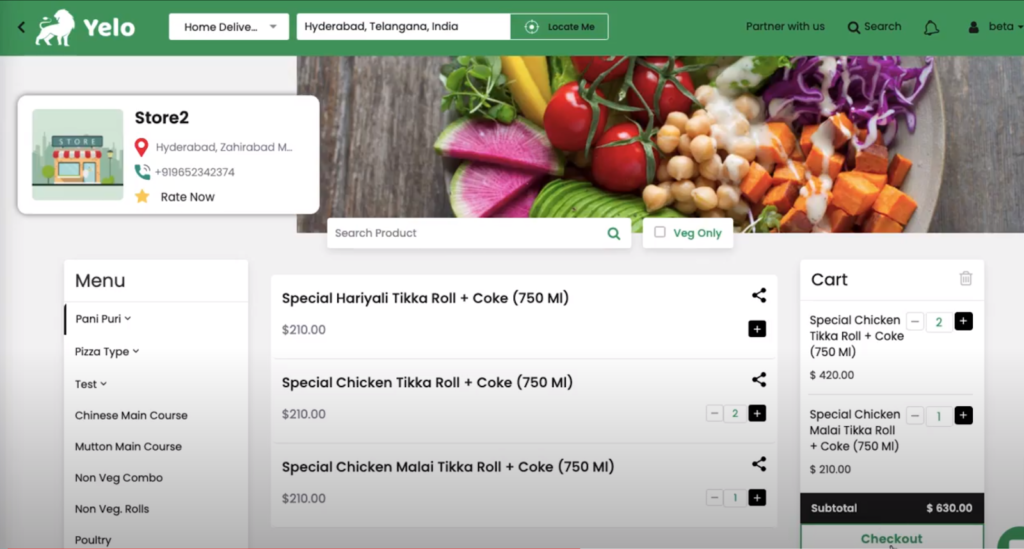
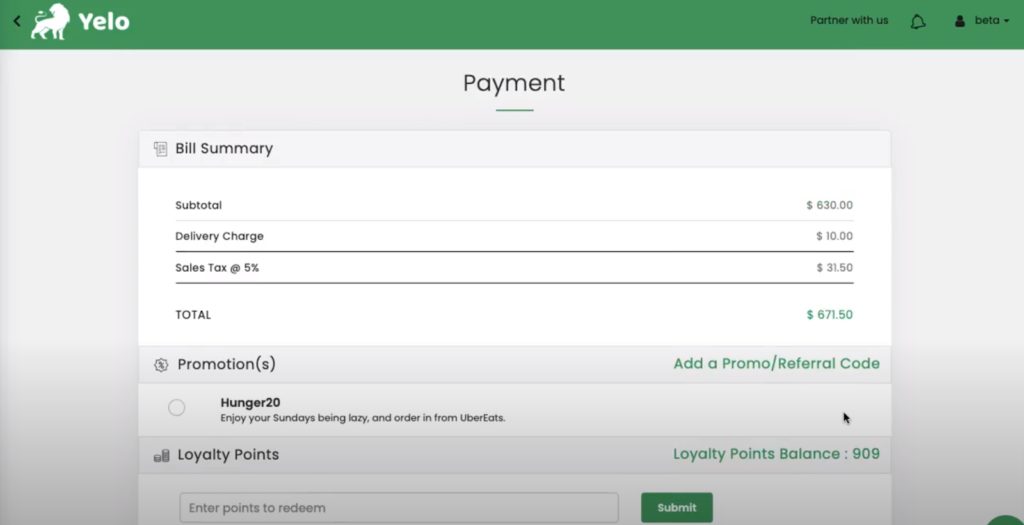
- Once your customer will add the products to their checkout cart with relevant details including address and payment modes to place their order and click on ‘Submit’, you will get details on your dashboard.
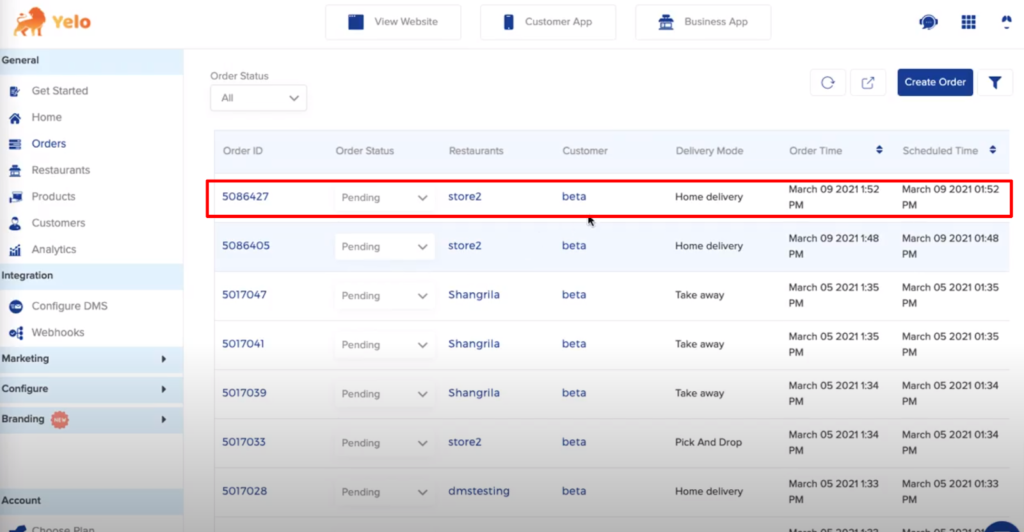
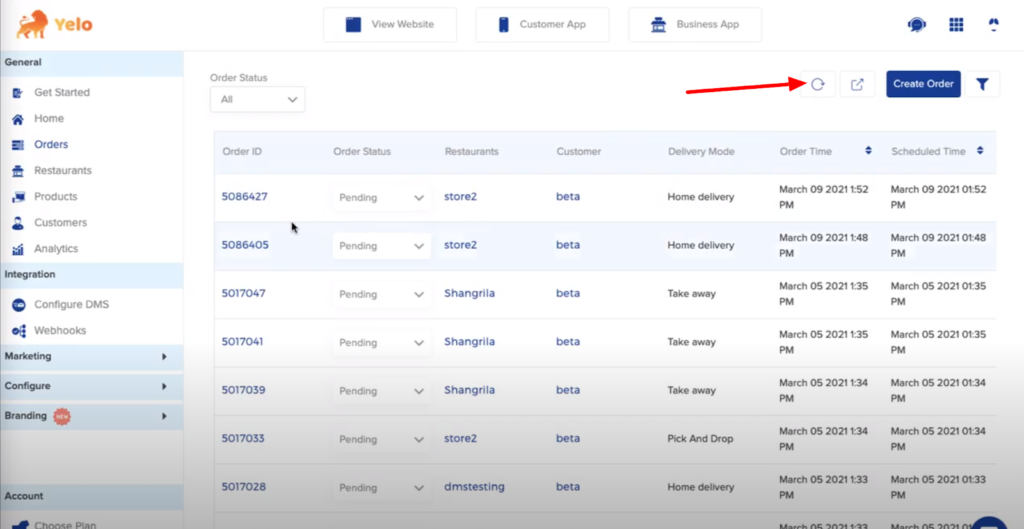
- You can view the ordered product by clicking General > Orders. The ordered product ID will be visible in the queue.
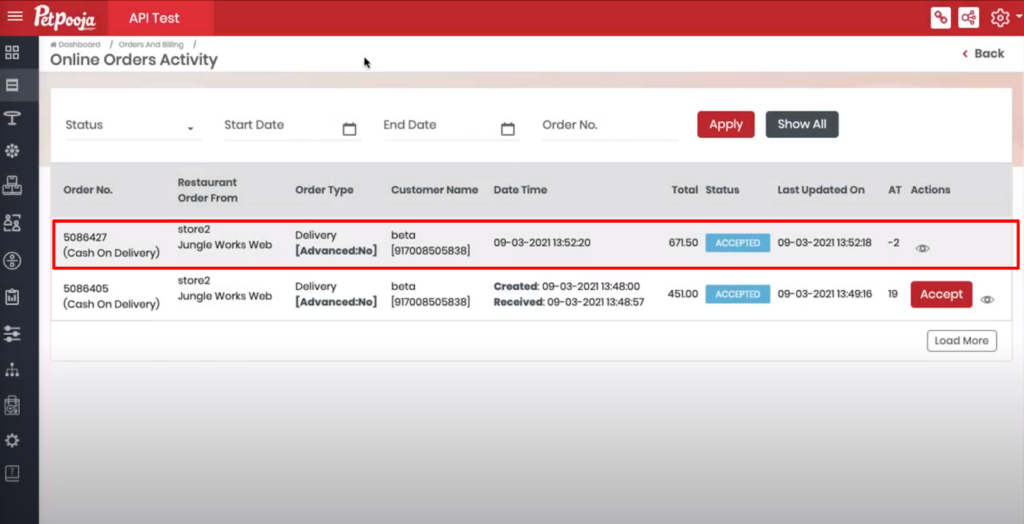
- Now, head to the PetPooja POS system admin Dashboard.
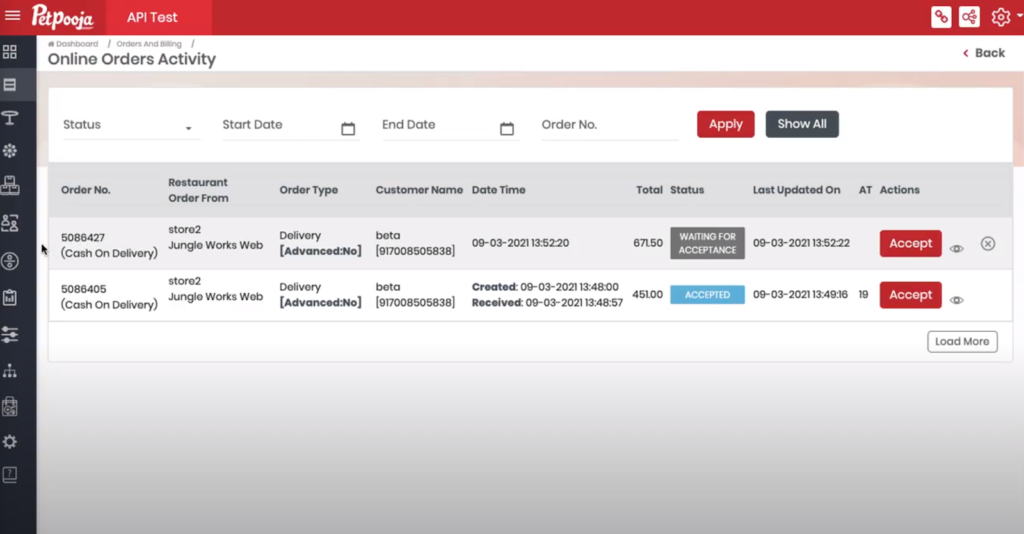
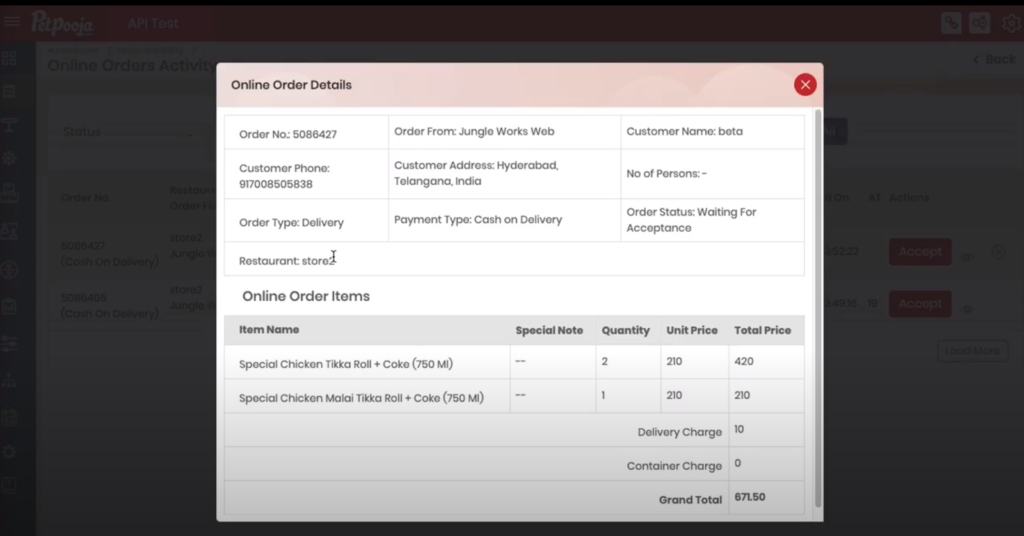
- You can view and accept the pending orders here. You can view the order description as well.
- Once you will click on ‘Accept’, the order will reflect on your dashboard and the customers will get a notification about the orders.
- Go To Yelo Admin Dashboard and refresh to check the updated order status.
This way, you can manage all your orders and customers can get the details such as waiting time, order confirmation, change in menu on the website, etc.
Leave A Comment?