
Setup Custom Orders
If you are on an entrepreneurial journey, it is essential to create custom orders for your website. Creating custom orders with Yelo is an uncomplicated process. These orders can take any number of products, and customers can create customised orders by entering the description of the order.
If you own a food app or grocery store, custom orders can benefit your business as you provide freedom of choice to your audience which can help retain customers.
To create custom orders, follow the instructions given below:
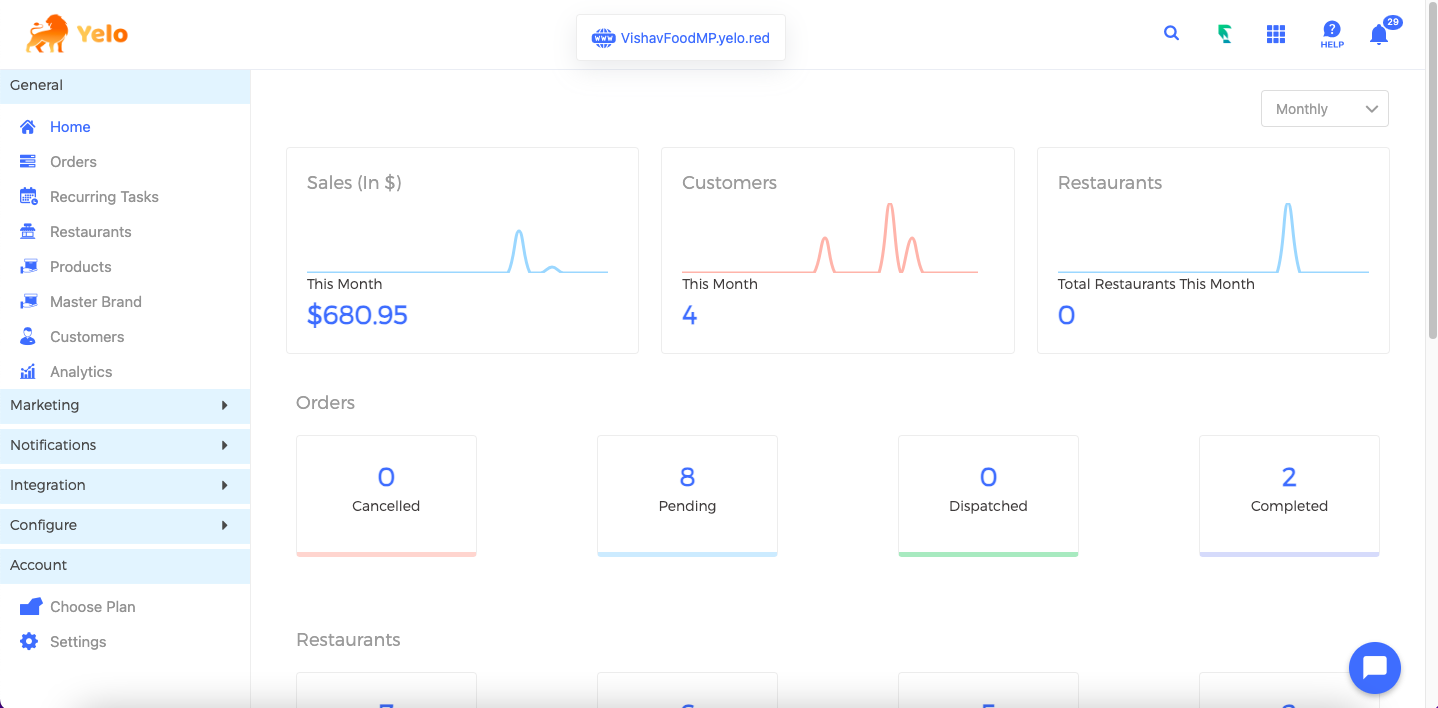
- Log in to the Yelo Admin Dashboard, where you will find all the sales, orders, pending orders, and other reports.
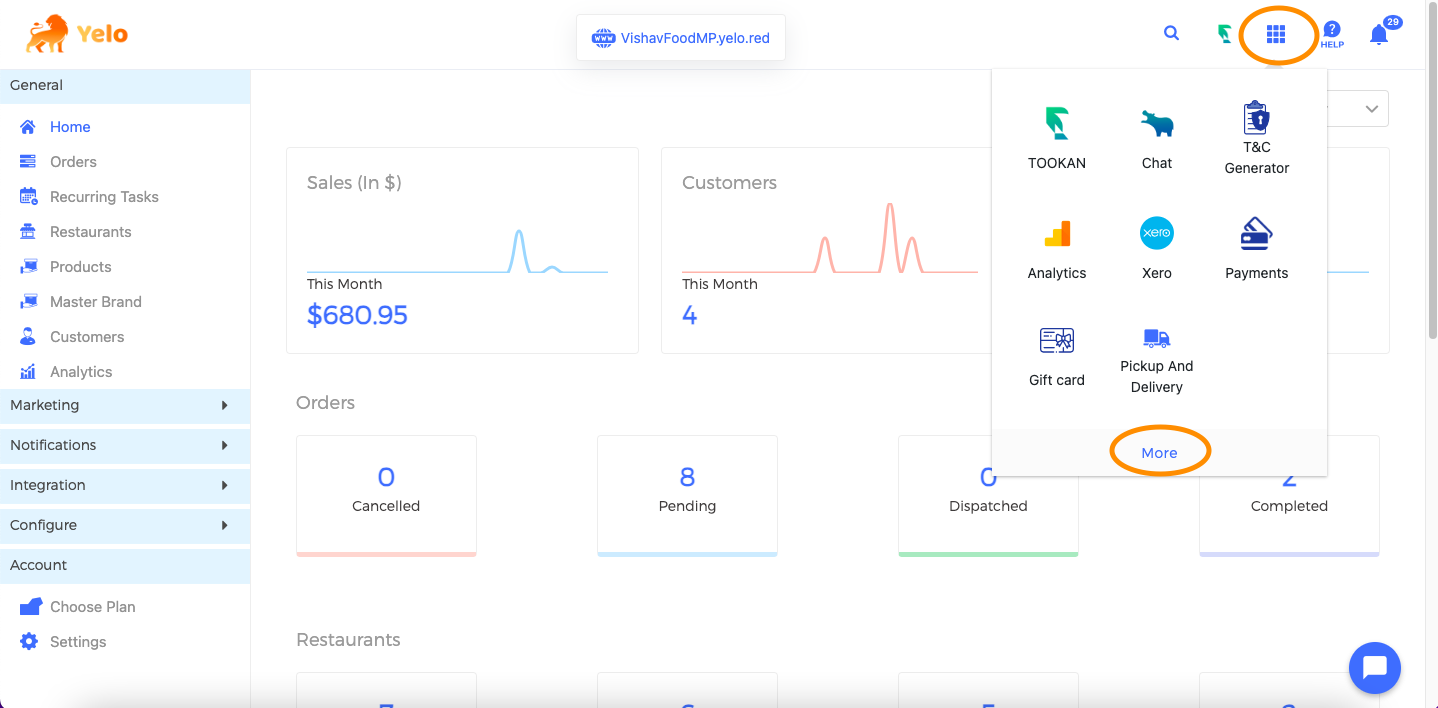
- On the top right-hand side of the screen, click on the ‘Integrations’ icon and select ‘More’.
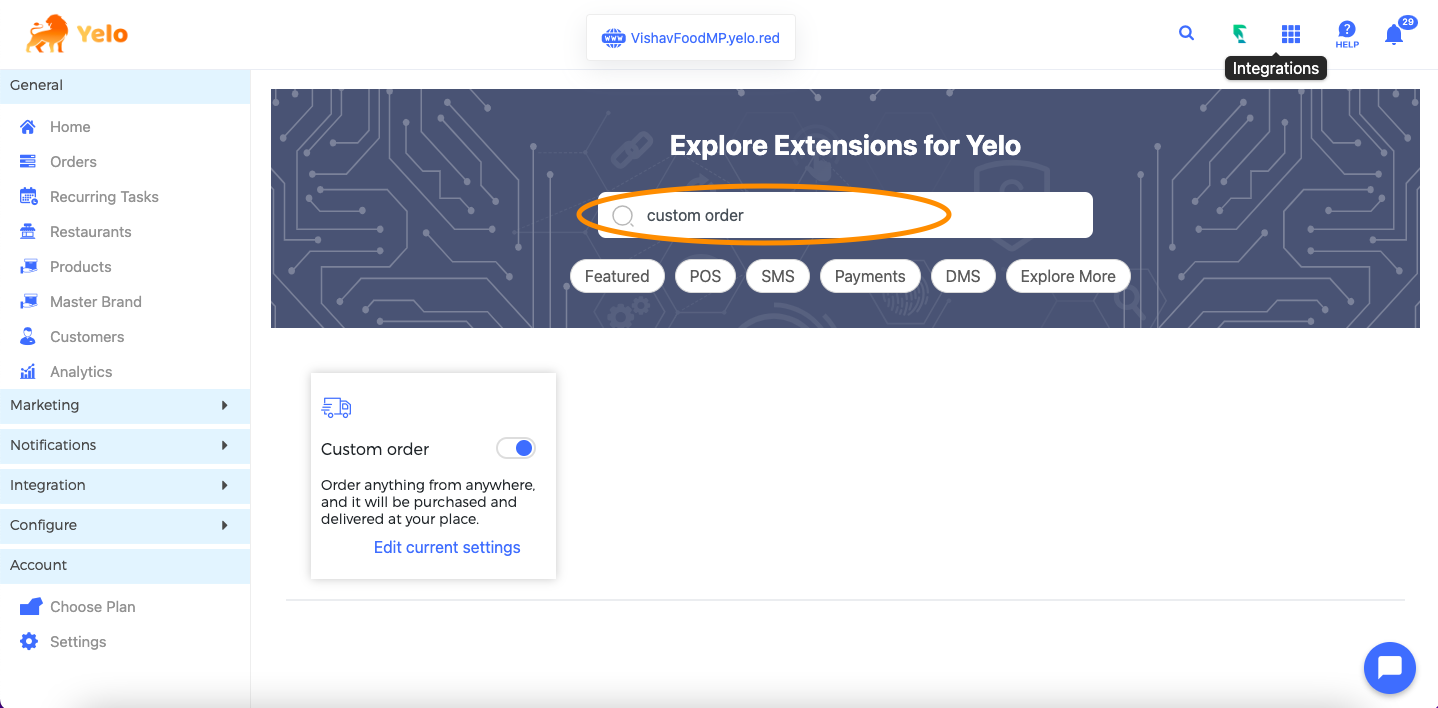
- On the Integrations page, type ‘Custom Order’ in the ‘Search’ box.

- Enable the ‘Custom Order’ with a toggle on the button. Once you enable the custom order, you will have an option for configuring the marketplace.
- On enabling the custom order, click on Restaurants in the left sidebar, and you will see the names of various Restaurants.
- Click on the Restaurant that you want to configure. In the screenshot given below, we have chosen the Restaurant as an example.
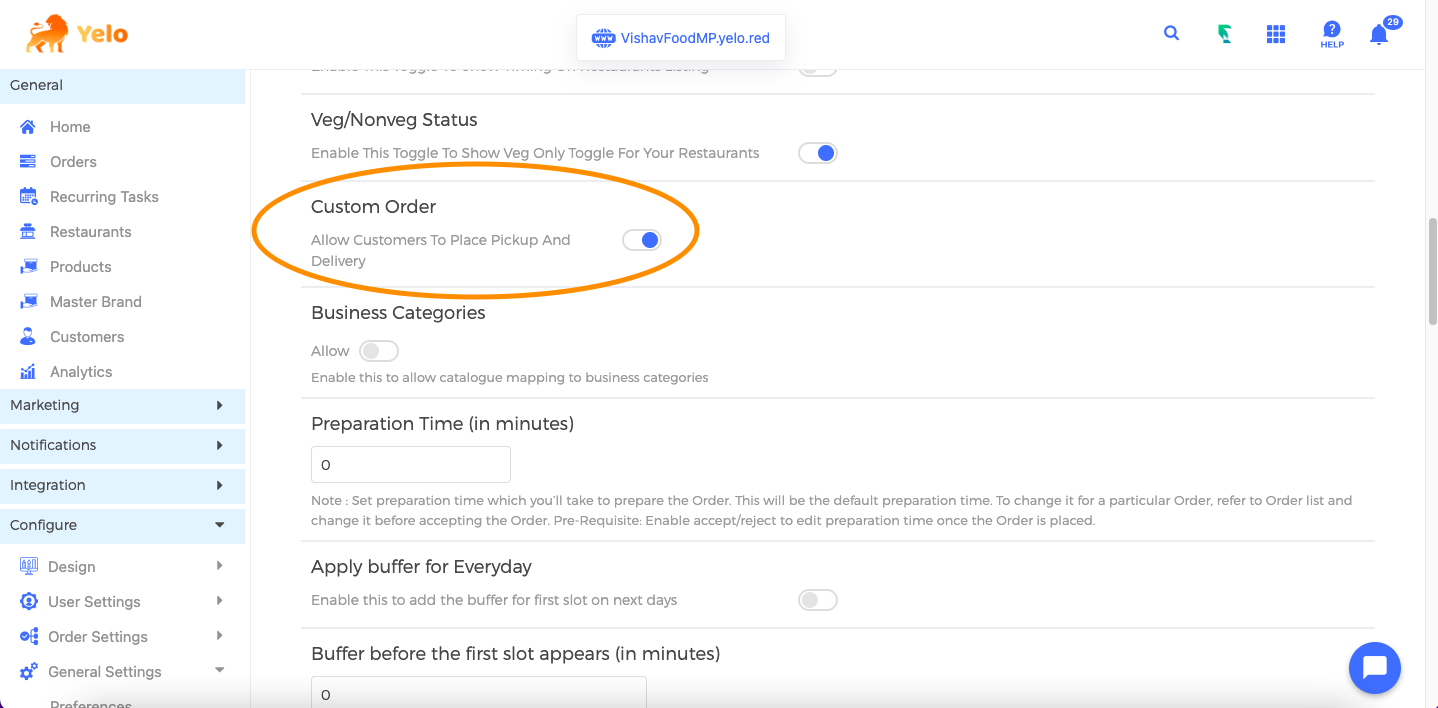
- Select the ‘Configuration’ tab and toggle on the ‘Custom Order.’

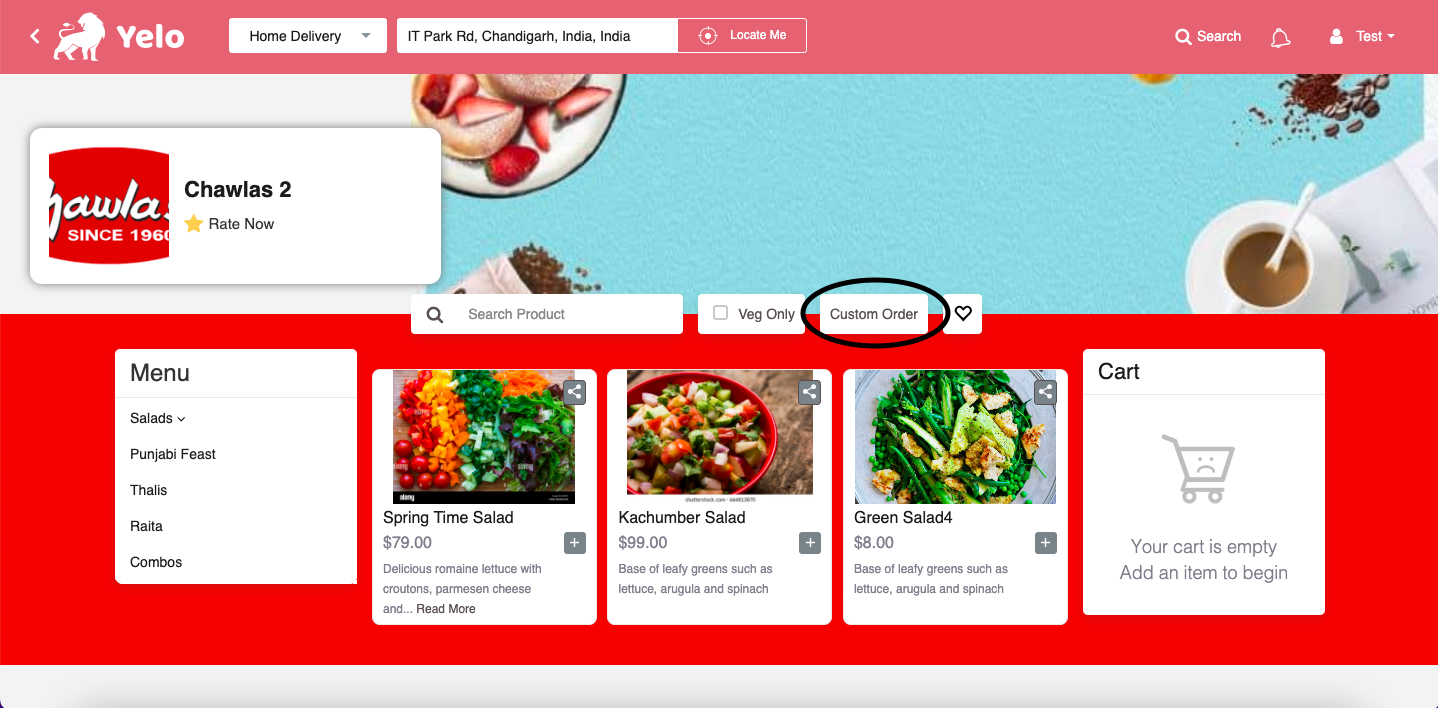
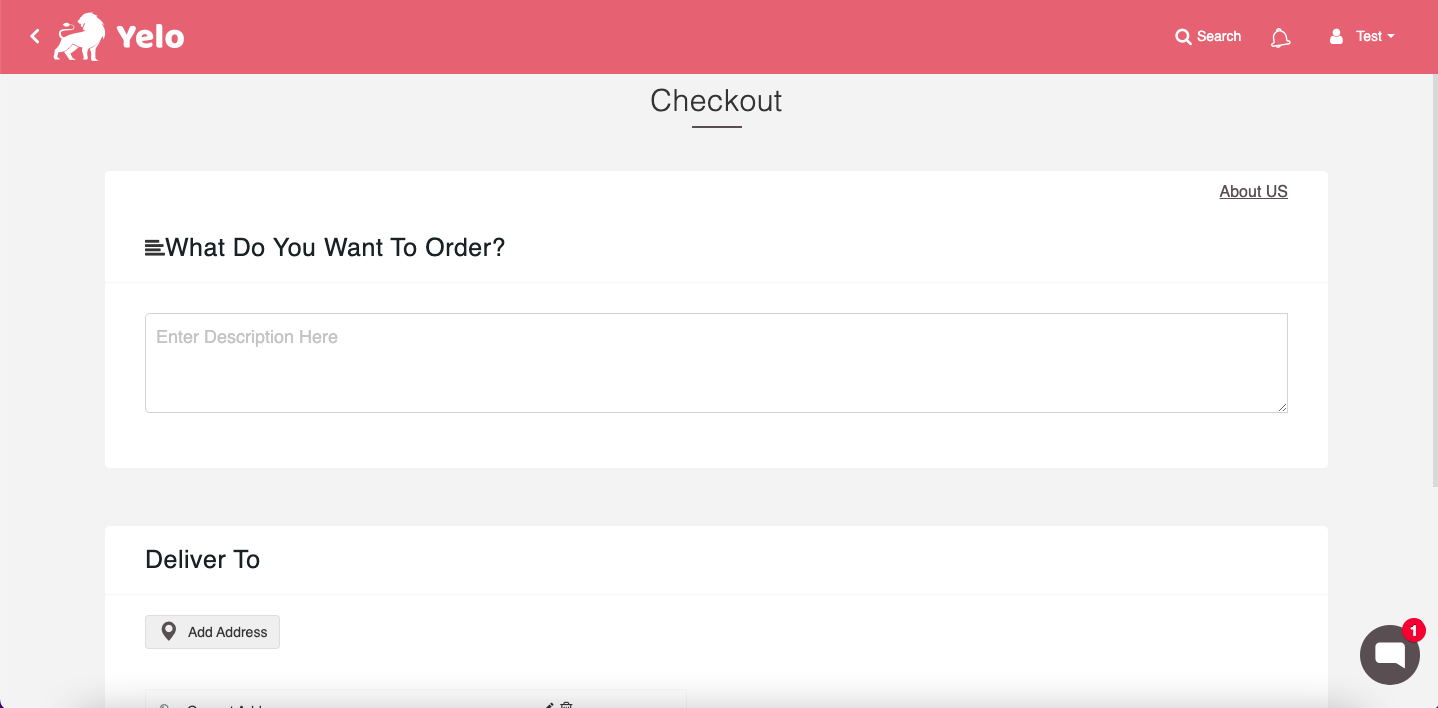
- Your ‘Custom Order’ button will be reflected on the website. Here, customers can customize their orders and add the address.
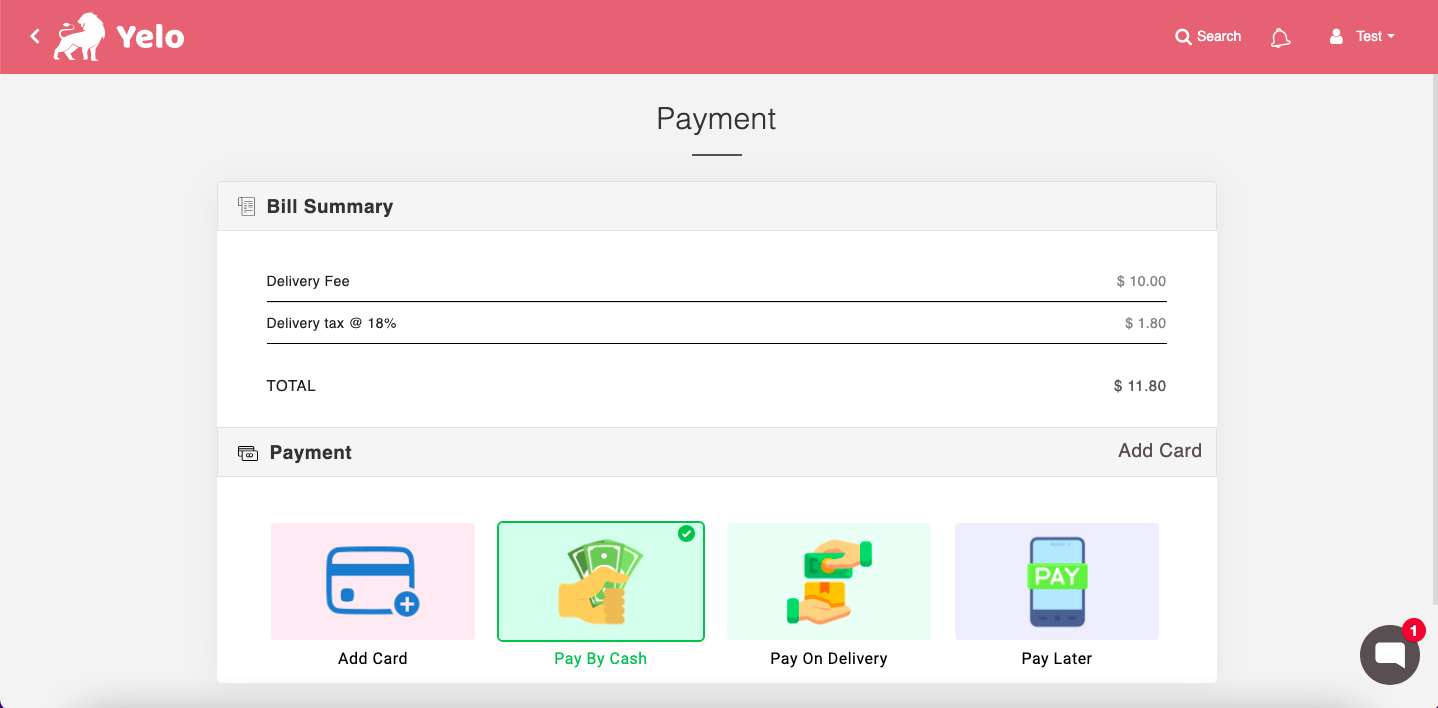
- In the next step, customers can proceed with the payment.
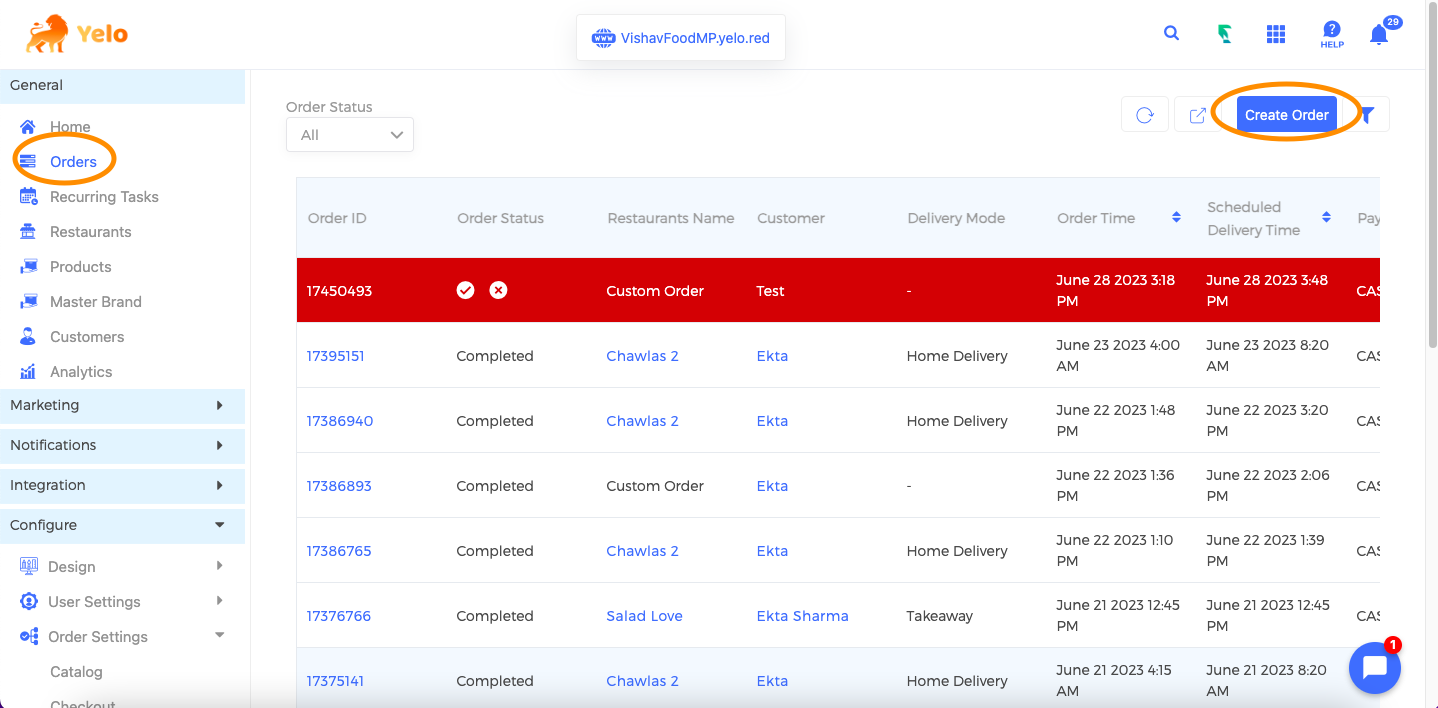
- You will receive a notification about the new order in the dashboard. Click on ‘Orders’ under the General section and you will have a complete list of orders. Here you will custom orders.
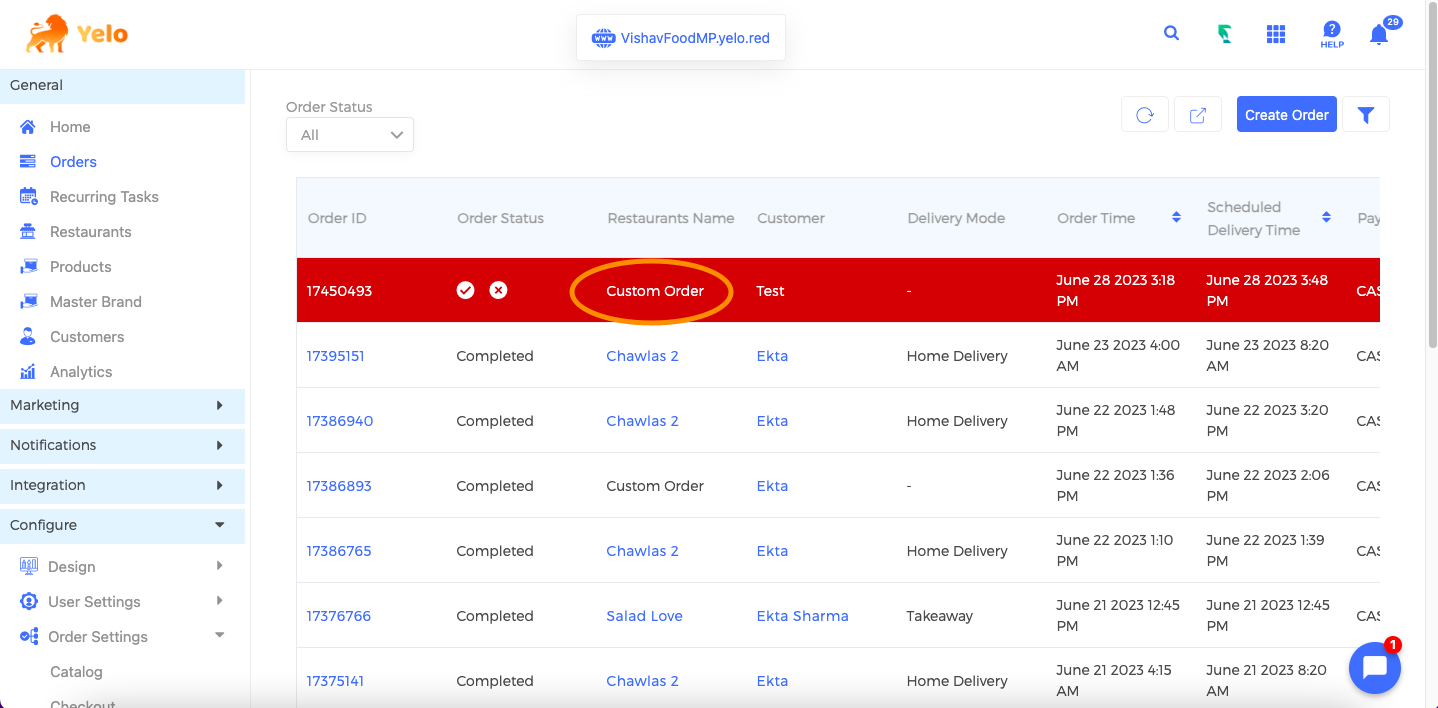
- You can also create orders for the customers and initiate the orders manually. For instance, a customer instructs about the custom order through a chat or call, you can create the orders manually by clicking on the ‘Create Order’ option on the top-right-hand side.
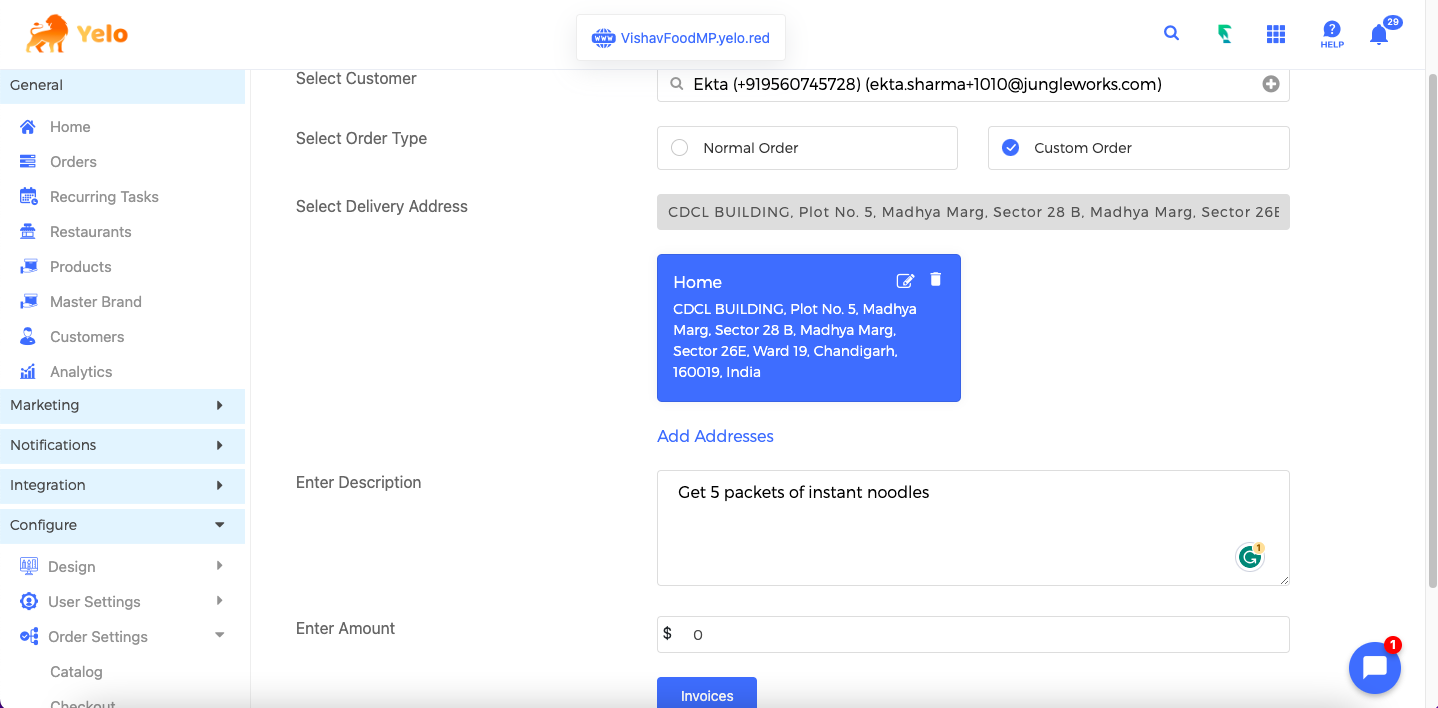
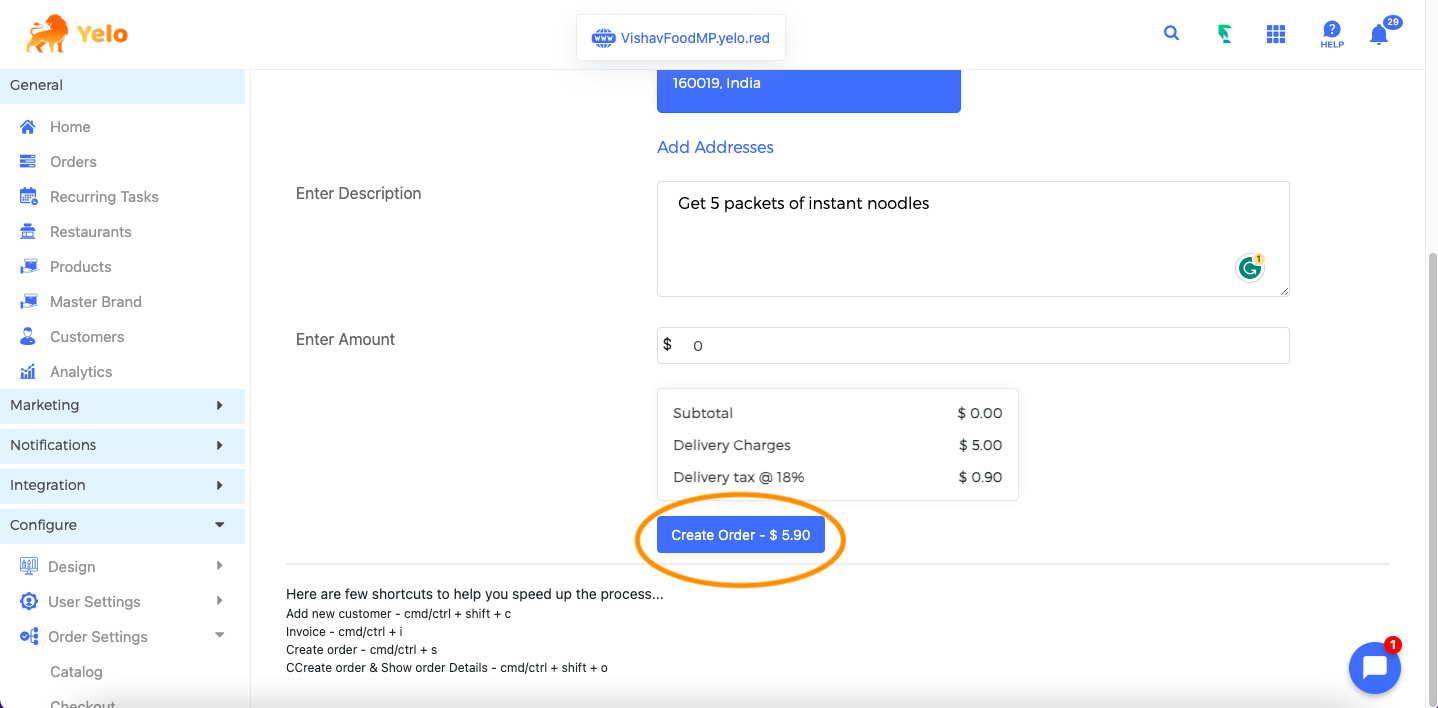
- Create a custom order by filling in relevant details and accept the order to initiate payment.
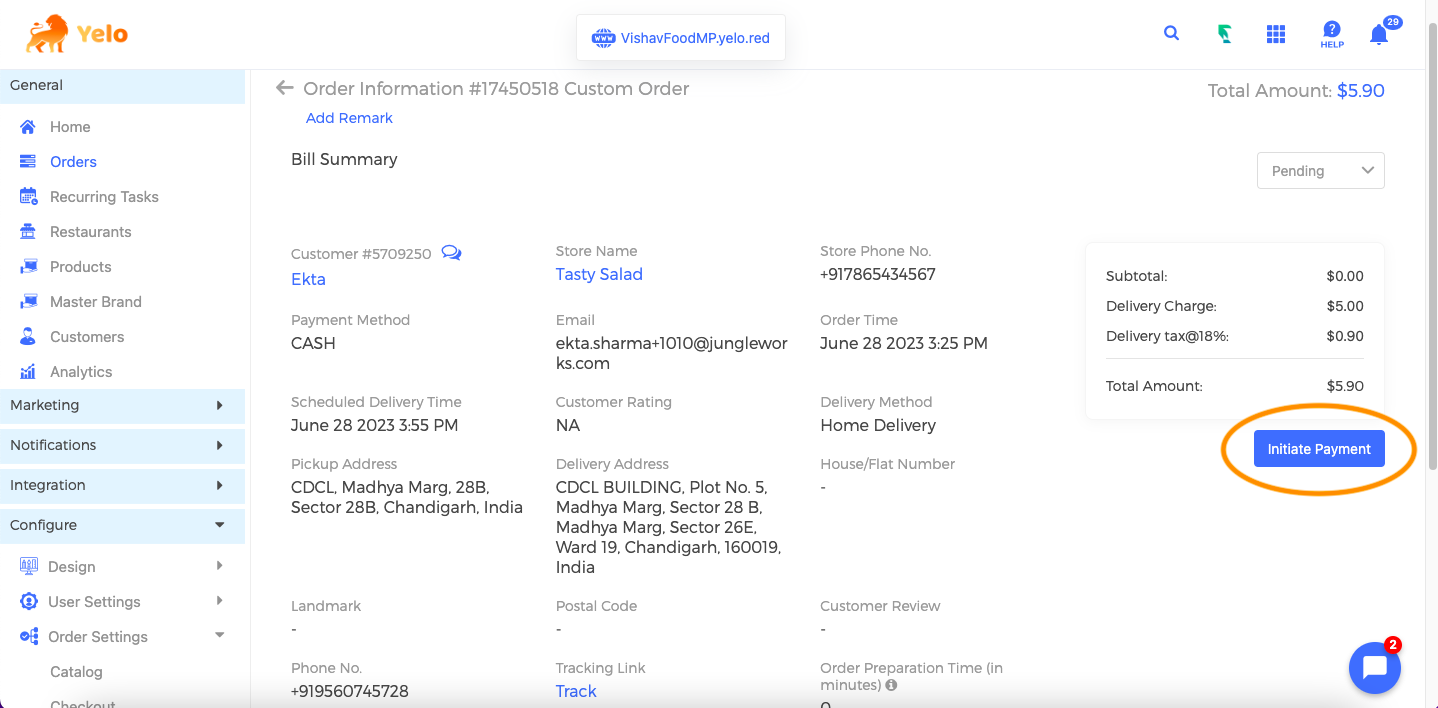
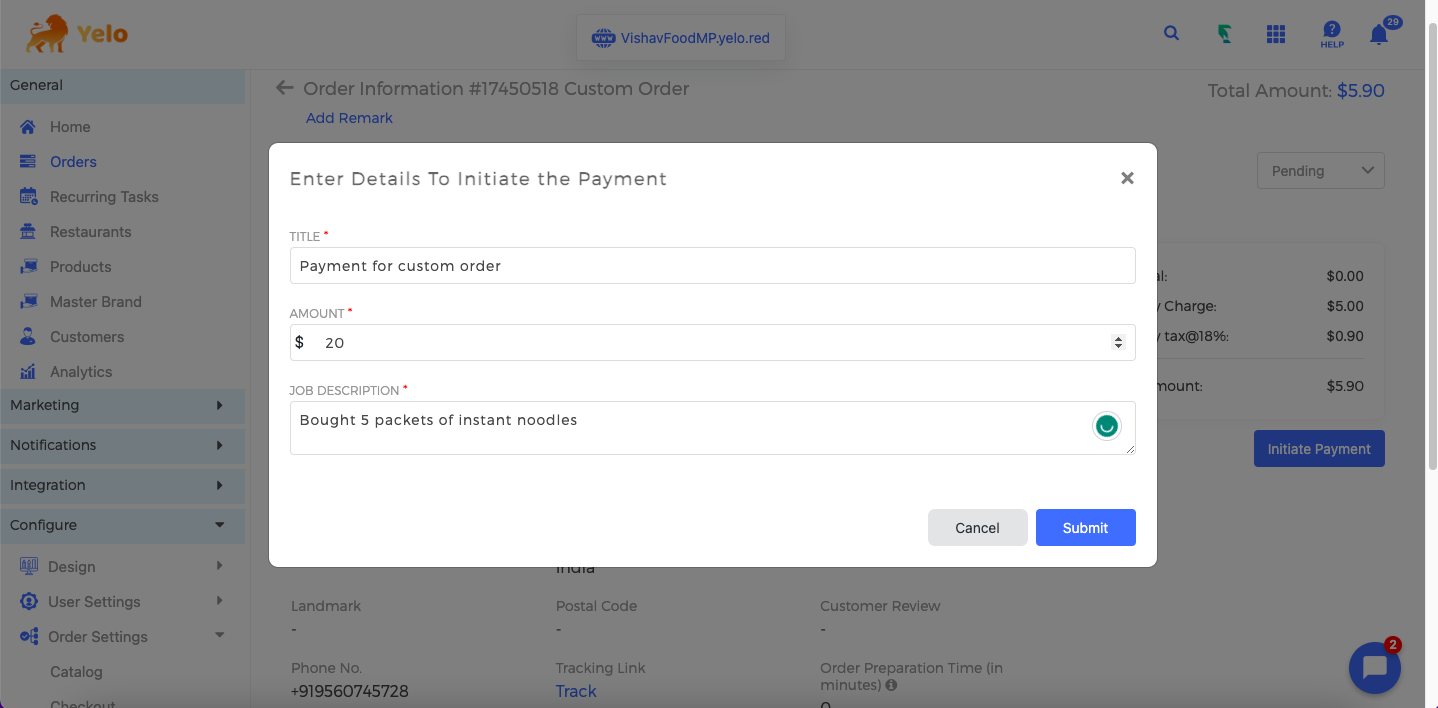
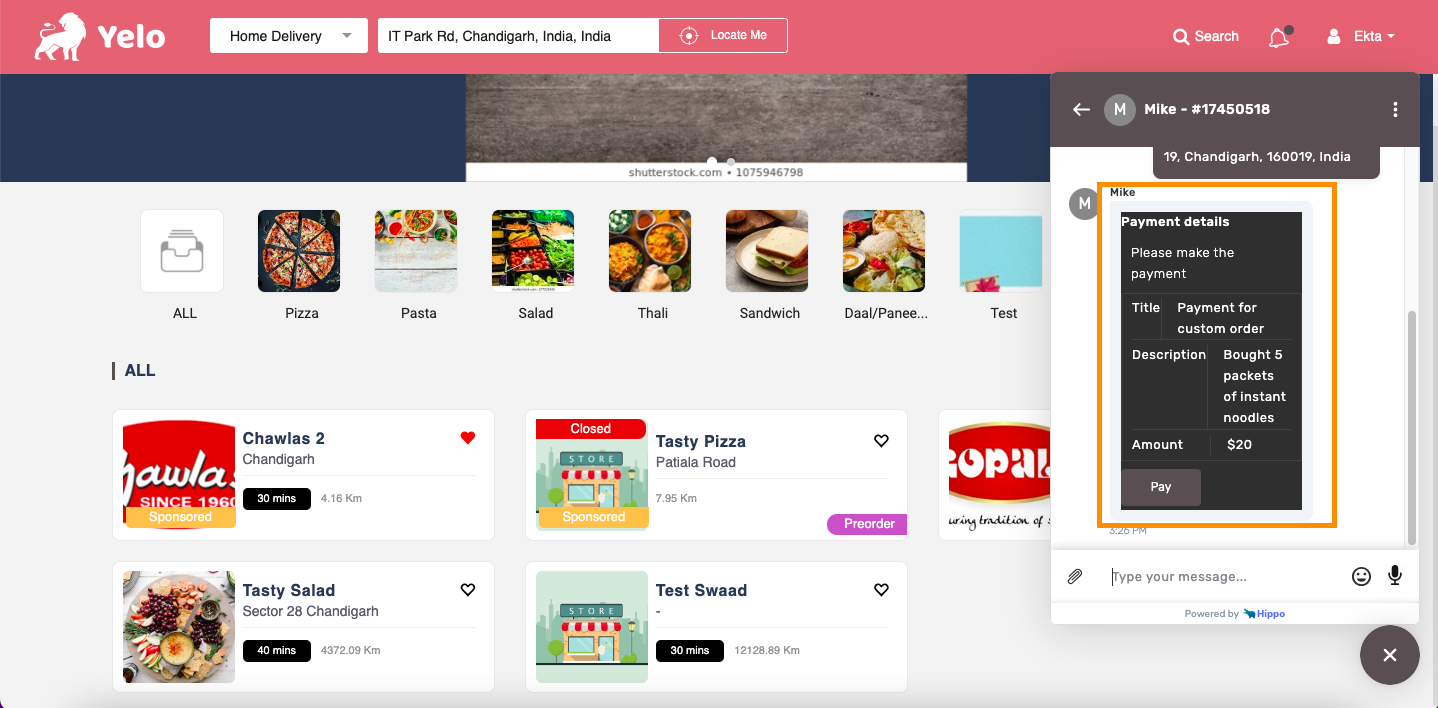
- On initiation of payment, the customers will receive a notification about the payment on the HIPPO chat widget.
- Once completed, you can change the status of your order as dispatched, completed or canceled.
Leave A Comment?