
How to create a project in Mappr?
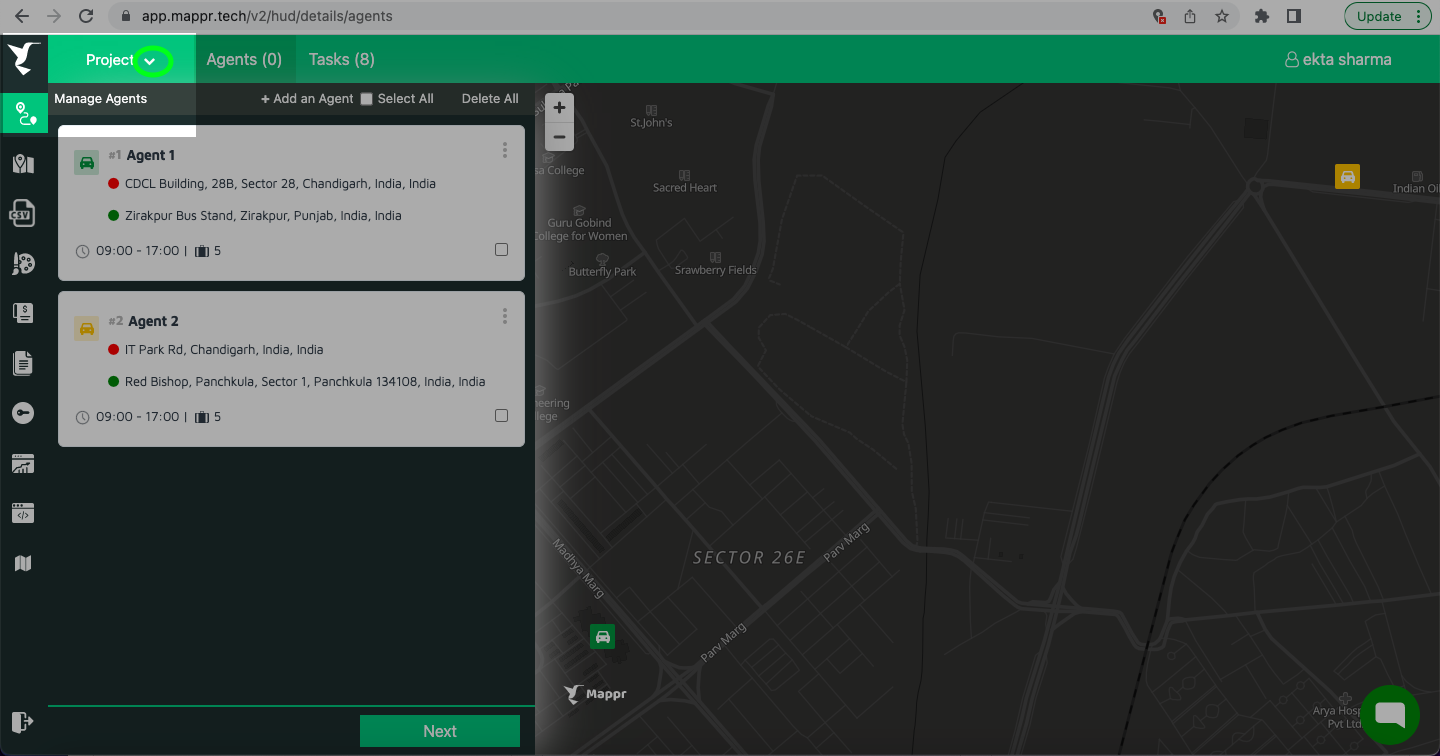
A project in Mappr comprises Stops and Agents (depending on the workflow) that you optimize. You can create a new project from the “Optimize Routes” screen on your Mappr dashboard. By default, the latest project is visible on this screen. You can select the drop-down icon next to the current project name on the top. Kindly refer to the screenshot below:
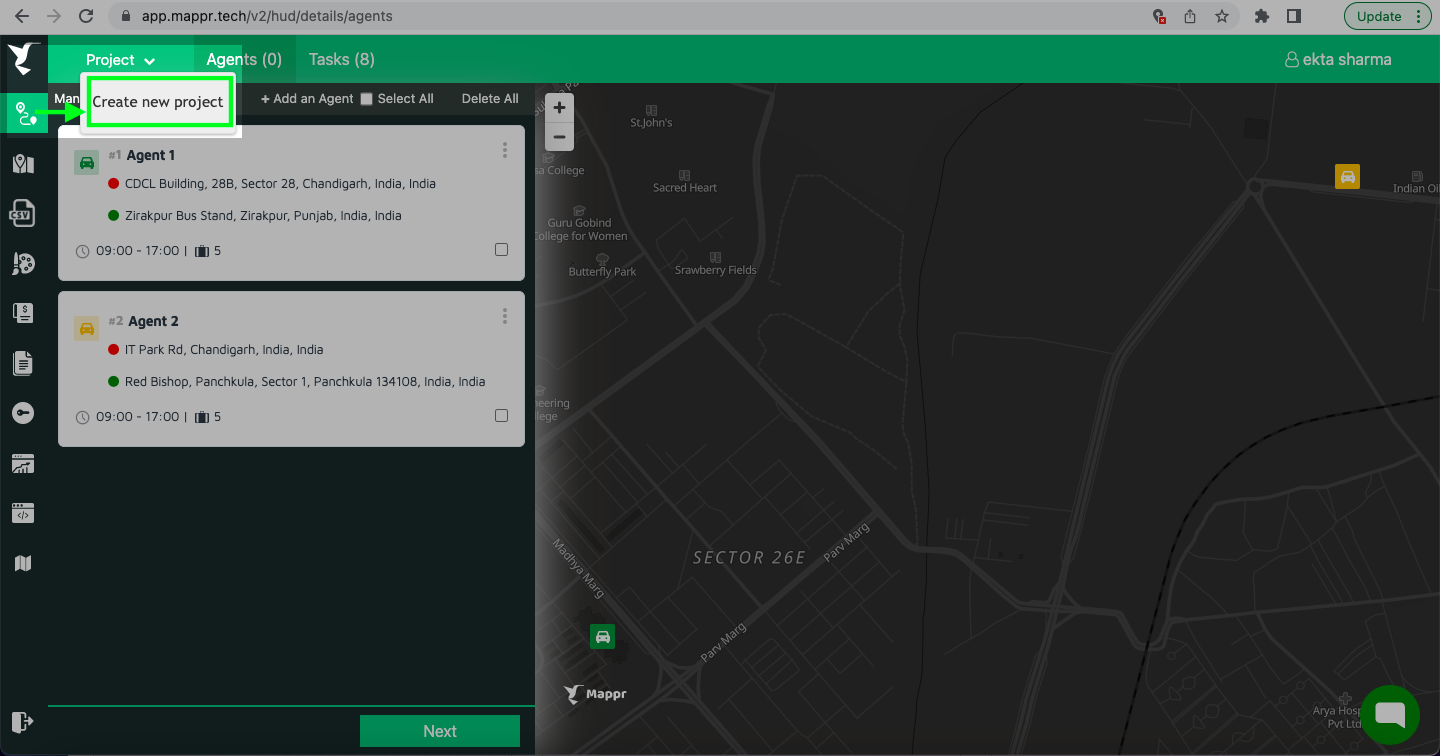
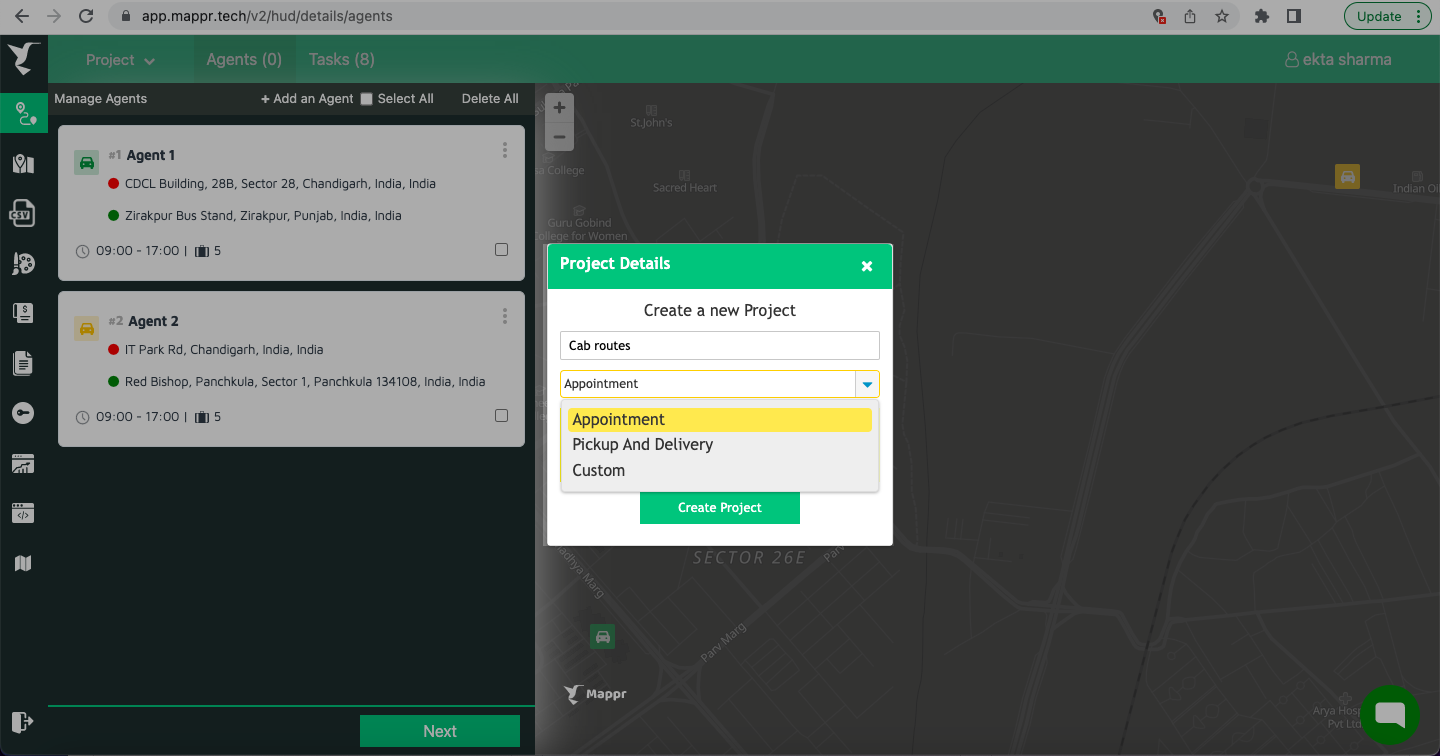
Upon clicking, the option to “Create new project” will show. Enter a name, select one workflow: Pickup and delivery/Appointment/Custom and click on “Create Project”.
Once a project has been created, the next step is to add Agents. If you already have agent information in Mappr, simply select the agents you want to route from the “Agent” tab on the top menu of the project screen.
After adding agents next step is to add Stops that you want to optimize.
Voila, your project is created!
Set your “Project settings“ and then you can “Estimate agents” and “Optimize Route” for your project. You can view all your created projects under the “Projects” section of your Mappr dashboard. You can filter projects by created date. You can edit or delete projects from here. You can also search for projects by project name and project ID. When you will click on a Project ID it will redirect you to the “Optimize Route” screen.
Watch this video to learn more!
Leave A Comment?