
How to add an agent
In this article, you will learn how to add an agent, remove an agent, import agents, etc.
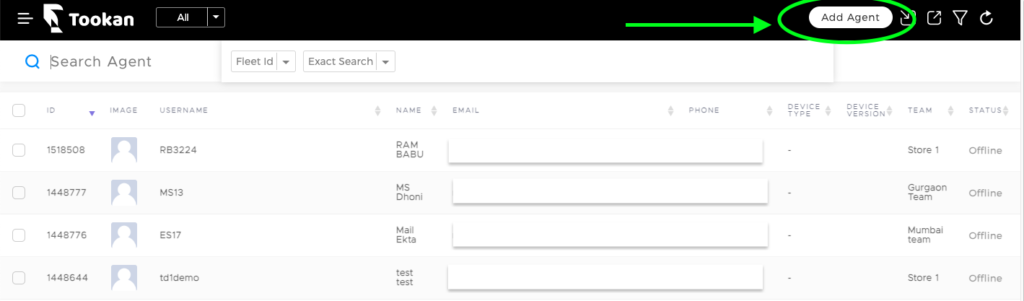
To add an agent, click the “Agent” option in the left-hand side menu of your dashboard. Select the “Add Agent” option in the top right corner.
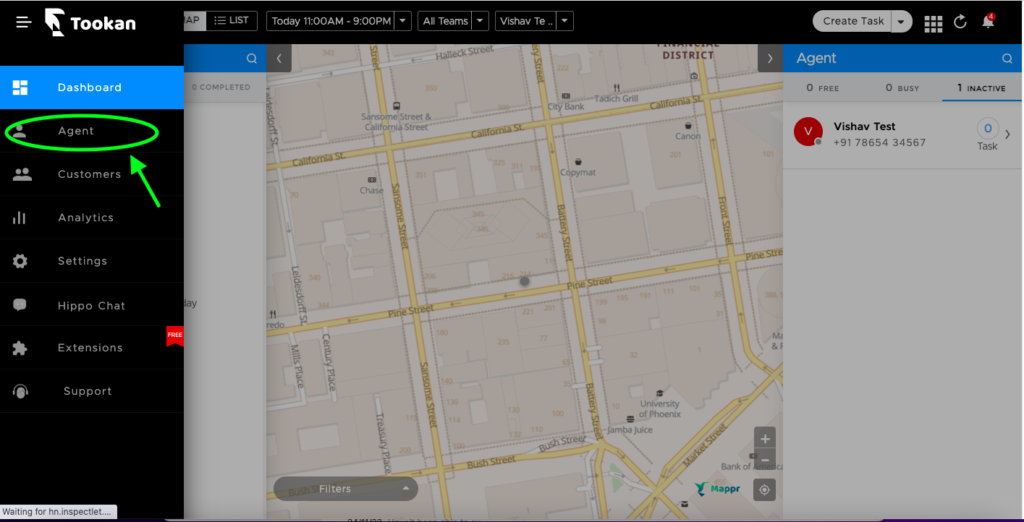
Note: You must create a team before adding any agents
Add an agent manually
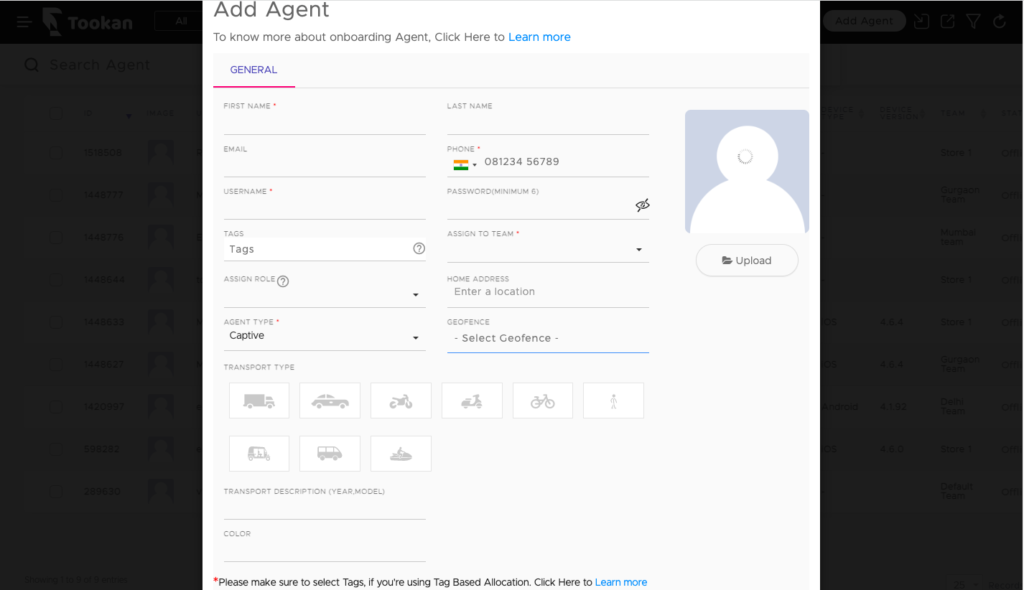
Enter the agent’s information as follows:
- First name- Enter a valid first name of the agent. This is a mandatory field.
- Last name- Enter a valid last name of the agent.
- Email- This is the agent’s email address used to register the agent on the platform. The email address must be unique.
- Phone- This is the agent’s phone number. Select the country code and enter a valid phone number. This is a mandatory field.
- Username- Enter a desired username for the agent. The username will be used by the agent to log in to the Tookan Agent mobile application. The username must be unique. This is a mandatory field.
- Password- Enter the desired password which will be used by the agent to log in to the Tookan Agent mobile application.
- Tags- You can use Tags to link an agent with a particular skill or with a particular type of task. Enter the desired tags in this section. Please make sure to select Tags, if you’re using Tag Based Allocation.
- Assign to Team- You can assign one team to an agent from here. Select the desired team from the drop-down to assign to the agent. This is a mandatory field.
- Assign Role- You can assign a role to your agent. Select the desired role from the drop-down to assign to the agent. Note: You must create a role for agents via access control before adding any agents.
- Home Address- Enter the agent’s home location address.
- Agent Type- Select the applicable agent type between Captive (full-time), and Freelancer (part-time). This is a mandatory field.
- Geofence- You can view geofences for the team assigned to an agent and assign all or any of them to the agent. This will ensure that your agent receives requests from the assigned geofence only. If not selected they will receive a request for an area of the assigned team.
- Transport Type- You can assign the agent a vehicle type and additional details regarding the vehicle in the fields below.
*NOTE* All mandatory fields must be filled in.
You can also watch this quick video to see how to add an agent: https://www.youtube.com/watch?v=_H9Ljui4iuI&t=15s
Agent Import
This option is helpful when you have a large number of agents to be added to the platform. The bulk import feature can be used to batch-create new agents. The process is very simple:
- Download this sample CSV file. You can also download the CSV file from the admin dashboard. Go to Dashboard > Agents. Click the “Export Agent” button on the top right corner, and the file will be downloaded automatically.
- Fill in the columns with the information for each agent that you want to upload to your dashboard.
- Save your spreadsheet as a . CSV.
- While logged in to the Tookan admin dashboard, go to Dashboard > Agents. Click the “Import Agent” button on the top right corner, click “Upload” > select the .csv that you saved. The agents will be uploaded automatically. You can also drag and drop the .csv.
*NOTE*
- Email and username must be unique
- All mandatory fields must be filled
- Header columns/names must not be modified
Agent Invitation
Once added, the agent will receive the following email notification:
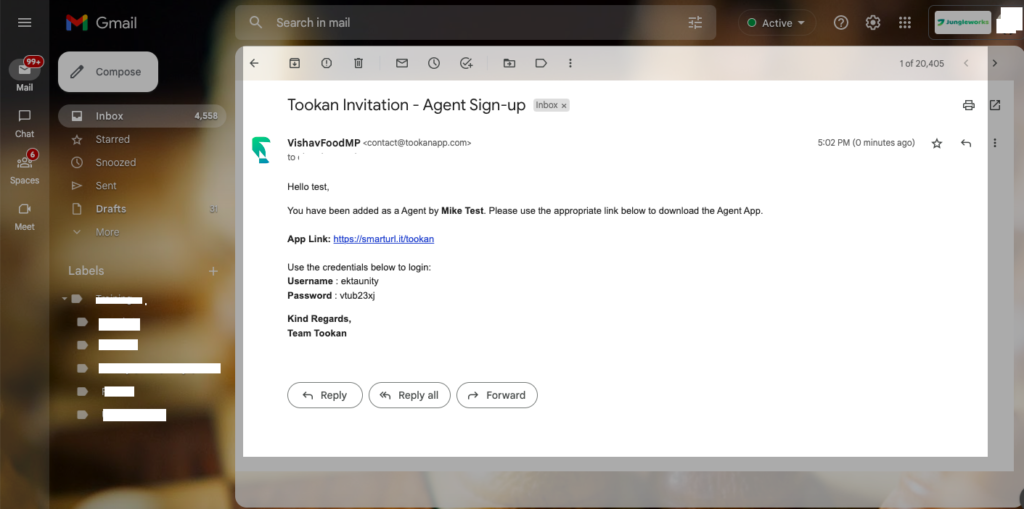
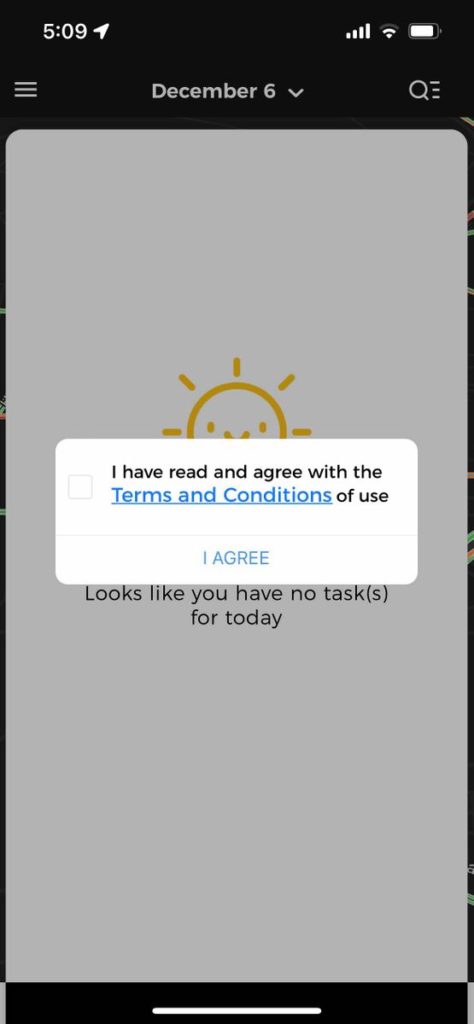
Upon login, the agent will be prompted to agree to the Terms and Conditions. They must agree and set themselves to “On-Duty” to start receiving tasks. You can now start assigning tasks to them.
Remove an agent
There are two ways to remove an agent.
To remove an agent open the “Agent” section on the admin dashboard and select the agents. Then select the “Bulk Action” button on the top right corner below the Add agent option, select “Delete Agent”
Alternatively, you can also delete an agent by clicking on the “Action” button in the agent list view and selecting “Delete”.
Leave A Comment?